Configure CodeBuild
In this section, we will proceed to create a CodeBuild project and configure it according to the stages we mentioned earlier.
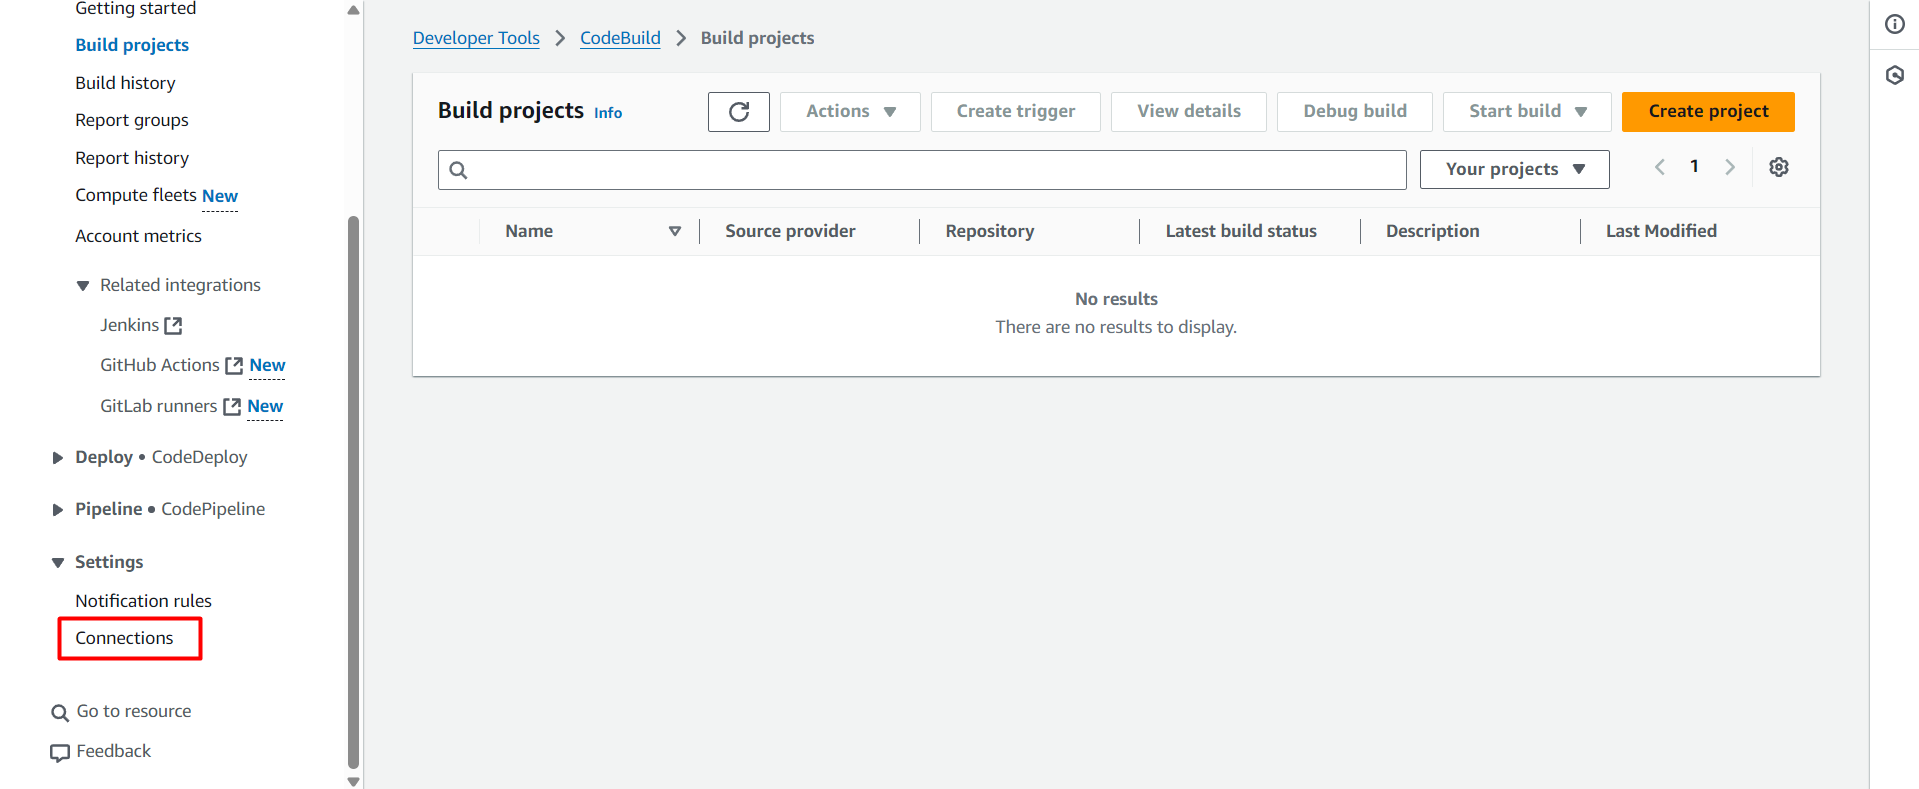
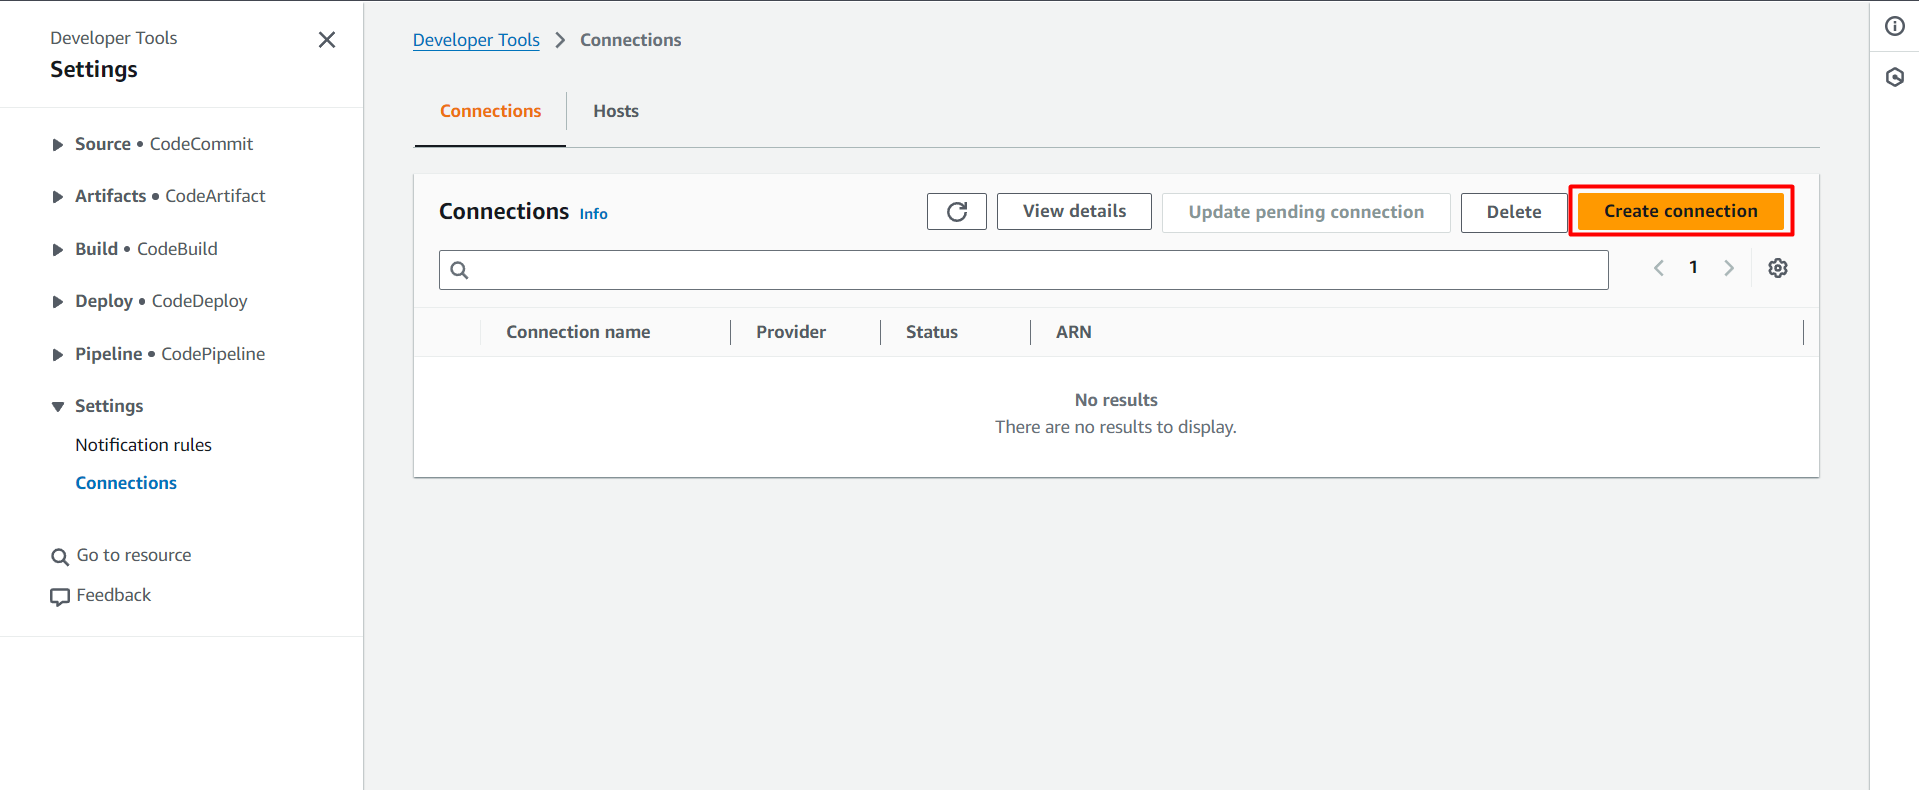
Create Connection
Access CodeBuild in the Settings section, select Connections and create a new connection named workshop-2-github-connection.
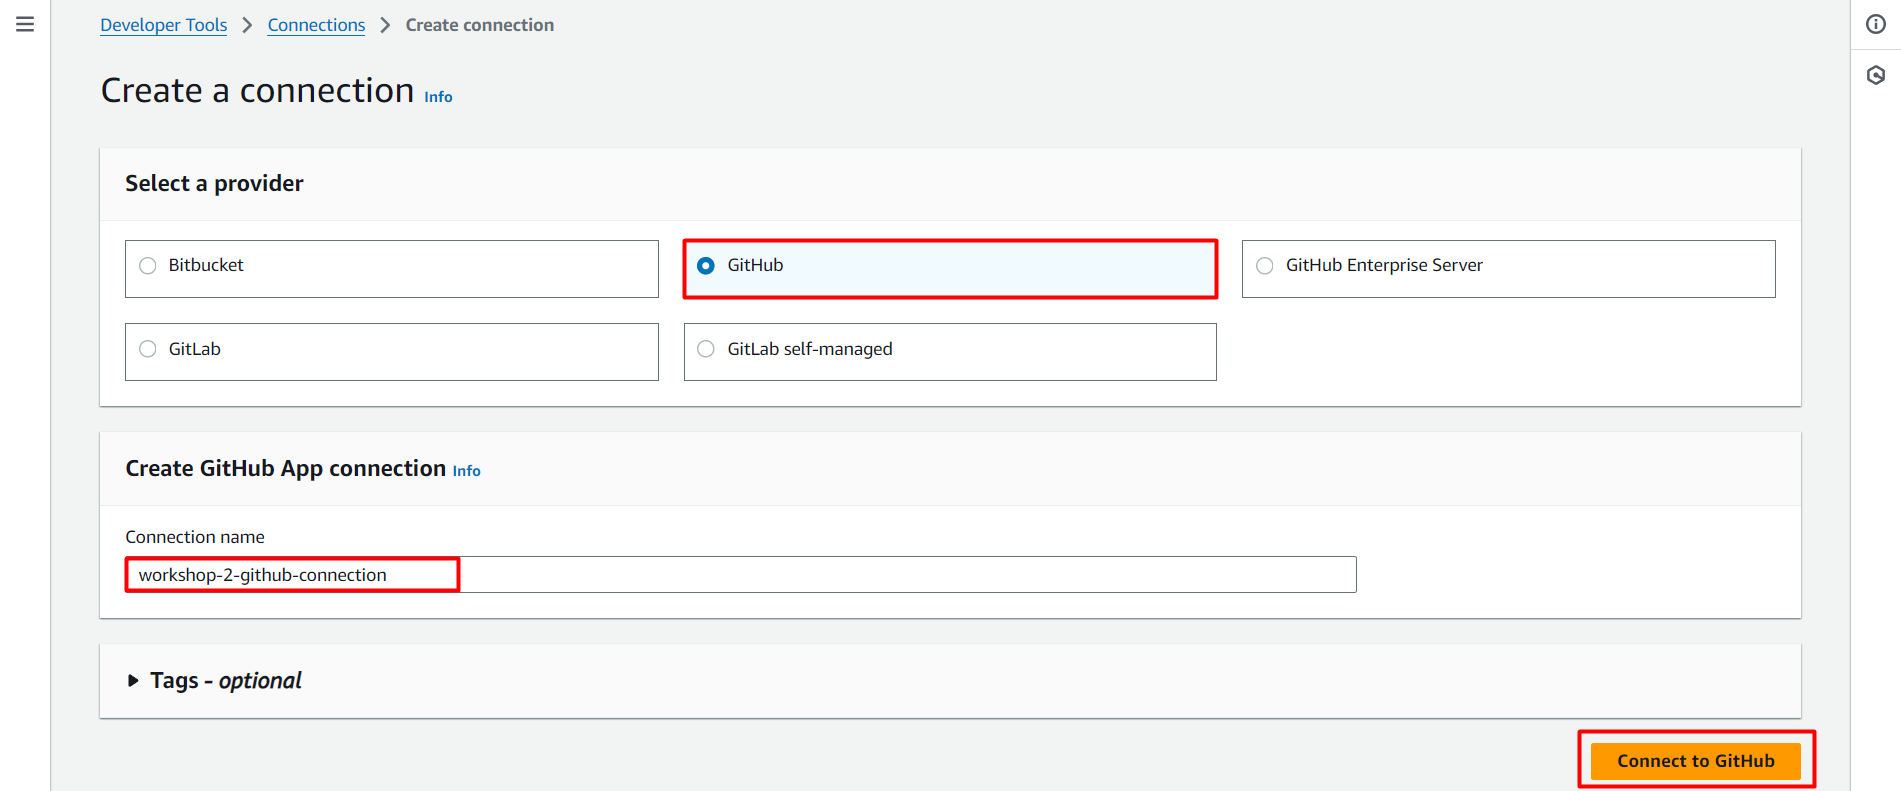

If you haven’t set up a connection with GitHub yet, click the Install a new app button to start the integration process. This will help CodeBuild access your GitHub repository securely.
In case you have connected before, just select the already installed application from the list as shown in the illustration, no need to repeat the installation step.
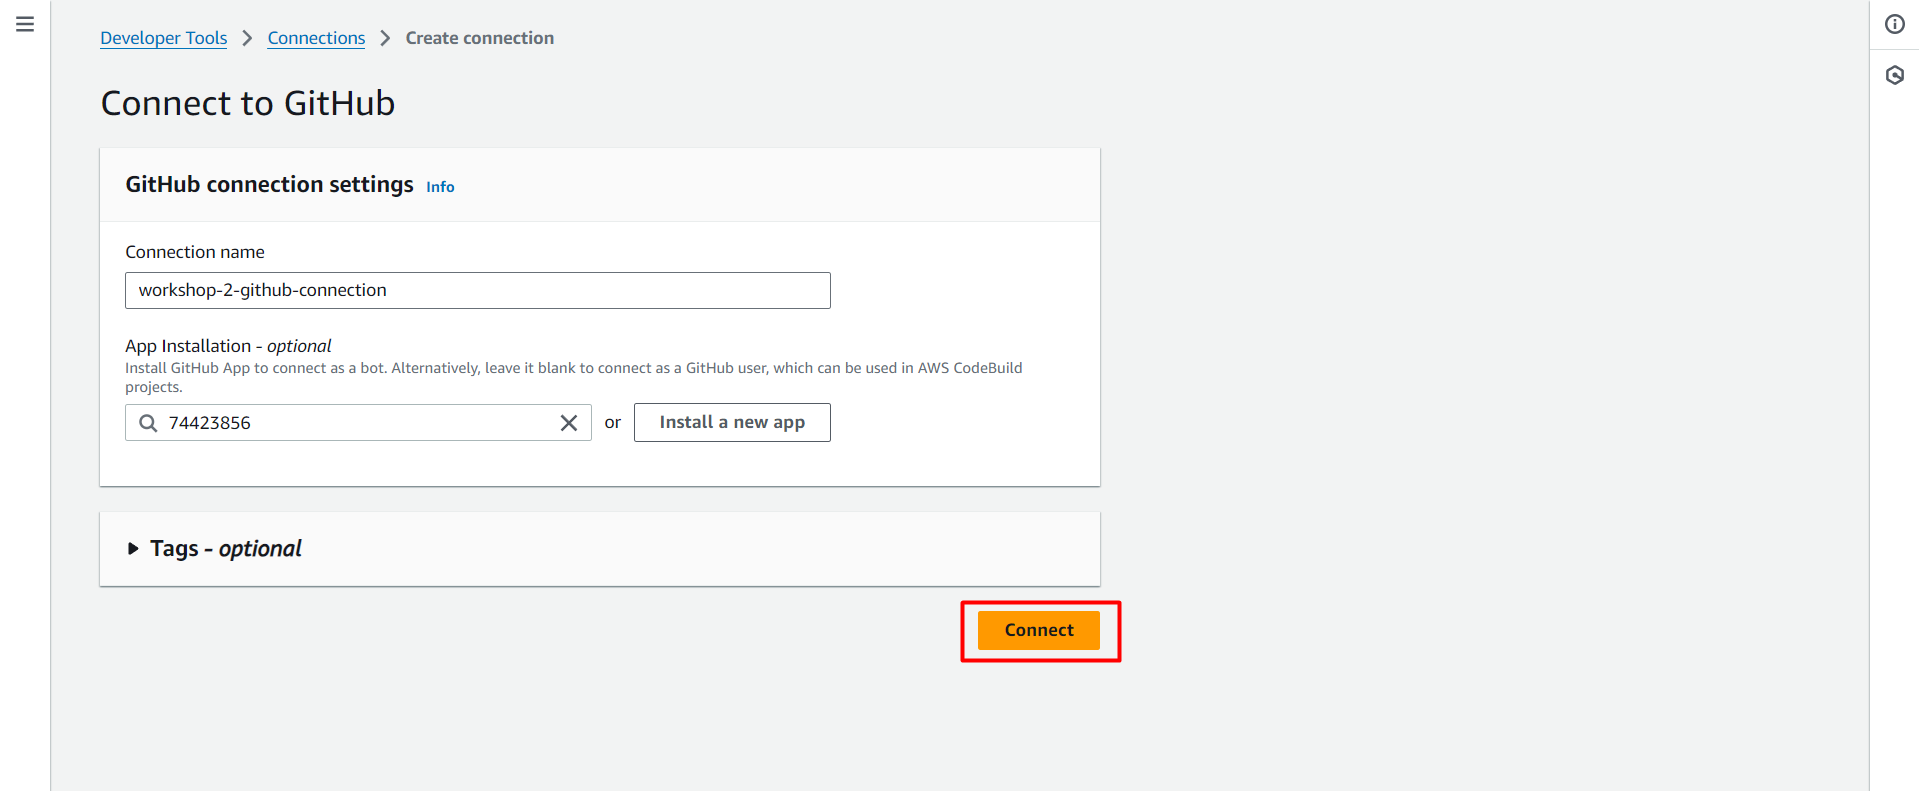
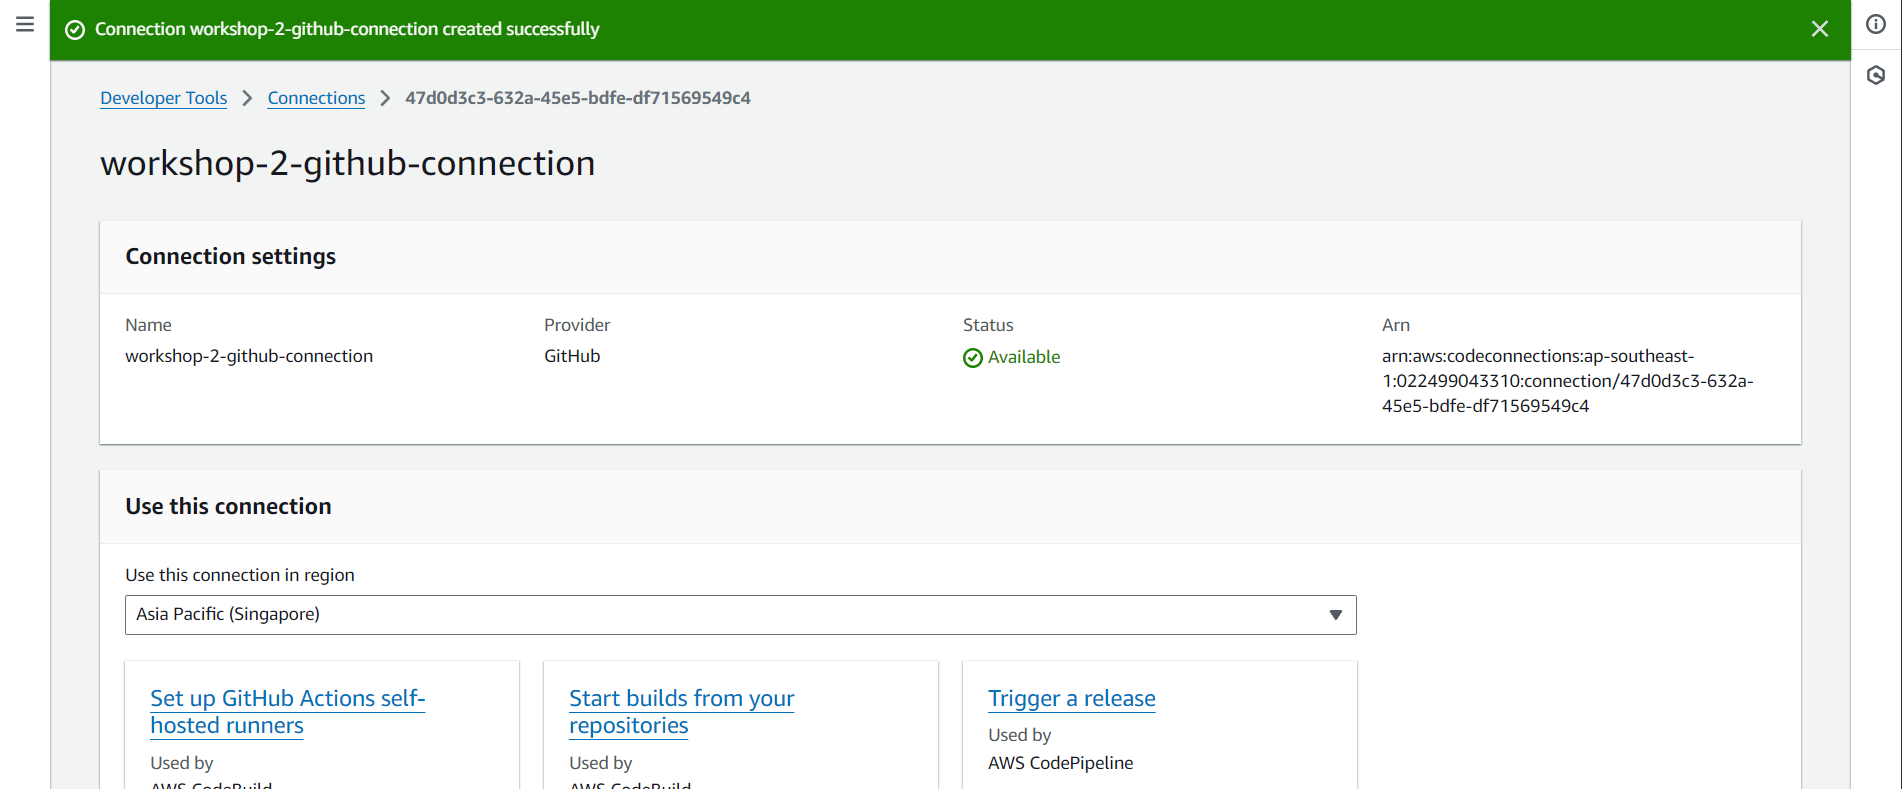
Thus, we have successfully created a connection with GitHub and can use it in CodeBuild.
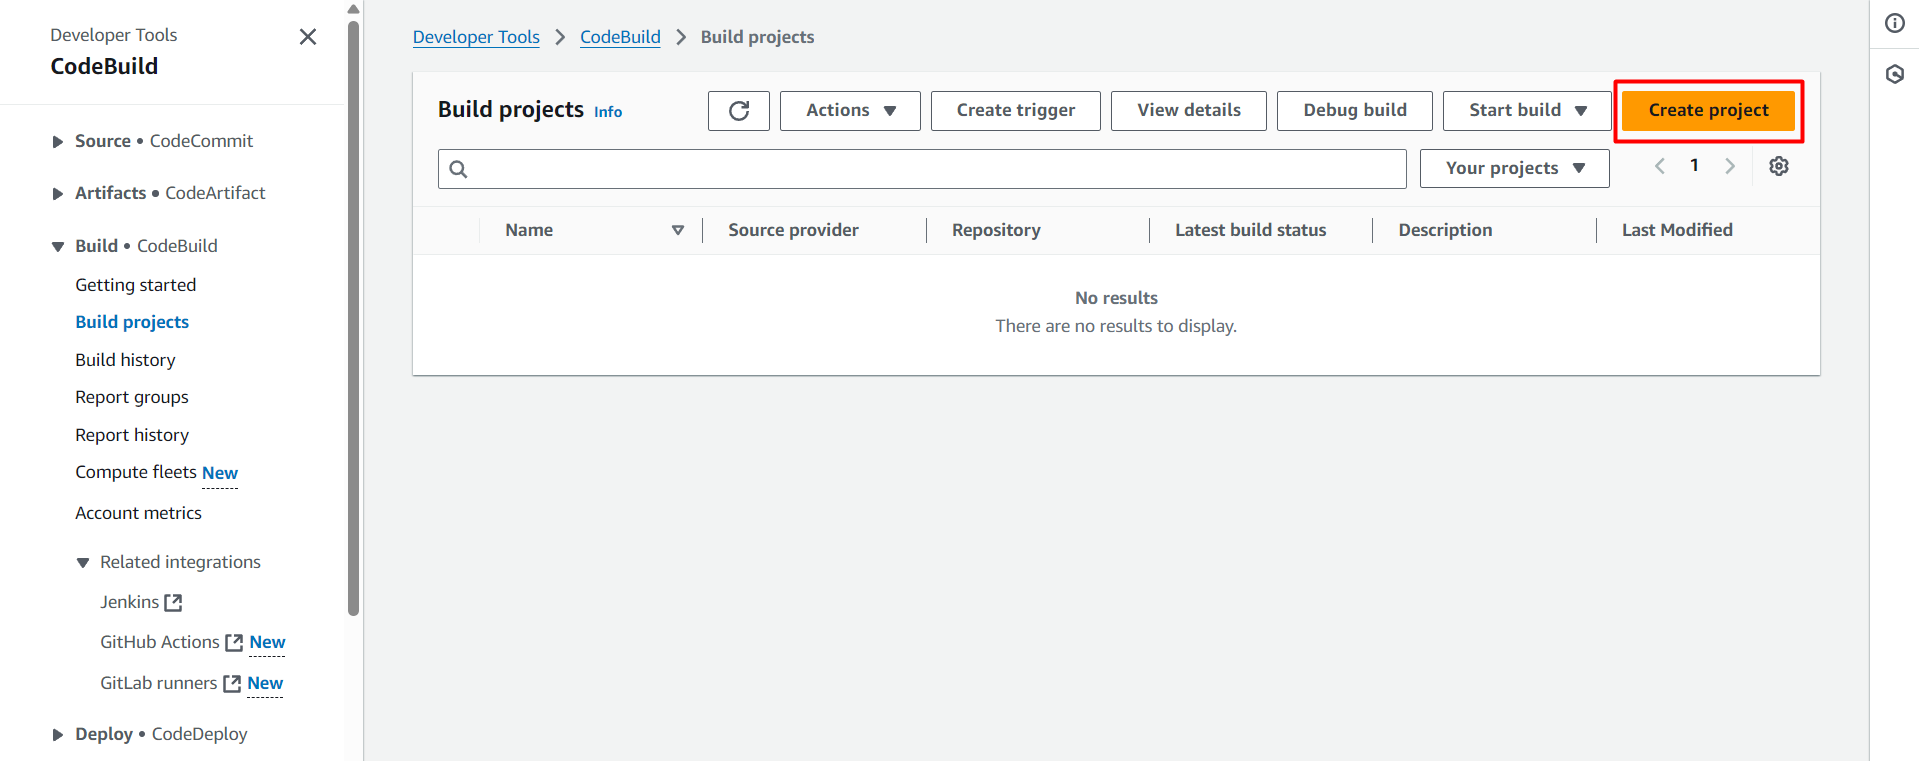
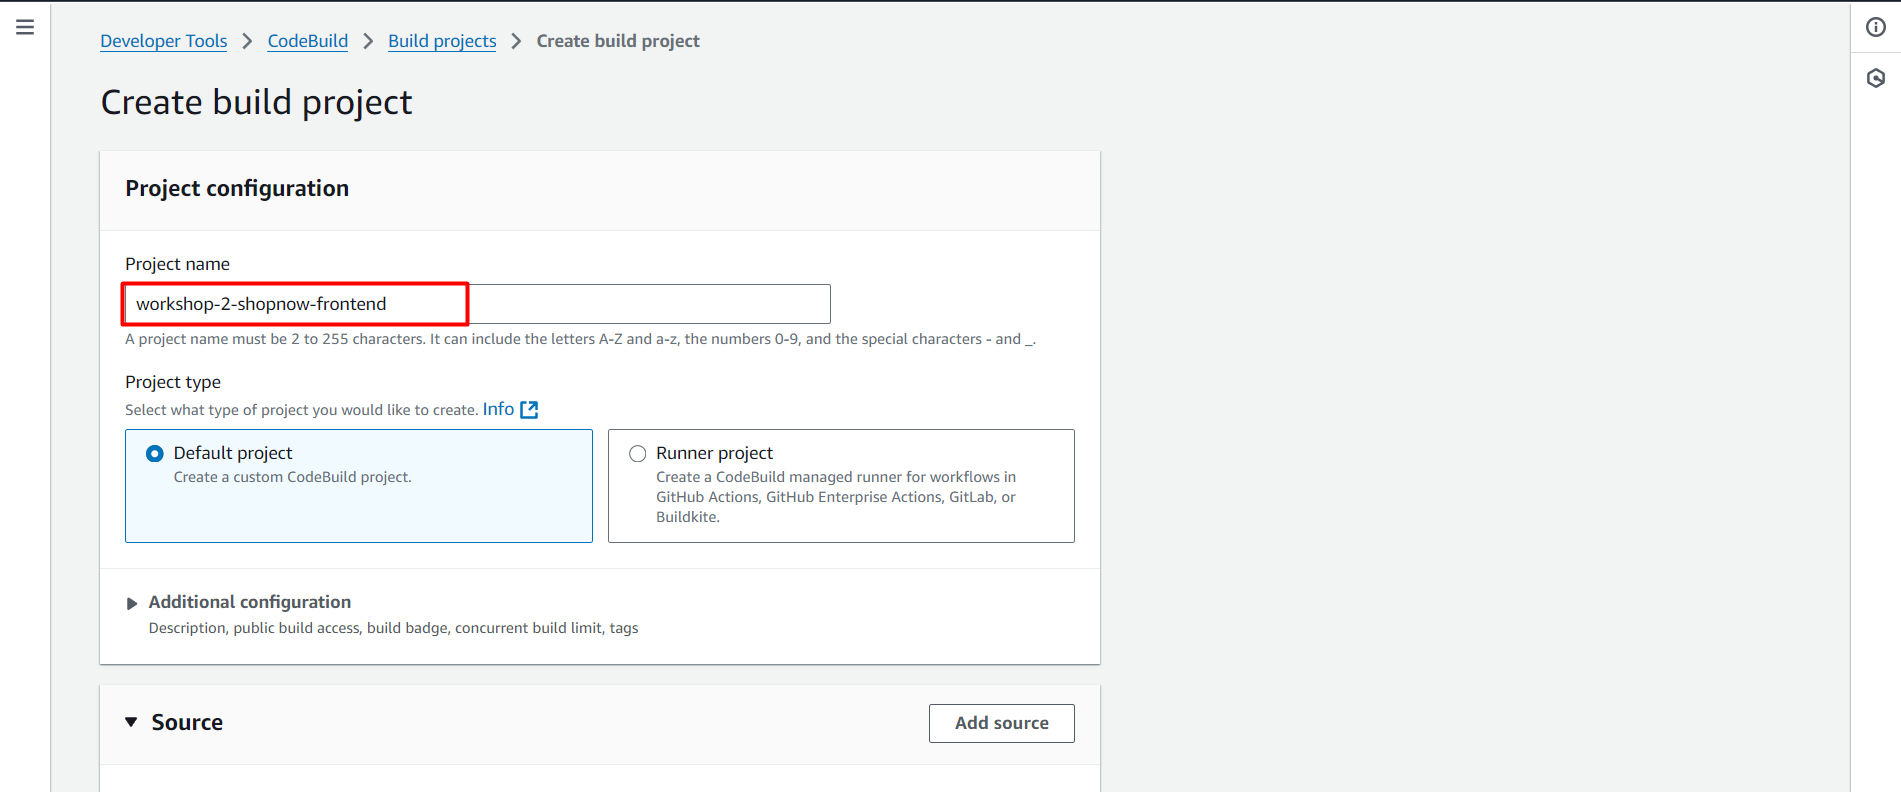
Configure CodeBuild Frontend
Access CodeBuild and create a new project named workshop-2-shopnow-frontend. Configure according to the following steps:
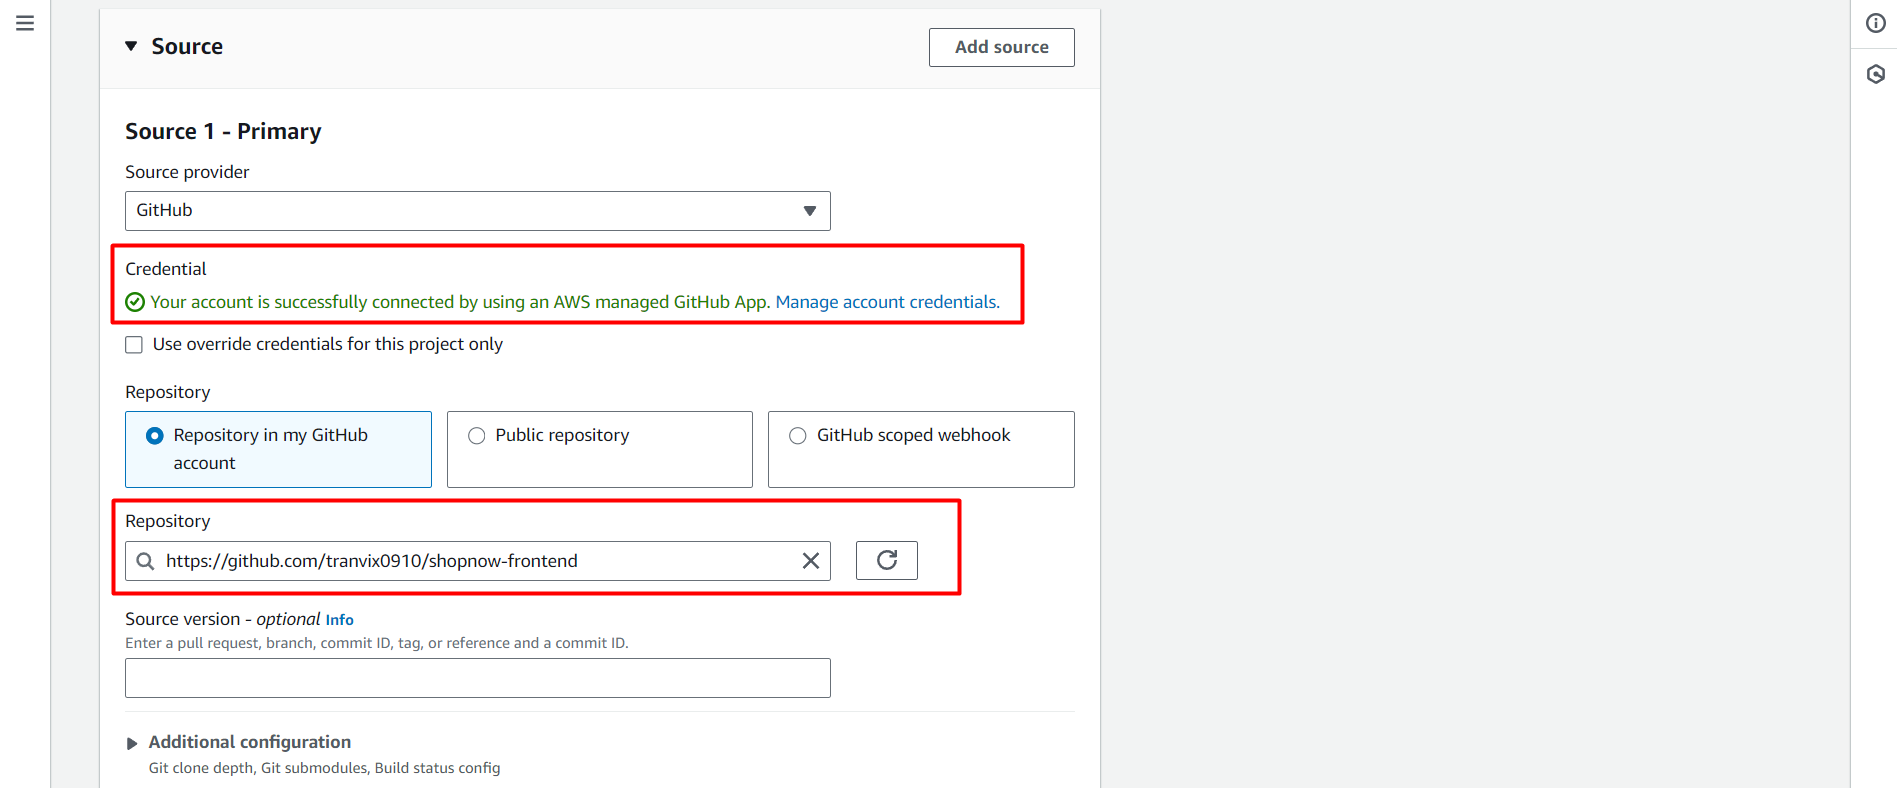
Configure Source with the Github Connection just created.
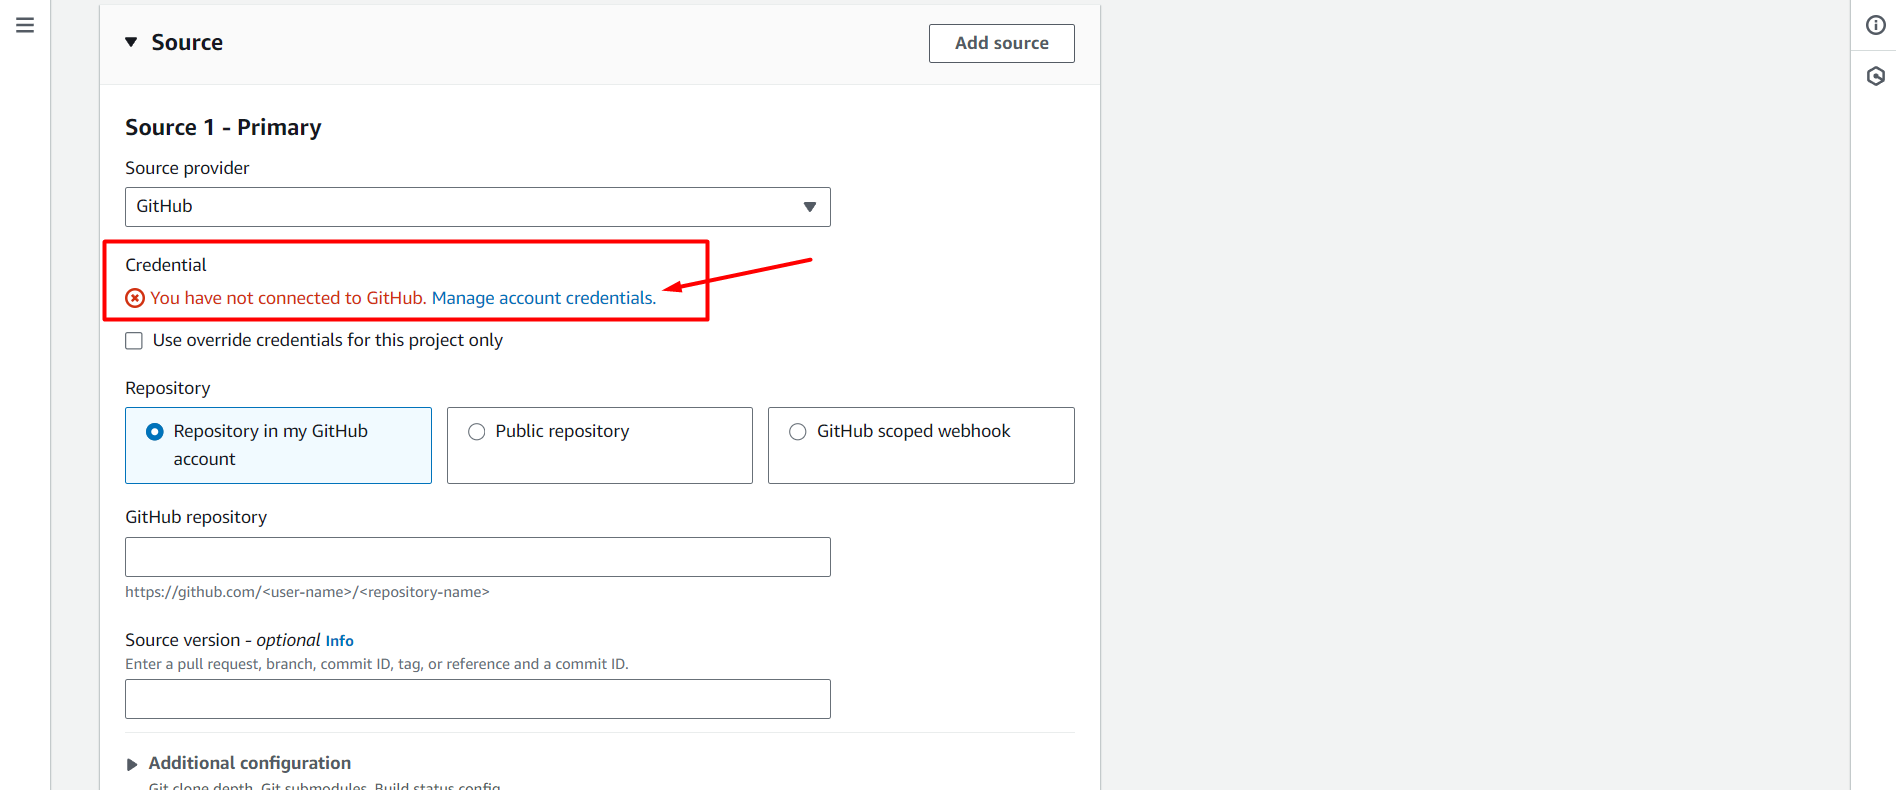
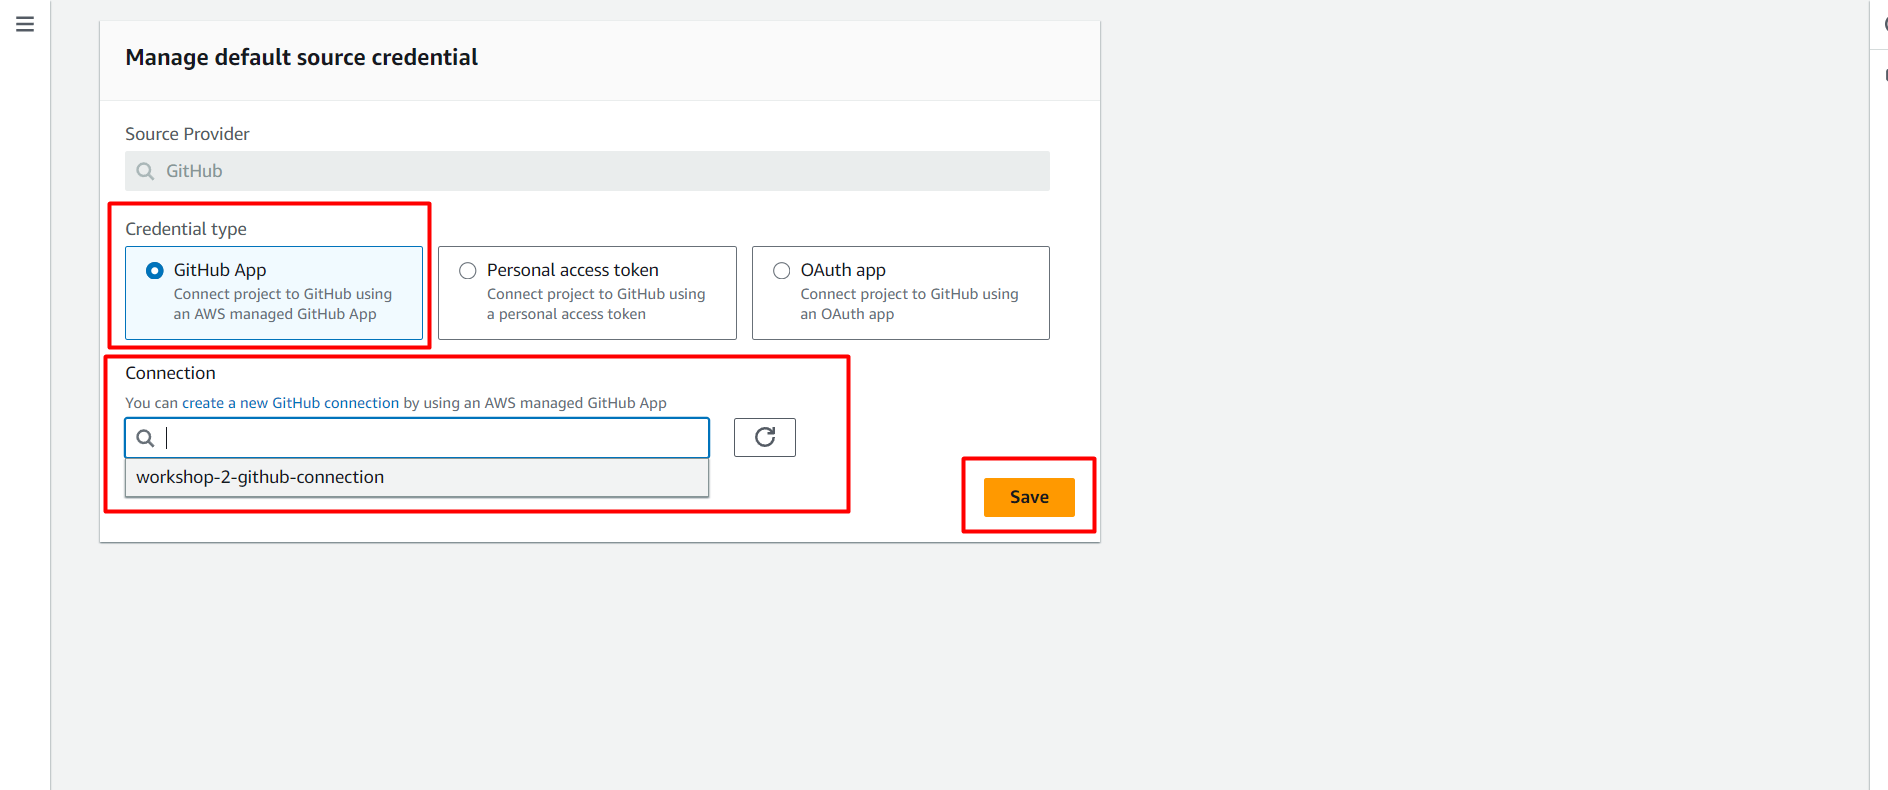
After clicking Manage account credentials, we will be redirected to another page and we will select the Github Connection just created.
Click Save and you will be notified of successful connection to Github as shown in the image.
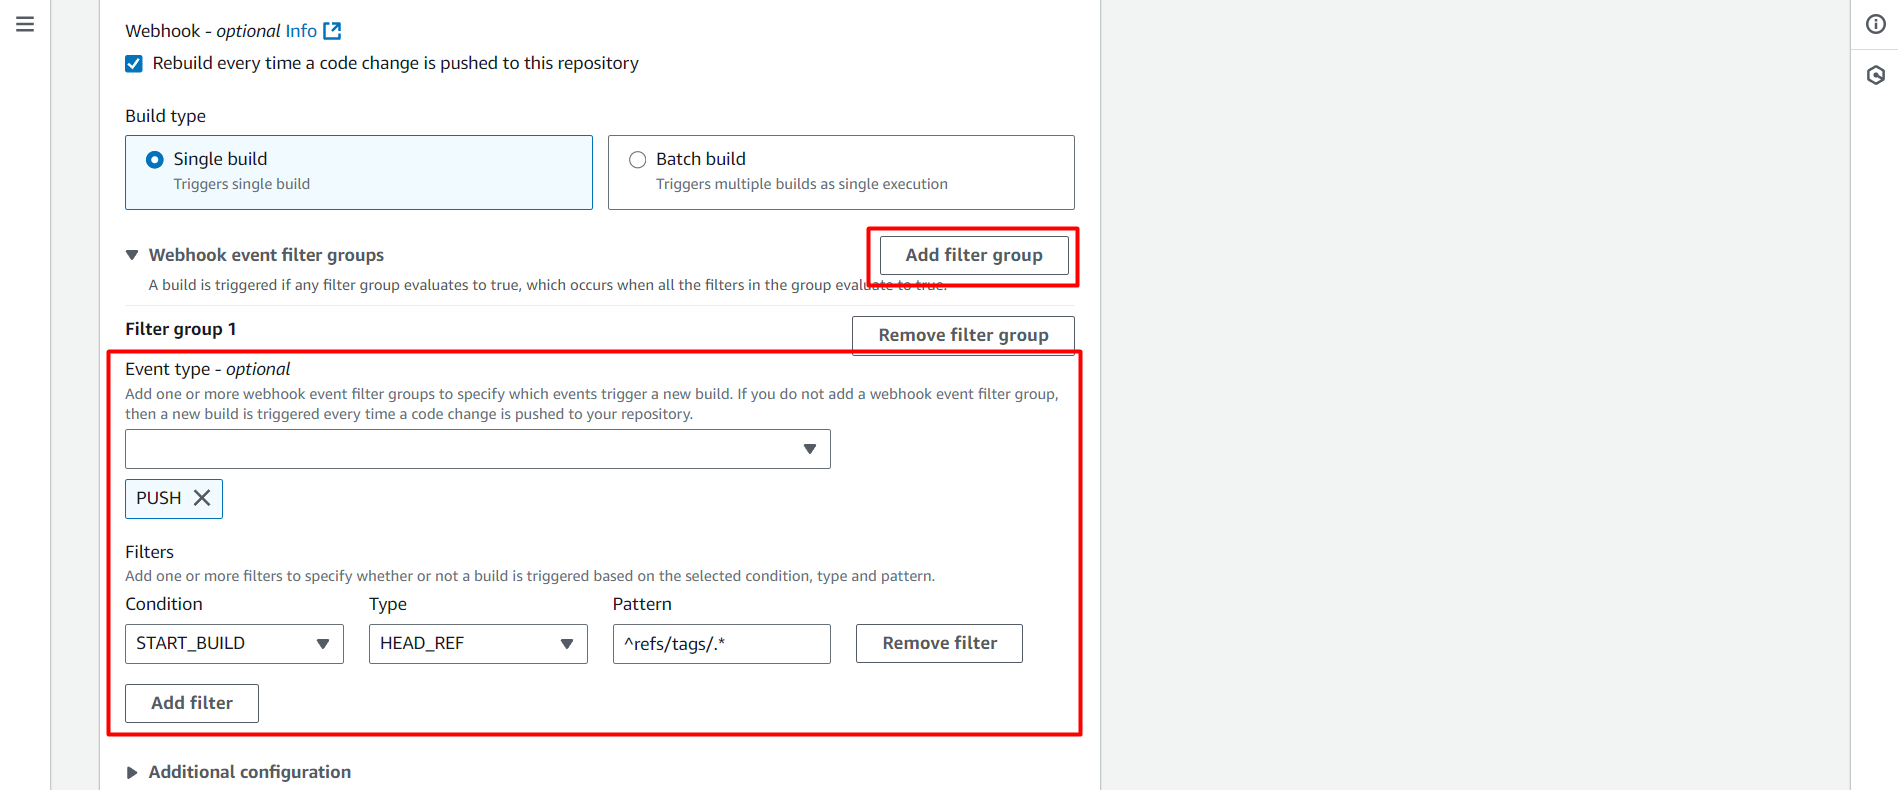
Next, we will configure the Trigger so that CodeBuild can automatically trigger when there is a new Tag in the GitHub repository.
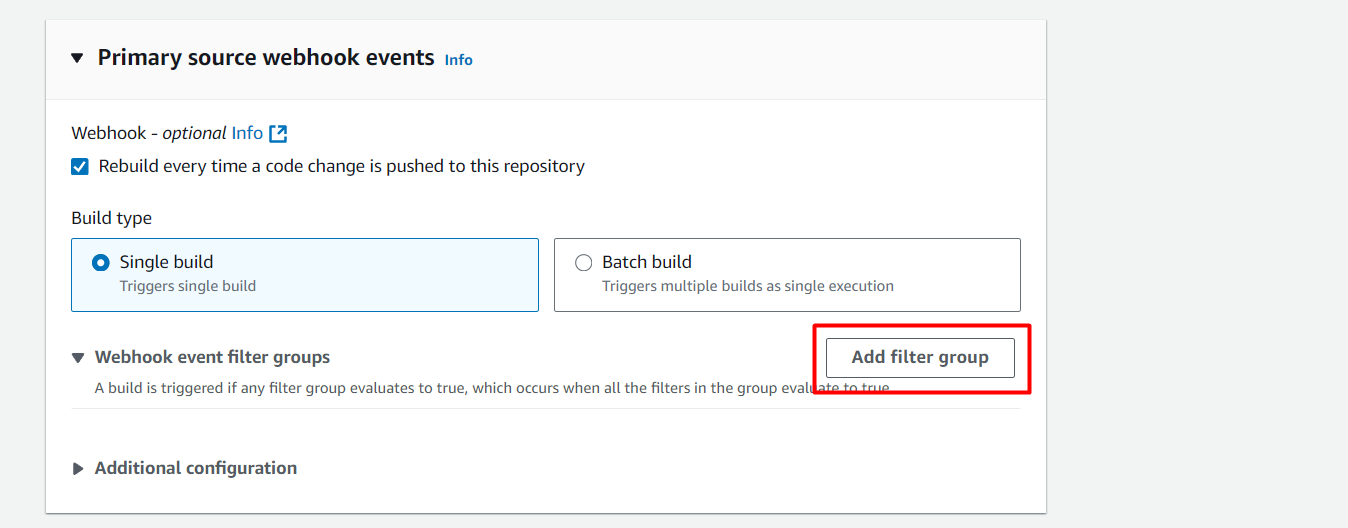
Event type: PUSH → Select the type of GitHub Webhook event that will trigger the build, here it’s when there’s a new push to the repo.
Filter group 1:
Condition:
START_BUILD→ Meaning the condition to start a new build.Type:
HEAD_REF→ Type of value to filter, here it’s HEAD_REF, corresponding to the branch or tag just pushed.Pattern:
^refs/tags/.*→ This regex will match all Git tags likerefs/tags/v1.0.0,refs/tags/release-1, etc.
Thus, when we push a tag like v1.0.0, CodeBuild will automatically trigger and build.

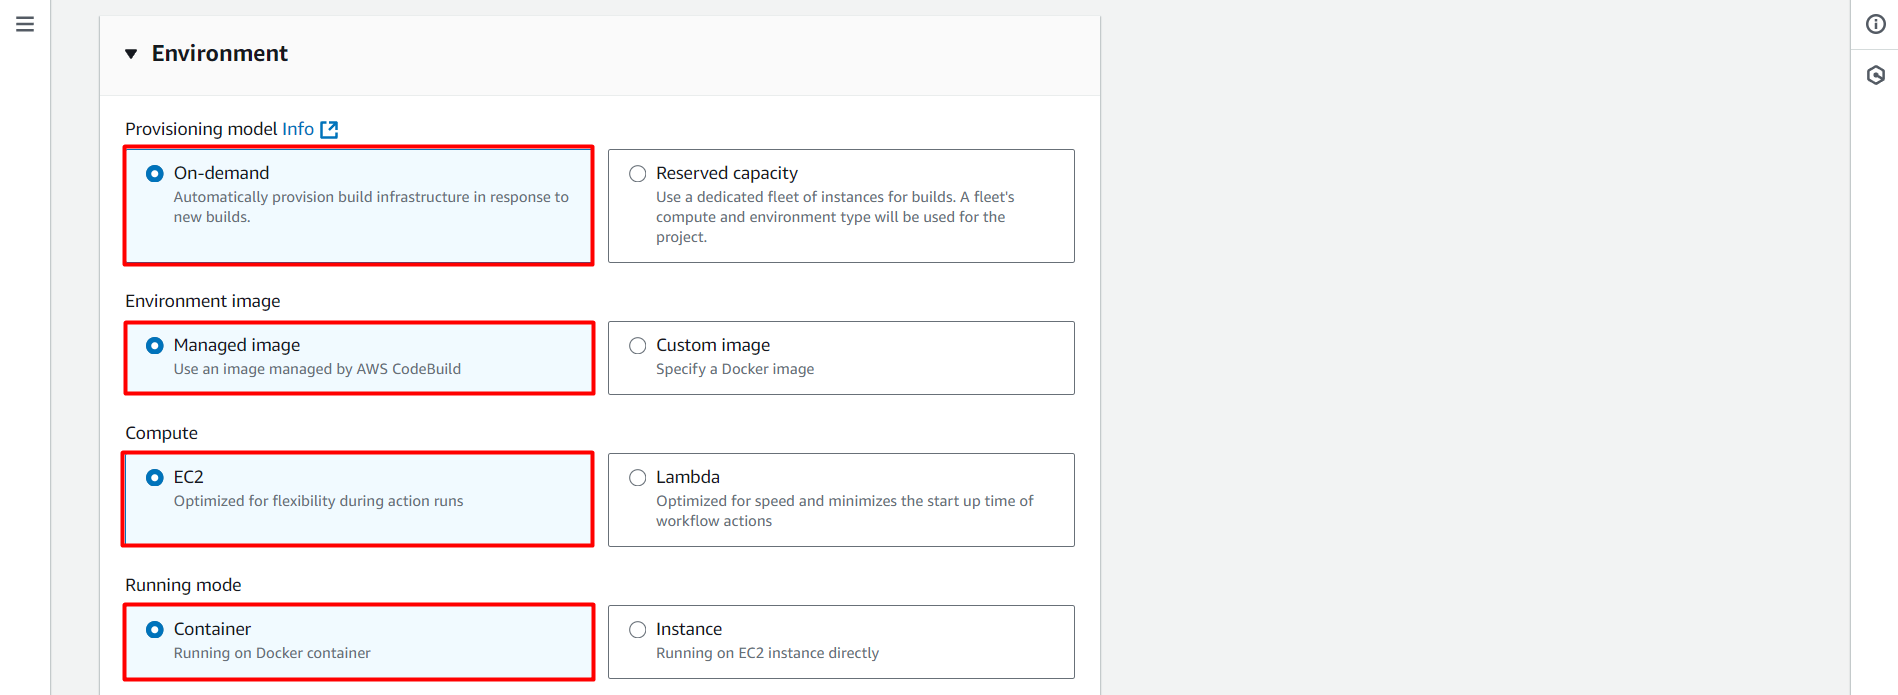
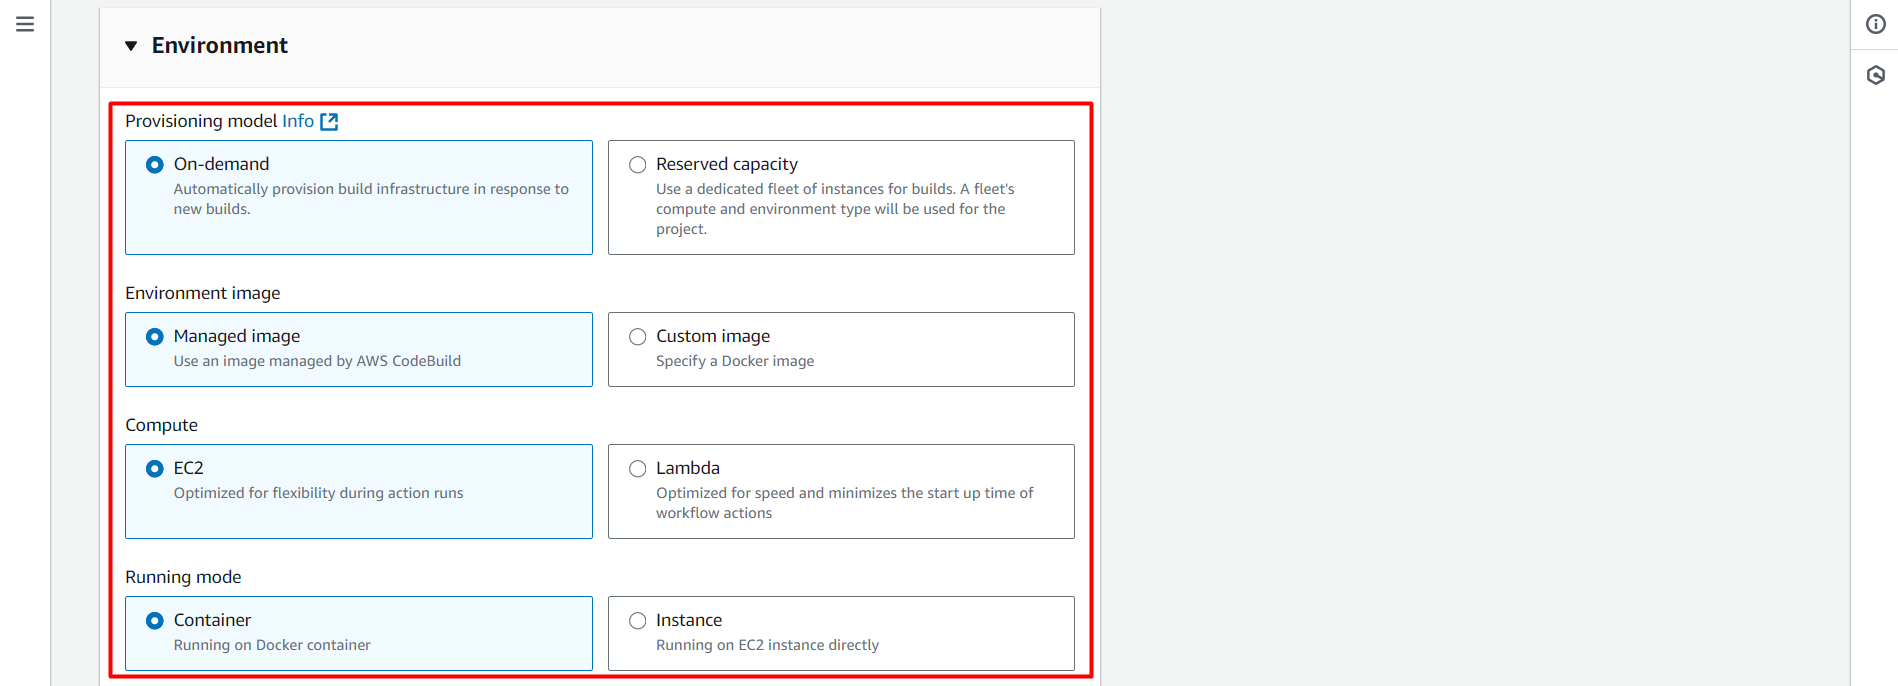
Next, we will configure the components as follows:
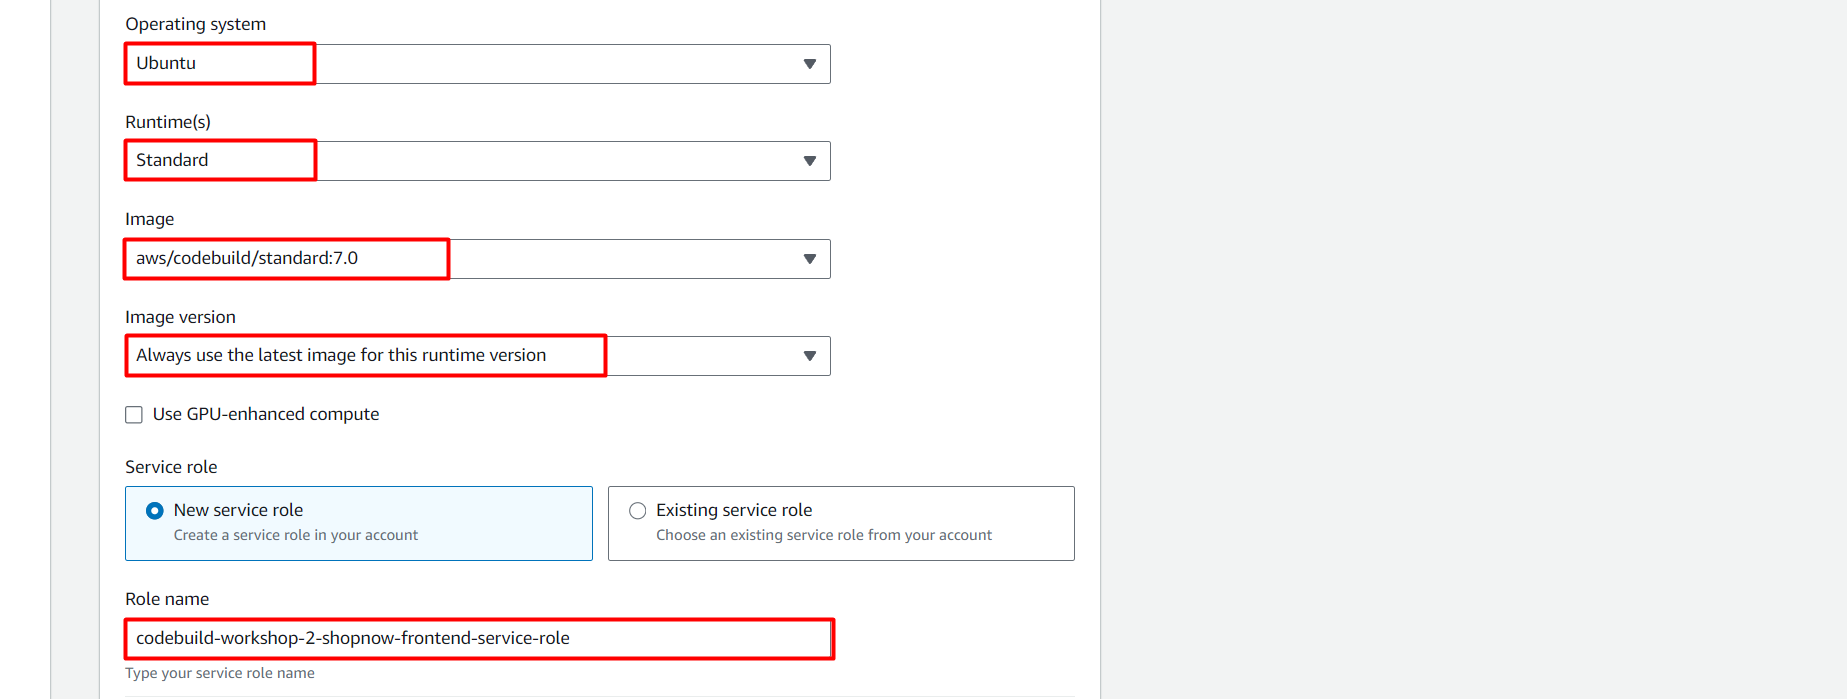
Note in the Role name section, we will add the Policy just created to this Role.
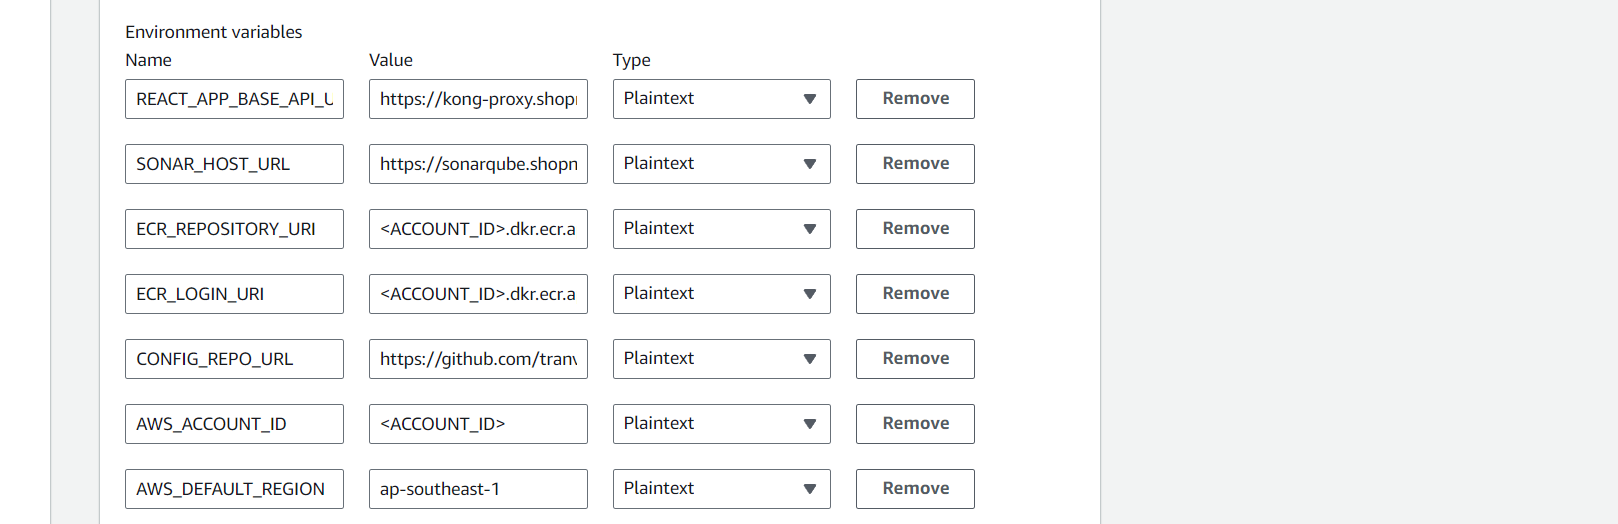
Next, we will configure the Environment with the necessary environment variables.
| Name | Value | Type |
|---|---|---|
| REACT_APP_BASE_API_URL | https://kong-proxy.tranvix.click/api | Plaintext |
| SONAR_HOST_URL | https://sonarqube.tranvix.click | Plaintext |
| ECR_REPOSITORY_URI | Plaintext | |
| ECR_LOGIN_URI | Plaintext | |
| CONFIG_REPO_URL | https://github.com/tranvix0910/shopnow-frontend-config.git | Plaintext |
| AWS_ACCOUNT_ID | Plaintext | |
| AWS_DEFAULT_REGION | ap-southeast-1 | Plaintext |
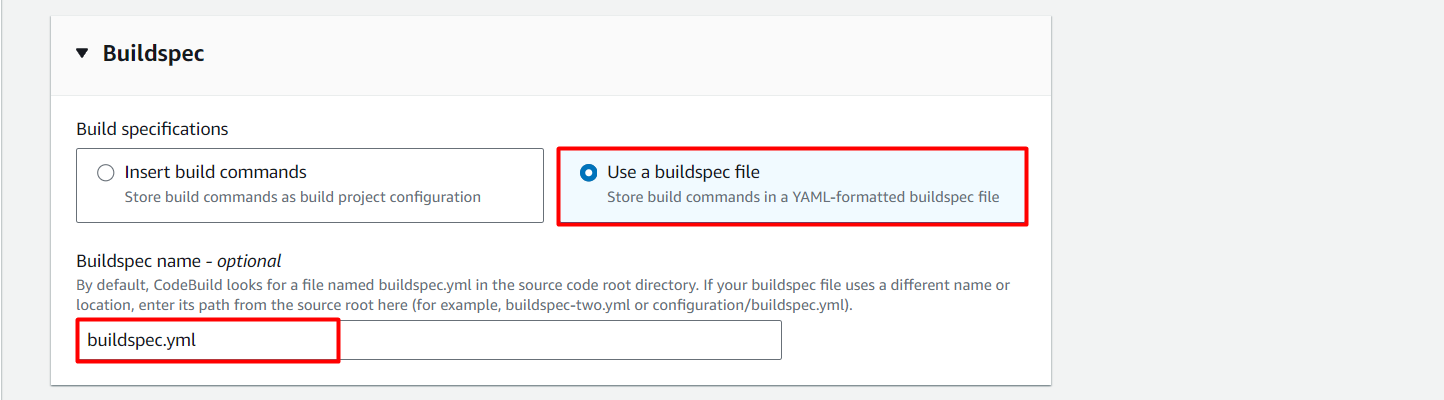
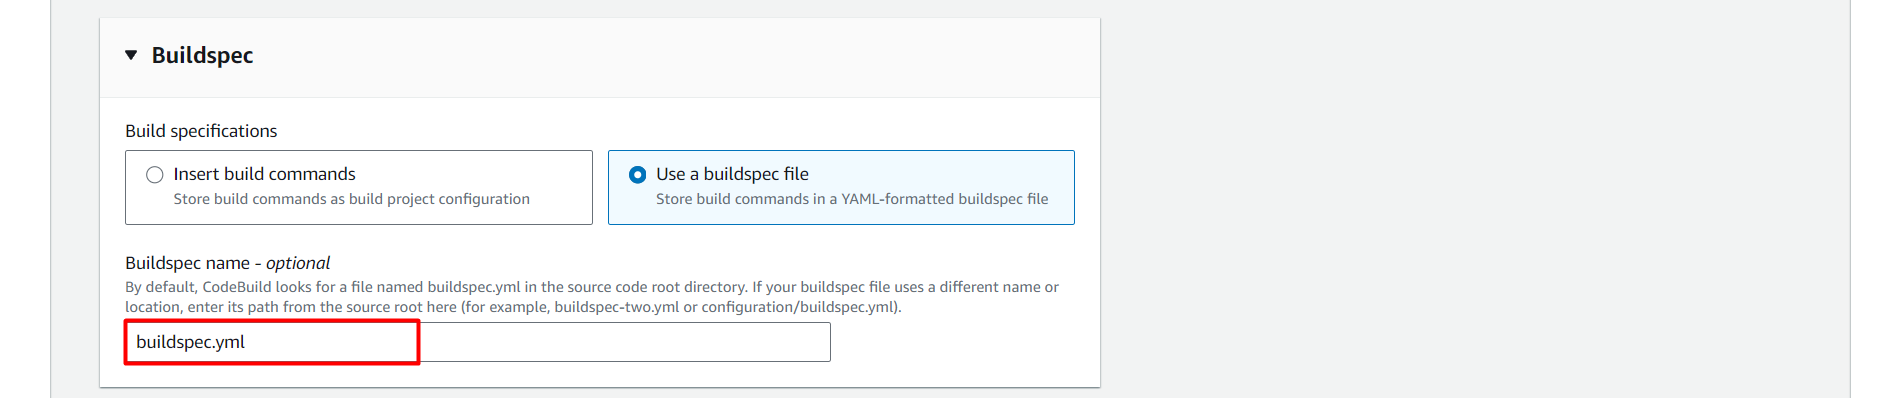
At this step, we will choose how to configure the build steps for CodeBuild. AWS provides two options:
Insert build commands: Write build commands directly in the project configuration interface.Use a buildspec file: Use a YAML file named buildspec.yml containing all build commands — this is the optimal way and can be controlled by Git.
Since we will define the pipeline in the buildspec.yml file placed in the root of the source code, please select:
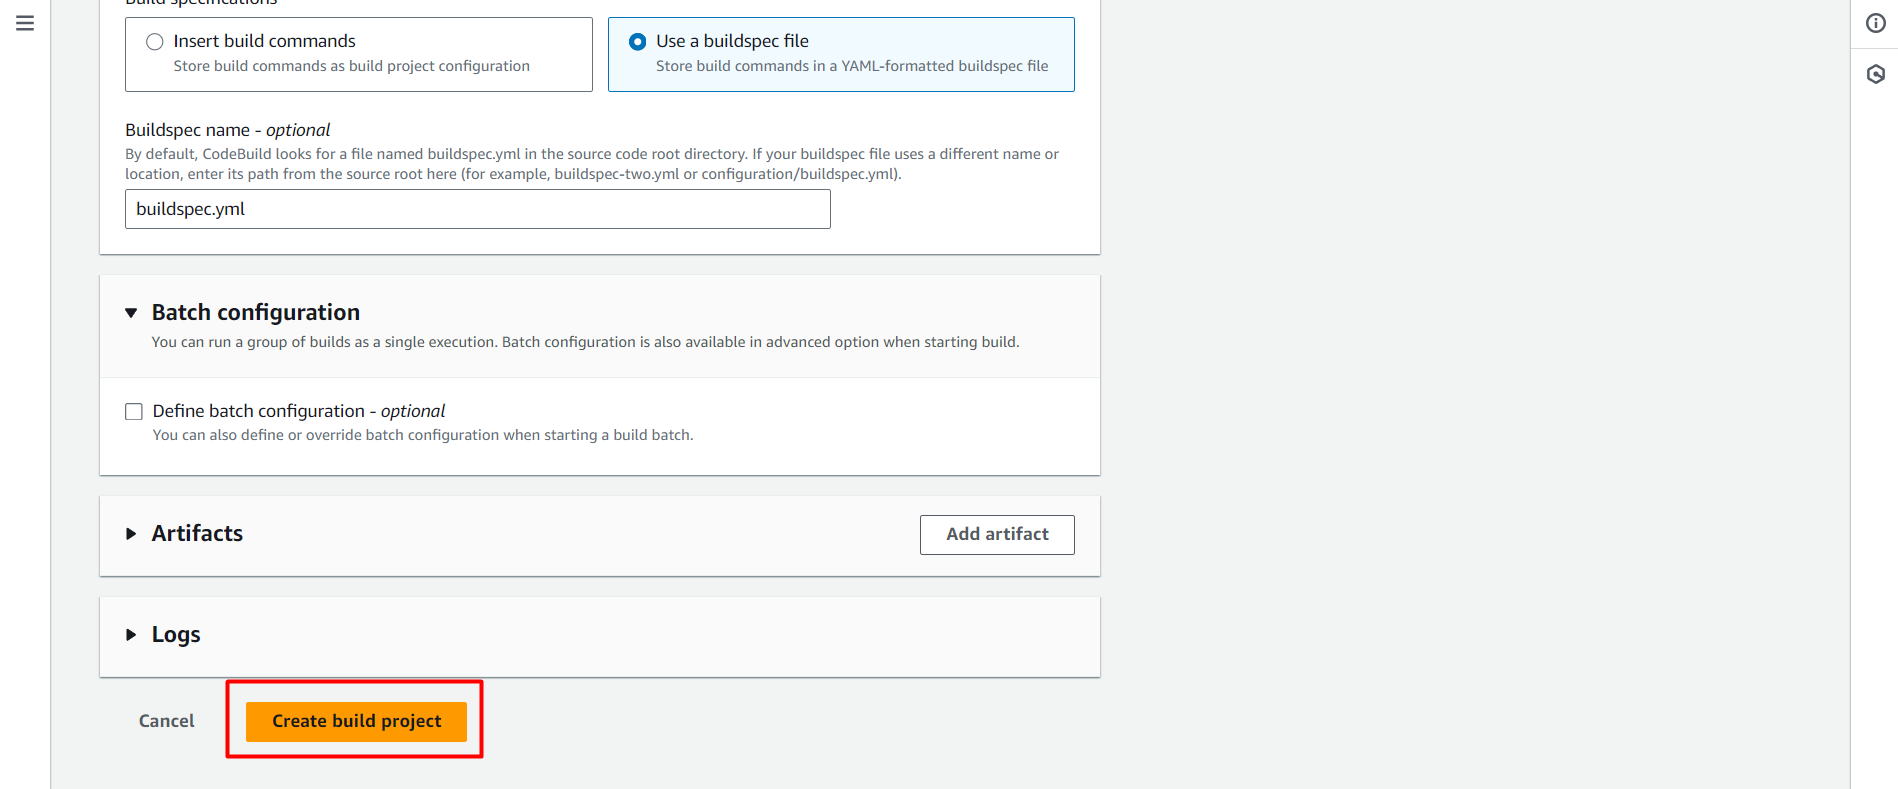
Thus, we have successfully created the CodeBuild Project.
After creating the Project, proceed to assign the IAM Policy to the CodeBuild Role.
aws iam attach-role-policy --role-name codebuild-workshop-2-shopnow-frontend-service-role --policy-arn arn:aws:iam::<ACCOUNT_ID>:policy/workshop-2-shopnow-codebuild-policy

Thus, we have successfully created the CodeBuild project for Frontend.
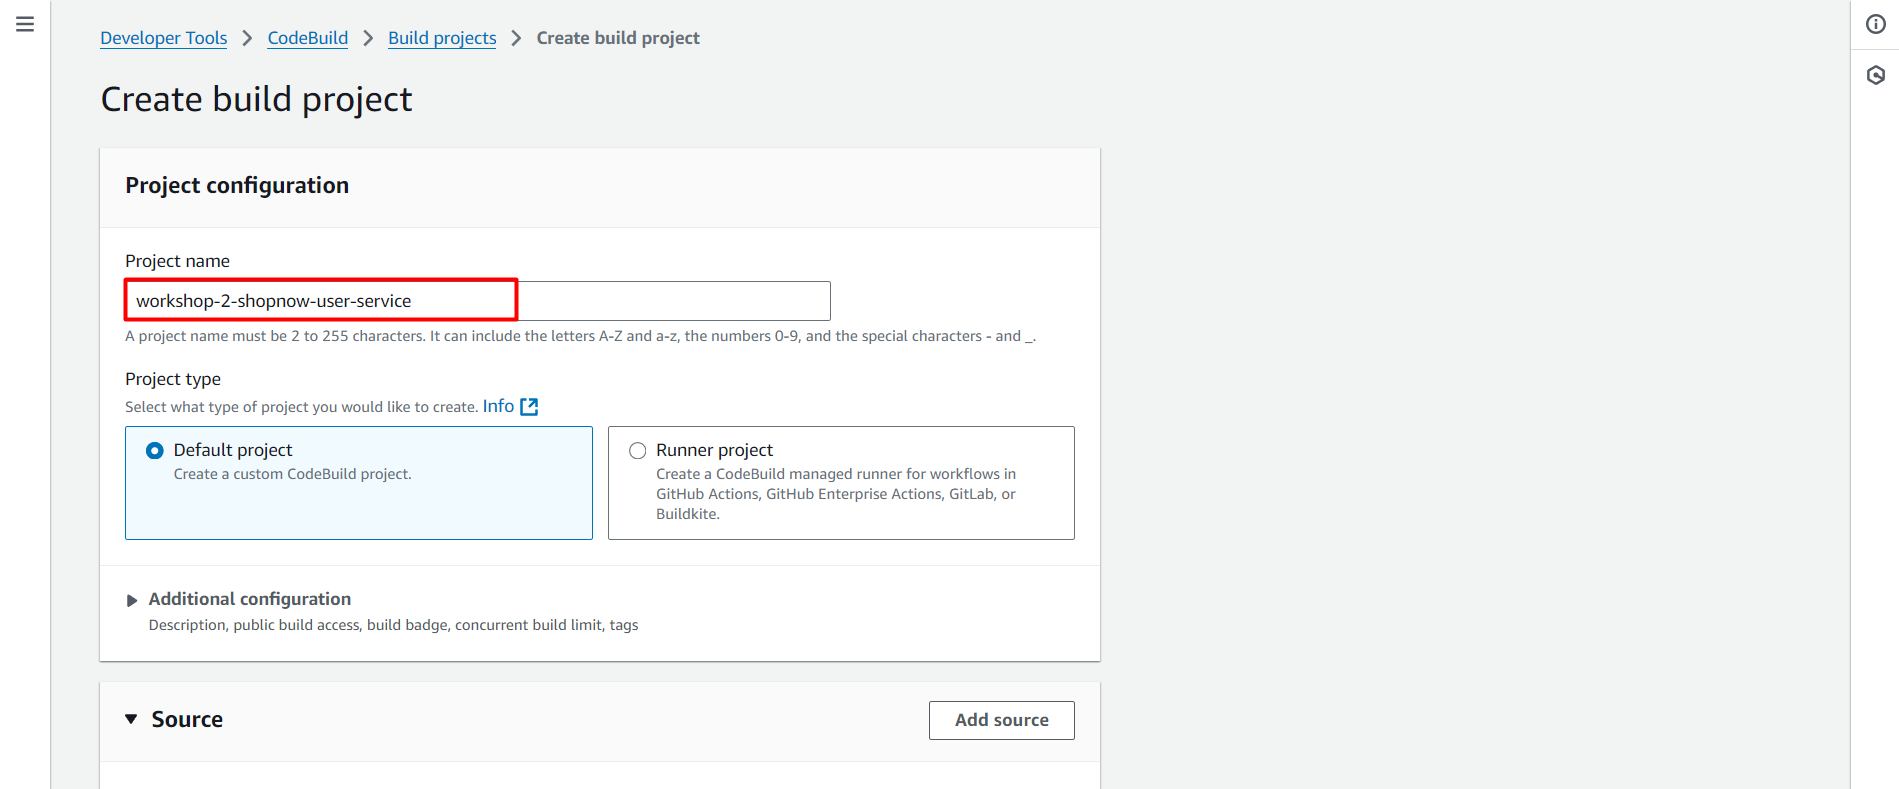
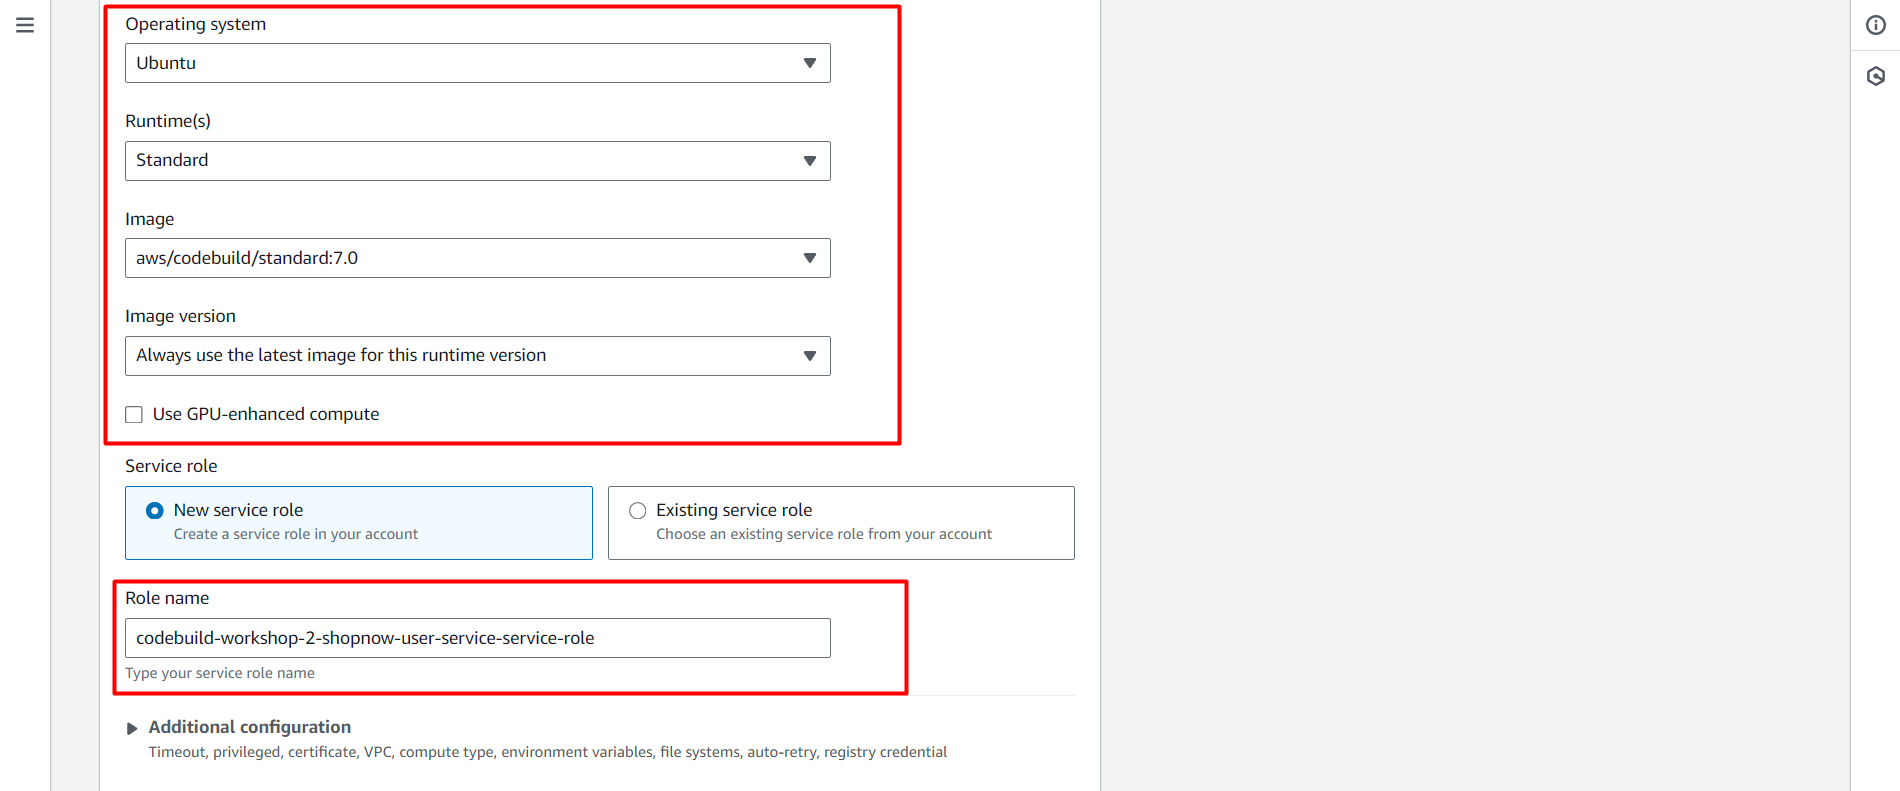
Configure CodeBuild for User Service
Create a CodeBuild project named workshop-2-shopnow-user-service.
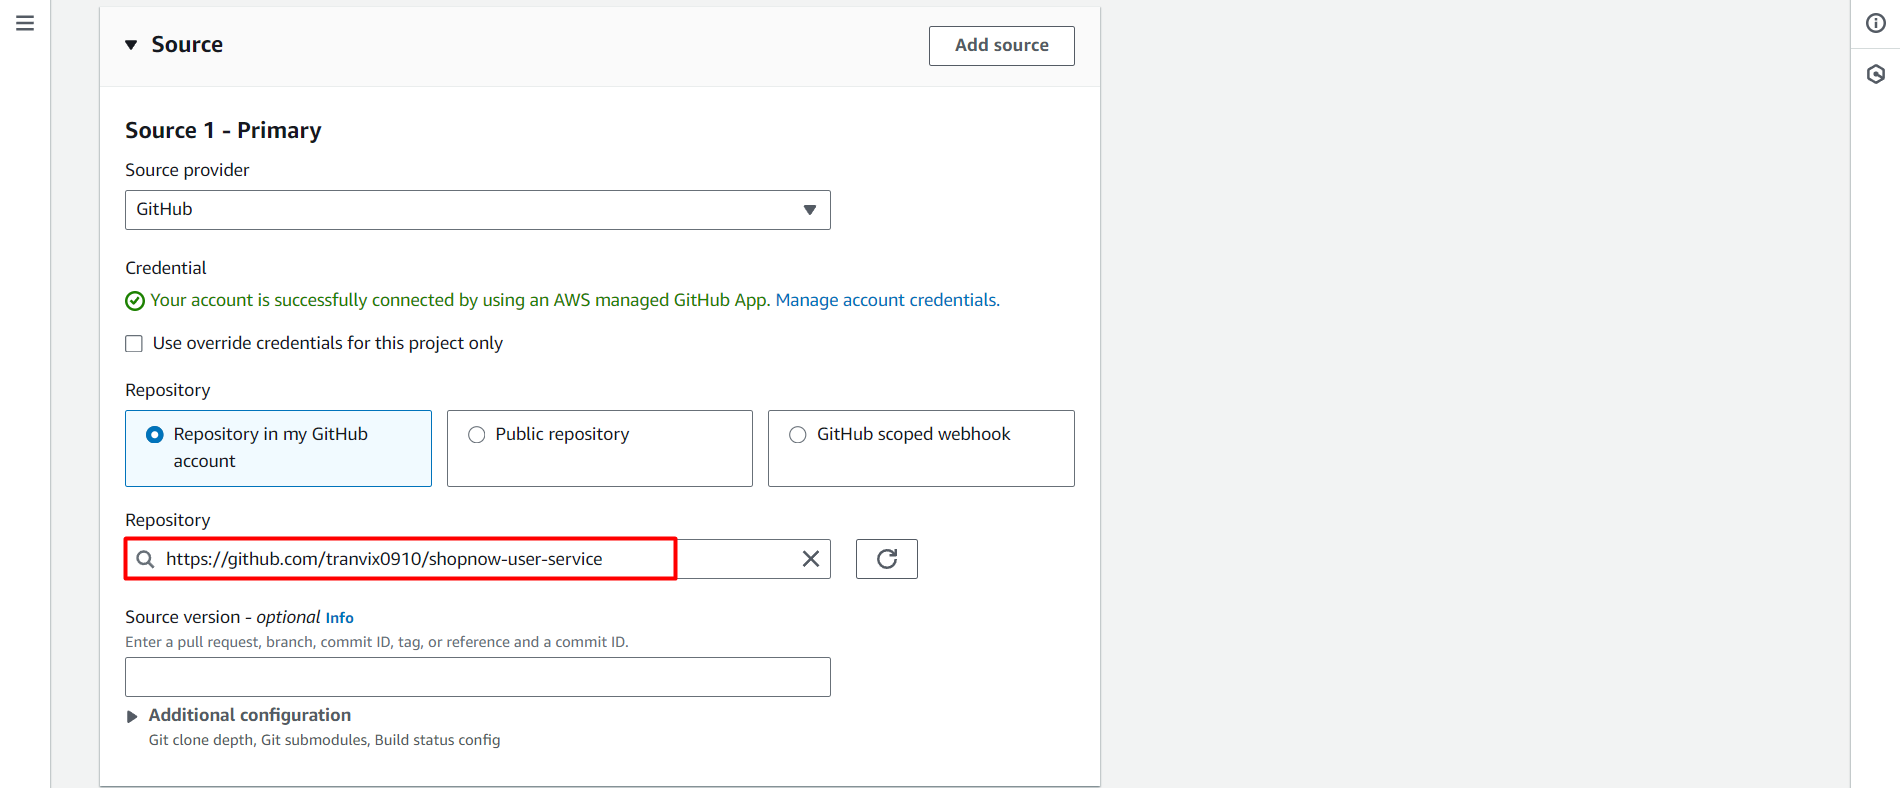
Select the Repository containing the User Service source code.
Configure CodeBuild to only Trigger when a Tag is created.
Configure Environment with the necessary environment variables.
| Name | Value | Type |
|---|---|---|
| SONAR_HOST_URL | https://sonarqube.tranvix.click | Plaintext |
| ECR_REPOSITORY_URI | Plaintext | |
| ECR_LOGIN_URI | Plaintext | |
| CONFIG_REPO_URL | https://github.com/tranvix0910/shopnow-backend-config.git | Plaintext |
| AWS_ACCOUNT_ID | Plaintext | |
| AWS_DEFAULT_REGION | ap-southeast-1 | Plaintext |

Proceed to add Policy to the CodeBuild Role.
aws iam attach-role-policy --role-name codebuild-workshop-2-user-service-service-role --policy-arn arn:aws:iam::022499043310:policy/workshop-2-shopnow-codebuild-policy
Thus, we have successfully created the CodeBuild project for User Service.
The remaining Services are configured similarly, just need to select the correct Repository and configure Trigger and Environment appropriately.