Kong Gateway Deployment
Install Kong Gateway
We will install Kong Gateway using Helm Chart.
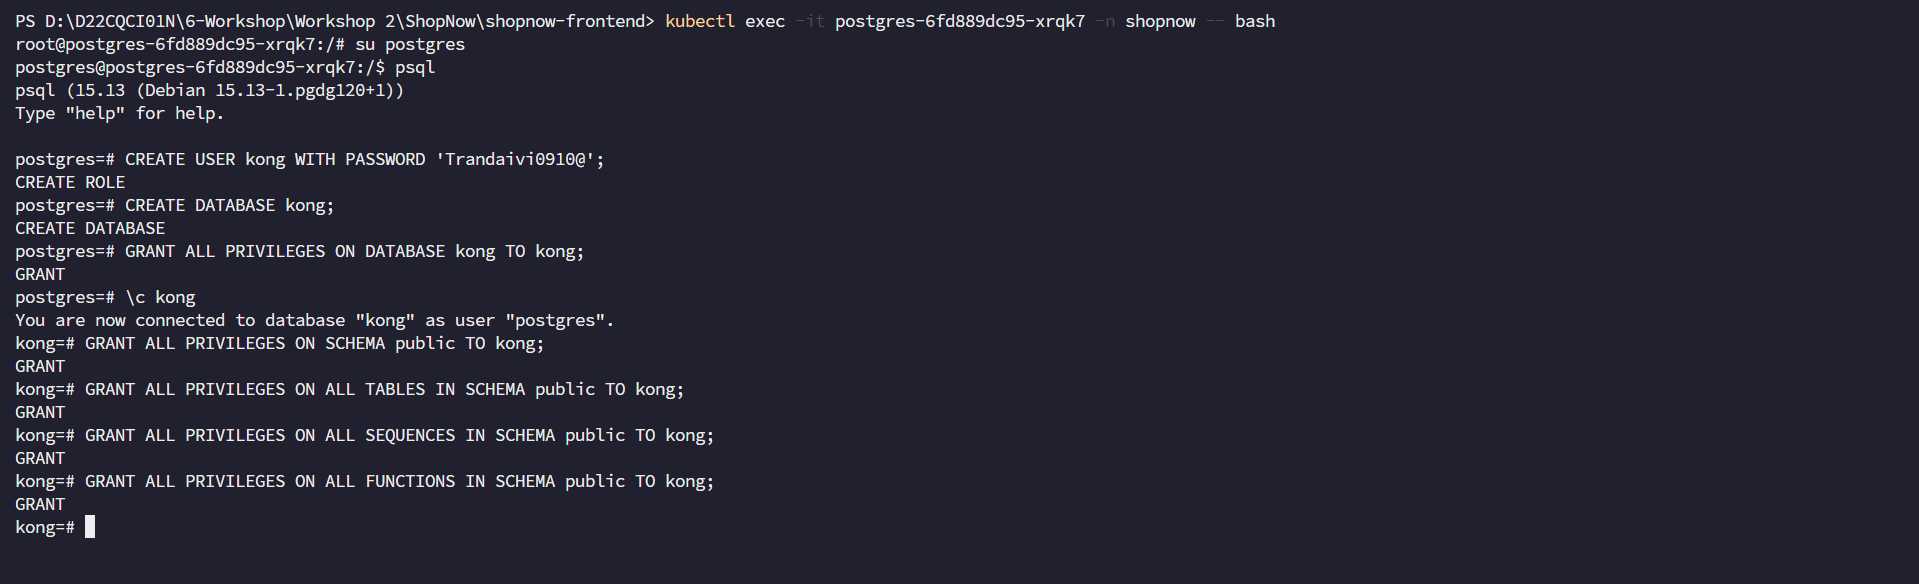
First, we need to access the PostgreSQL Database and create the necessary User and Database.
CREATE USER kong WITH PASSWORD 'Trandaivi0910@';

CREATE DATABASE kong;

GRANT ALL PRIVILEGES ON DATABASE kong TO kong;

\c kong

GRANT ALL PRIVILEGES ON SCHEMA public TO kong;

GRANT ALL PRIVILEGES ON ALL TABLES IN SCHEMA public TO kong;

GRANT ALL PRIVILEGES ON ALL SEQUENCES IN SCHEMA public TO kong;

GRANT ALL PRIVILEGES ON ALL FUNCTIONS IN SCHEMA public TO kong;
Create the values.yaml file with the following content:
namespace: kong

ingressController:
  enabled: true

proxy:
  type: ClusterIP
  http:
    enabled: true
    servicePort: 8000
  tls:
    enabled: true
    servicePort: 8443
    containerPort: 8443

admin:
  enabled: true
  type: ClusterIP

  http:
    enabled: true
    servicePort: 8001
    containerPort: 8001
  tls:
    enabled: true
    servicePort: 8444
    containerPort: 8444
  ingress:
    enabled: false

env:
  admin_gui_url: "https://kong-manager.tranvix.click"
  admin_gui_api_url: "https://kong-admin.tranvix.click"

  database: postgres
  pg_database: kong
  pg_user: kong
  pg_password: Trandaivi0910@
  pg_host: postgres.shopnow.svc.cluster.local

manager:
  enabled: true
  type: ClusterIP
  http:
    enabled: true
    servicePort: 8002
    containerPort: 8002
  tls:
    enabled: true
    servicePort: 8445
    containerPort: 8445
  ingress:
    enabled: false
The Ingress will be created after successfully installing Kong Gateway. So the values.yaml file will configure ingress as false.
Add Repository to Helm.
helm repo add kong https://charts.konghq.com

helm repo update
Create Namespace kong and install Kong Gateway.
kubectl create namespace kong
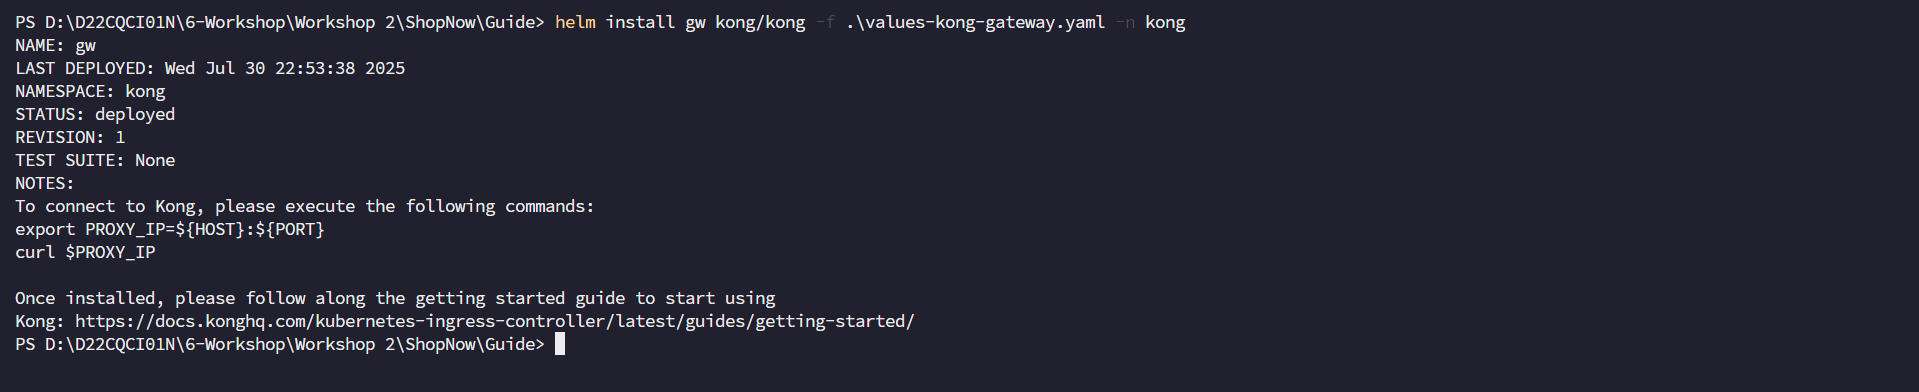
Install Kong Gateway.
helm install gw kong/kong -f values.yaml -n kong
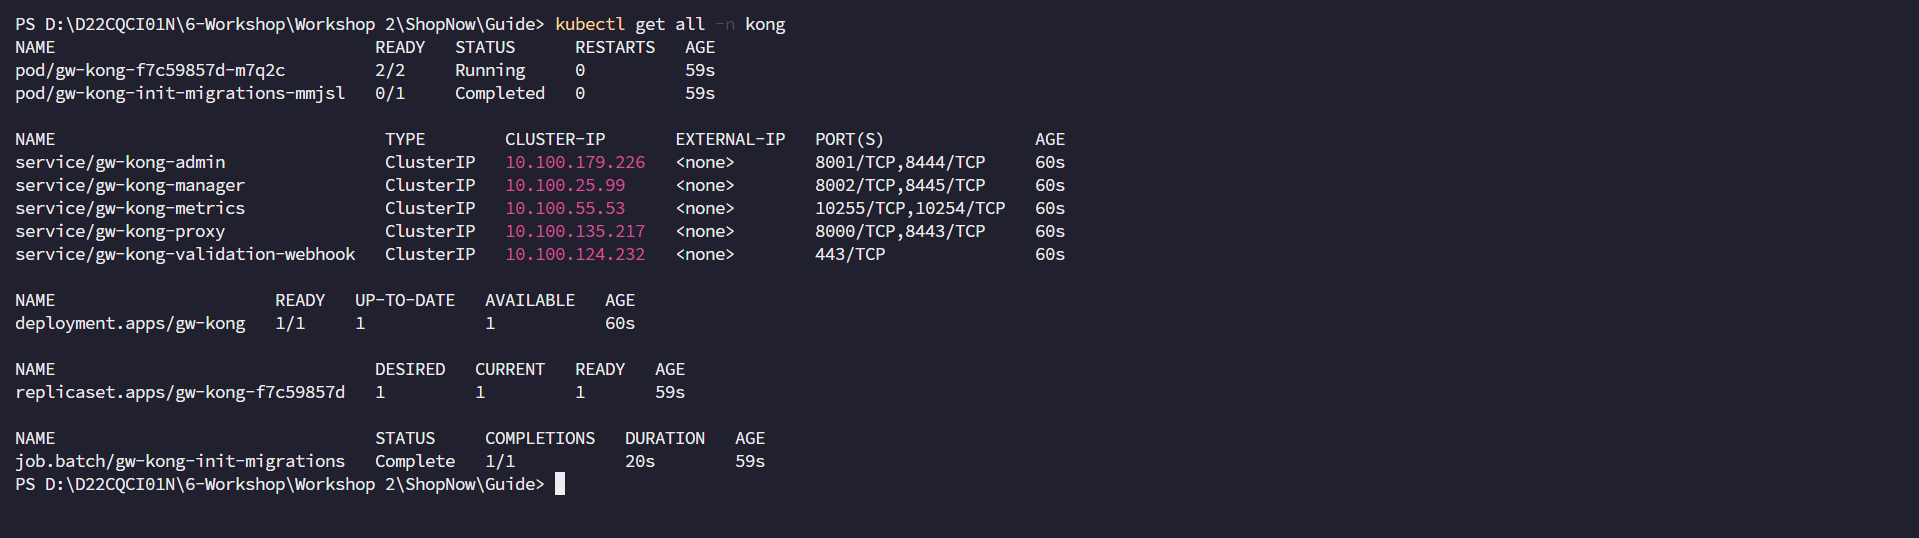
Check Kong Gateway.
kubectl get all -n kong
Create Ingress for Kong Gateway.
apiVersion: networking.k8s.io/v1
kind: Ingress
metadata:
  name: kong-manager-ingress
  namespace: kong
  annotations:
    alb.ingress.kubernetes.io/actions.ssl-redirect: >-
      {"Type": "redirect", "RedirectConfig": {"Protocol": "HTTPS", "Port":
      "443", "Host": "#{host}", "Path": "/#{path}", "Query": "#{query}",
      "StatusCode": "HTTP_301"}}
    alb.ingress.kubernetes.io/certificate-arn: >-
      arn:aws:acm:ap-southeast-1:022499043310:certificate/506d551a-b534-4f5b-af8f-5e8cedfe0e0b
    alb.ingress.kubernetes.io/group.name: shopnow
    alb.ingress.kubernetes.io/listen-ports: '[{"HTTP": 80}, {"HTTPS":443}]'
    alb.ingress.kubernetes.io/scheme: internet-facing
    alb.ingress.kubernetes.io/subnets: subnet-0b78796b583490b19, subnet-0e57056ac64de1902, subnet-0501cacaf96e89a09
    alb.ingress.kubernetes.io/target-type: ip
spec:
  ingressClassName: alb
  rules:
    - host: kong-manager.tranvix.click
      http:
        paths:
          - backend:
              service:
                name: gw-kong-manager
                port:
                  number: 8002
            path: /
            pathType: Prefix
---
apiVersion: networking.k8s.io/v1
kind: Ingress
metadata:
  name: kong-admin-ingress
  namespace: kong
  annotations:
    alb.ingress.kubernetes.io/actions.ssl-redirect: >-
      {"Type": "redirect", "RedirectConfig": {"Protocol": "HTTPS", "Port":
      "443", "Host": "#{host}", "Path": "/#{path}", "Query": "#{query}",
      "StatusCode": "HTTP_301"}}
    alb.ingress.kubernetes.io/certificate-arn: >-
      arn:aws:acm:ap-southeast-1:022499043310:certificate/506d551a-b534-4f5b-af8f-5e8cedfe0e0b
    alb.ingress.kubernetes.io/group.name: shopnow
    alb.ingress.kubernetes.io/listen-ports: '[{"HTTP": 80}, {"HTTPS":443}]'
    alb.ingress.kubernetes.io/scheme: internet-facing
    alb.ingress.kubernetes.io/subnets: subnet-0b78796b583490b19, subnet-0e57056ac64de1902, subnet-0501cacaf96e89a09
    alb.ingress.kubernetes.io/target-type: ip
spec:
  ingressClassName: alb
  rules:
    - host: kong-admin.tranvix.click
      http:
        paths:
          - backend:
              service:
                name: gw-kong-admin
                port:
                  number: 8001
            path: /
            pathType: Prefix
---
apiVersion: networking.k8s.io/v1
kind: Ingress
metadata:
  name: kong-proxy-ingress
  namespace: kong
  annotations:
    alb.ingress.kubernetes.io/actions.ssl-redirect: >-
      {"Type": "redirect", "RedirectConfig": {"Protocol": "HTTPS", "Port":
      "443", "Host": "#{host}", "Path": "/#{path}", "Query": "#{query}",
      "StatusCode": "HTTP_301"}}
    alb.ingress.kubernetes.io/certificate-arn: >-
      arn:aws:acm:ap-southeast-1:022499043310:certificate/506d551a-b534-4f5b-af8f-5e8cedfe0e0b
    alb.ingress.kubernetes.io/group.name: shopnow
    alb.ingress.kubernetes.io/listen-ports: '[{"HTTP": 80}, {"HTTPS":443}]'
    alb.ingress.kubernetes.io/scheme: internet-facing
    alb.ingress.kubernetes.io/subnets: subnet-0b78796b583490b19, subnet-0e57056ac64de1902, subnet-0501cacaf96e89a09
    alb.ingress.kubernetes.io/target-type: ip
spec:
  ingressClassName: alb
  rules:
    - host: kong-proxy.tranvix.click
      http:
        paths:
          - backend:
              service:
                name: gw-kong-proxy
                port:
                  number: 8000
            path: /
            pathType: Prefix
Apply Ingress.
kubectl apply -f ingress.yaml

Create Route53 Records for the above Ingress.
| Record | Type | Address |
|---|---|---|
| kong-manager.tranvix.click | CNAME | k8s-shopnow-c1f6b5e55e-1627655956.ap-southeast-1.elb.amazonaws.com |
| kong-admin.tranvix.click | CNAME | k8s-shopnow-c1f6b5e55e-1627655956.ap-southeast-1.elb.amazonaws.com |
| kong-proxy.tranvix.click | CNAME | k8s-shopnow-c1f6b5e55e-1627655956.ap-southeast-1.elb.amazonaws.com |
After successfully adding the Records, we can access the Kong Gateway Manager interface with DNS kong-manager.tranvix.click.
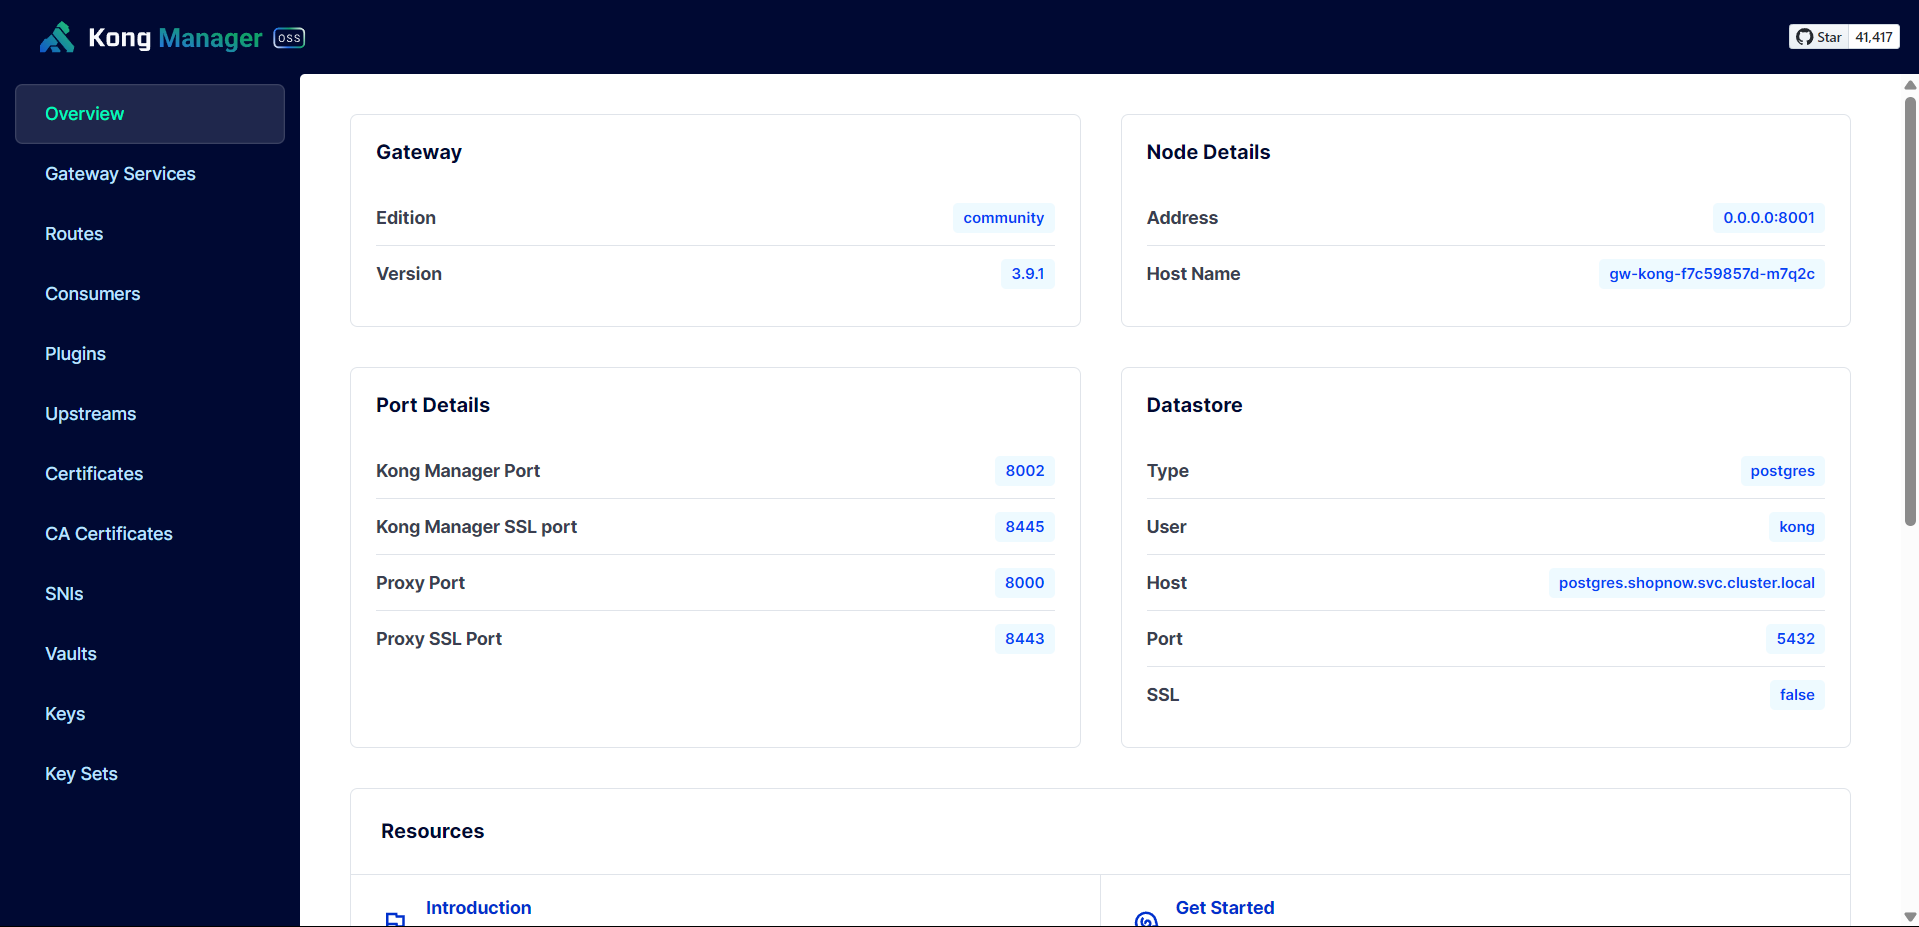
Thus, we have successfully installed Kong Gateway.
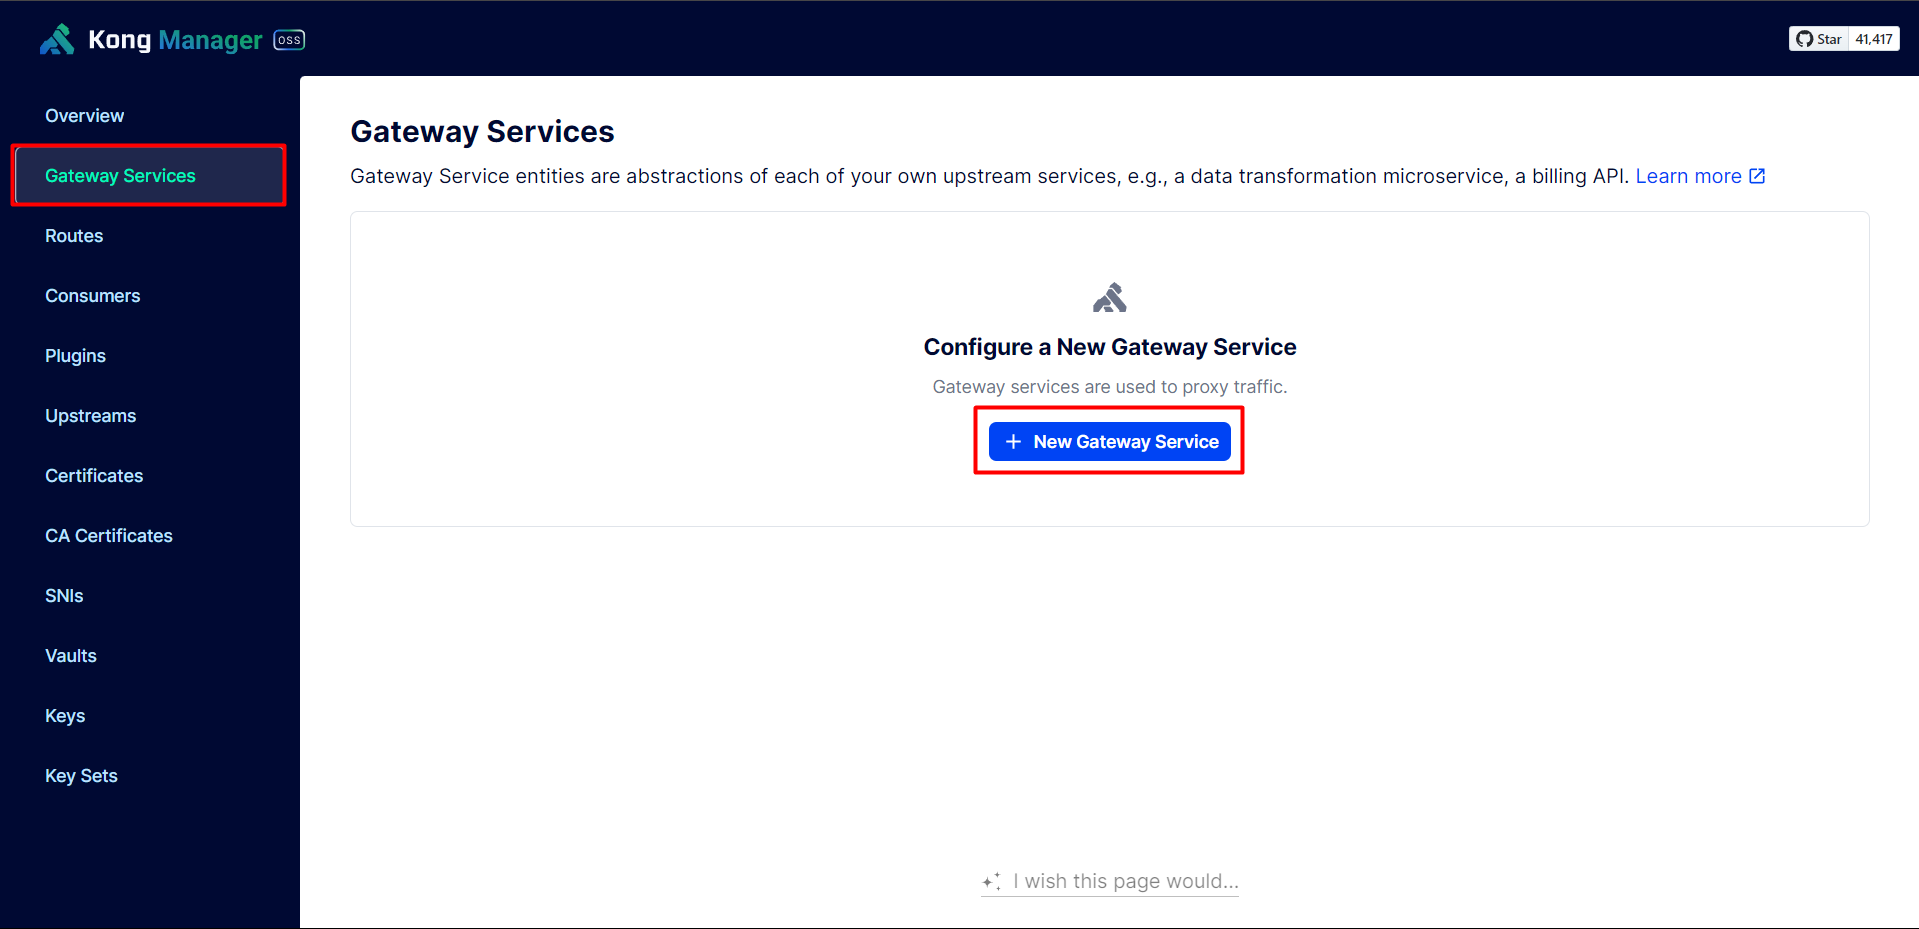
Deploy API Gateway with Kong Gateway
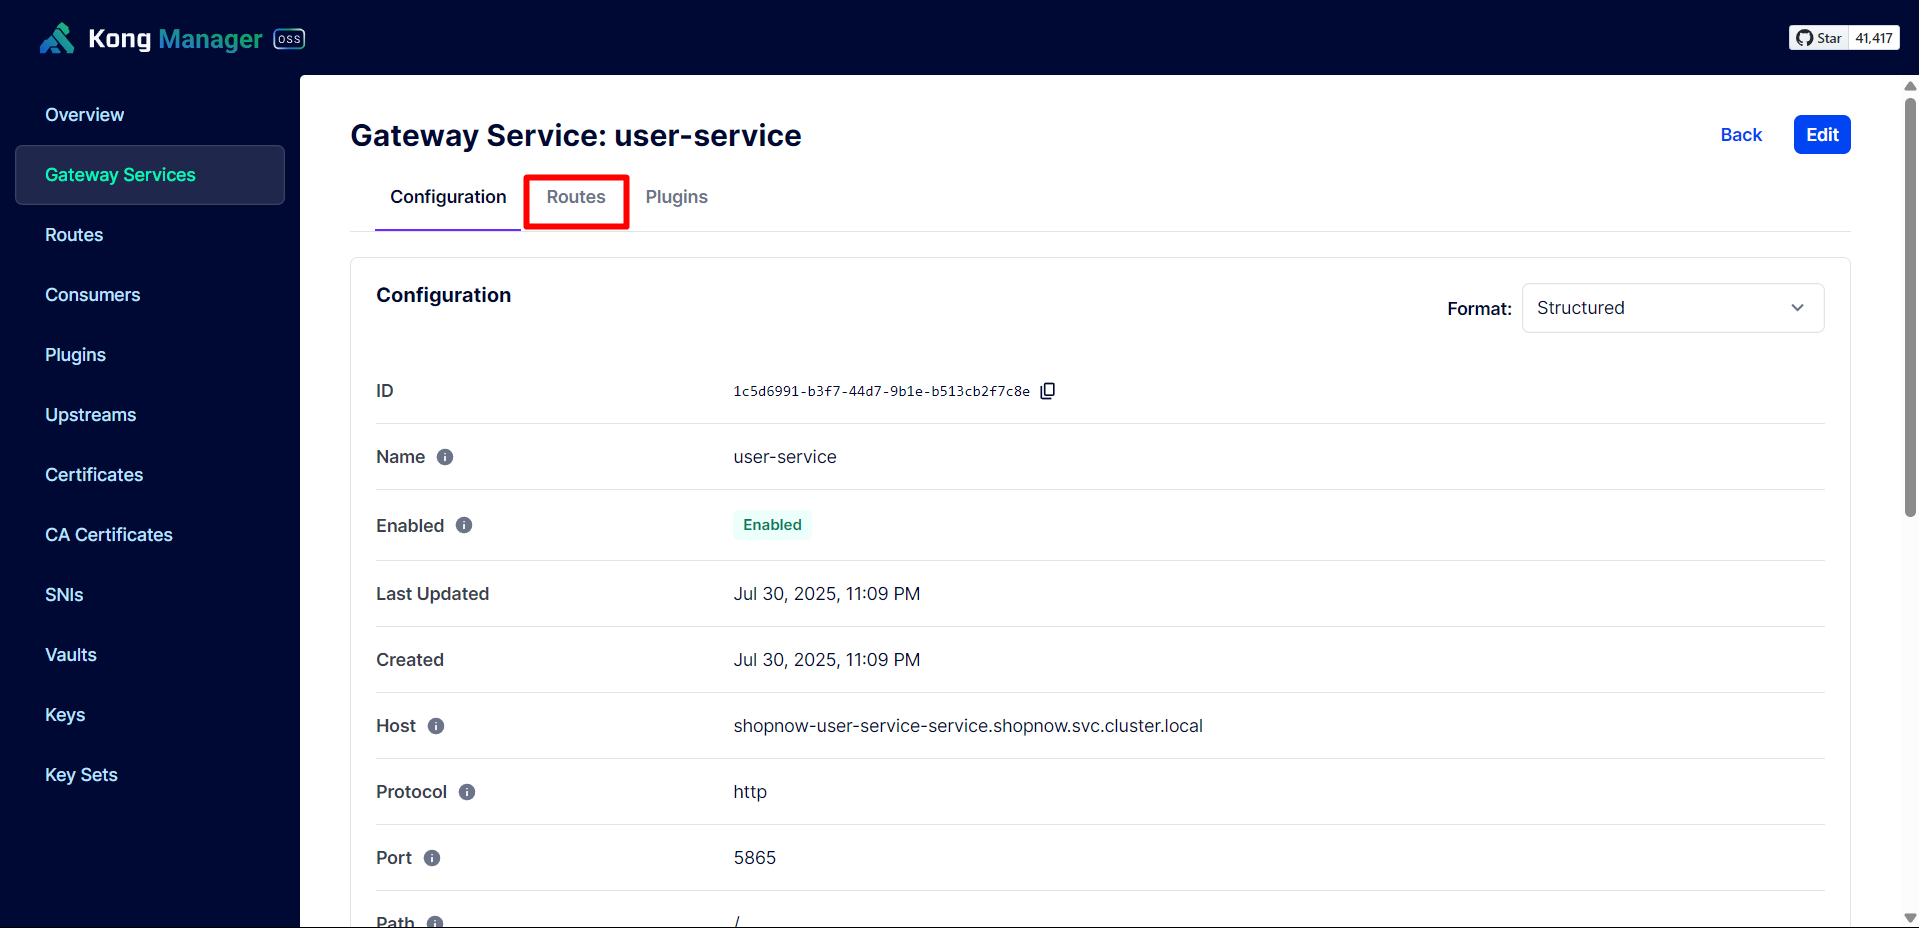
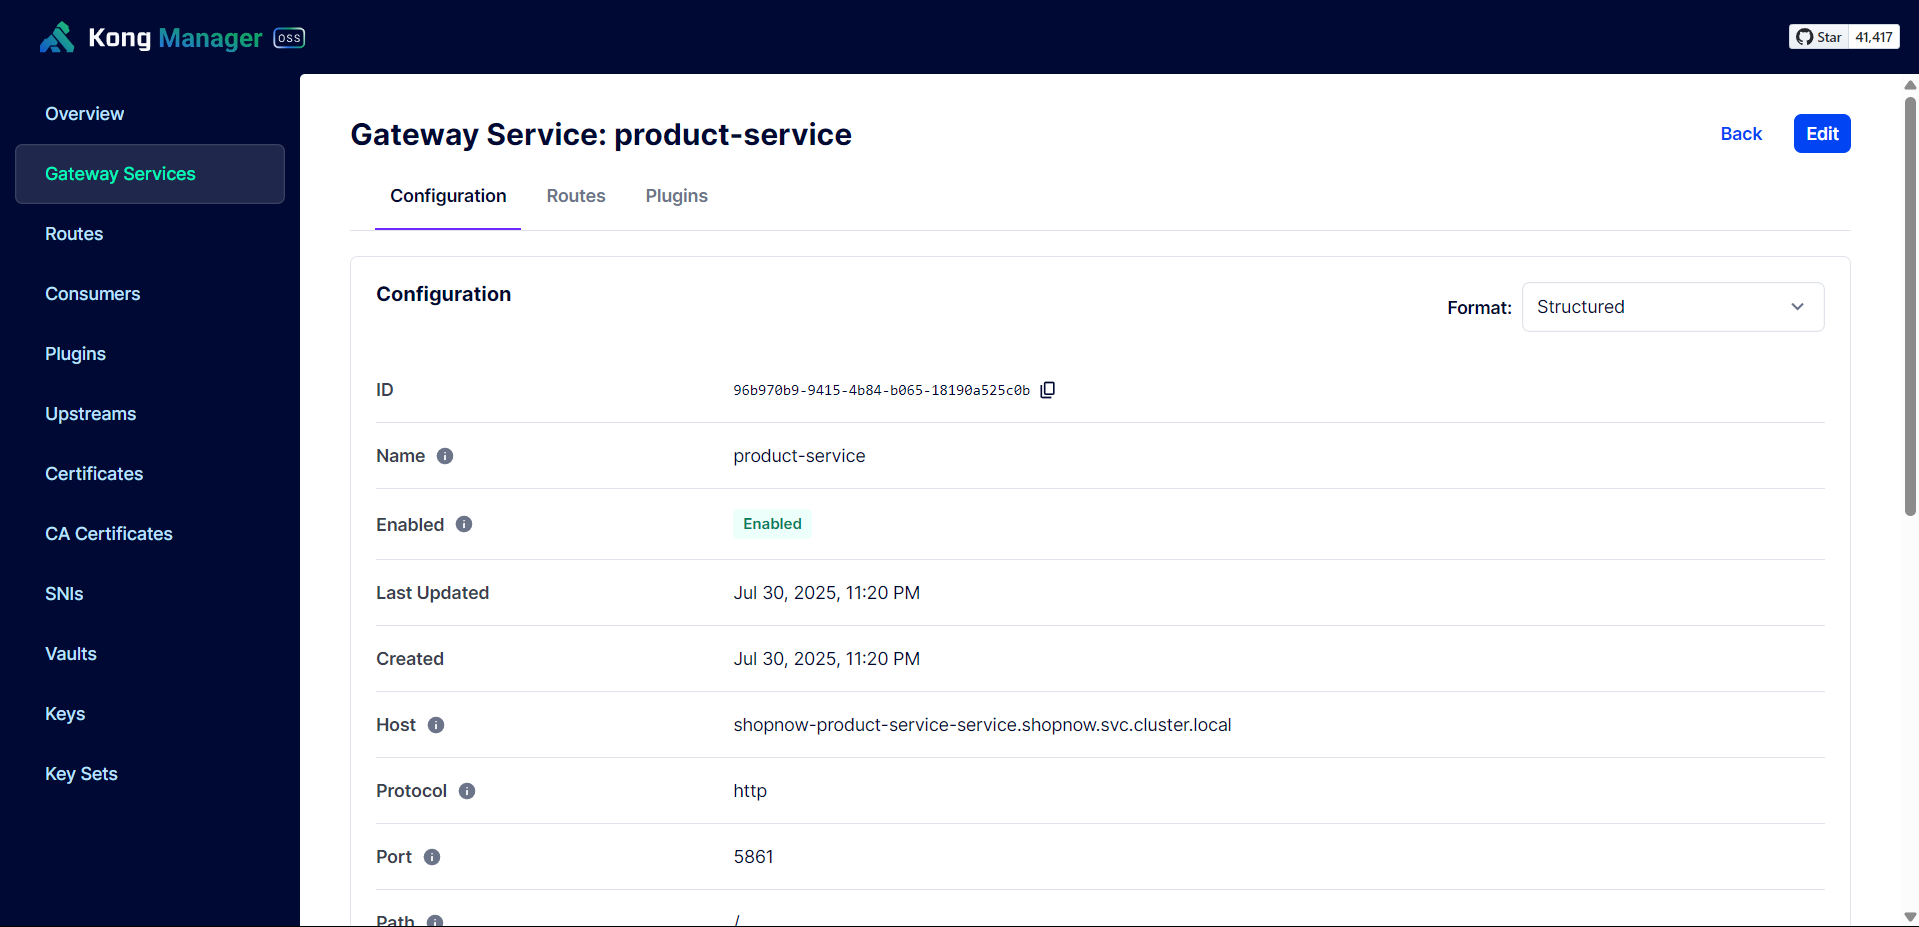
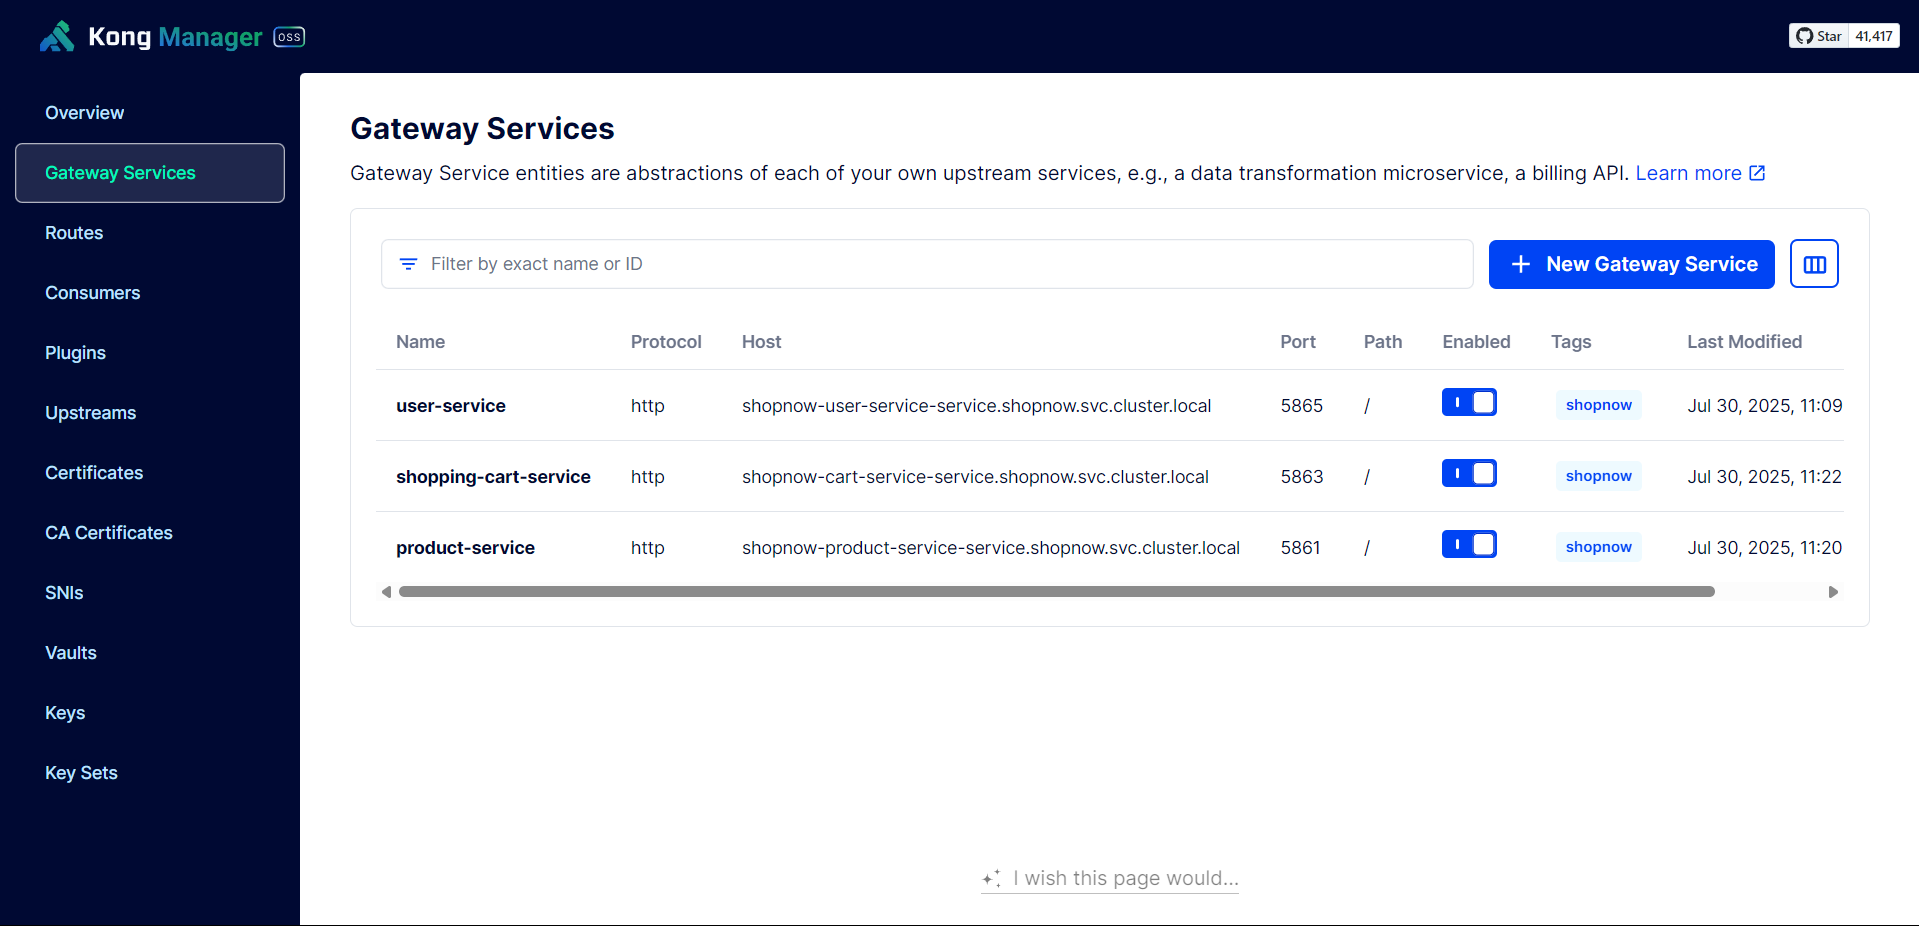
Check the Service names and Ports of the deployed Services to configure Gateway Services on Kong Gateway.

Create Gateway Service for User Service.
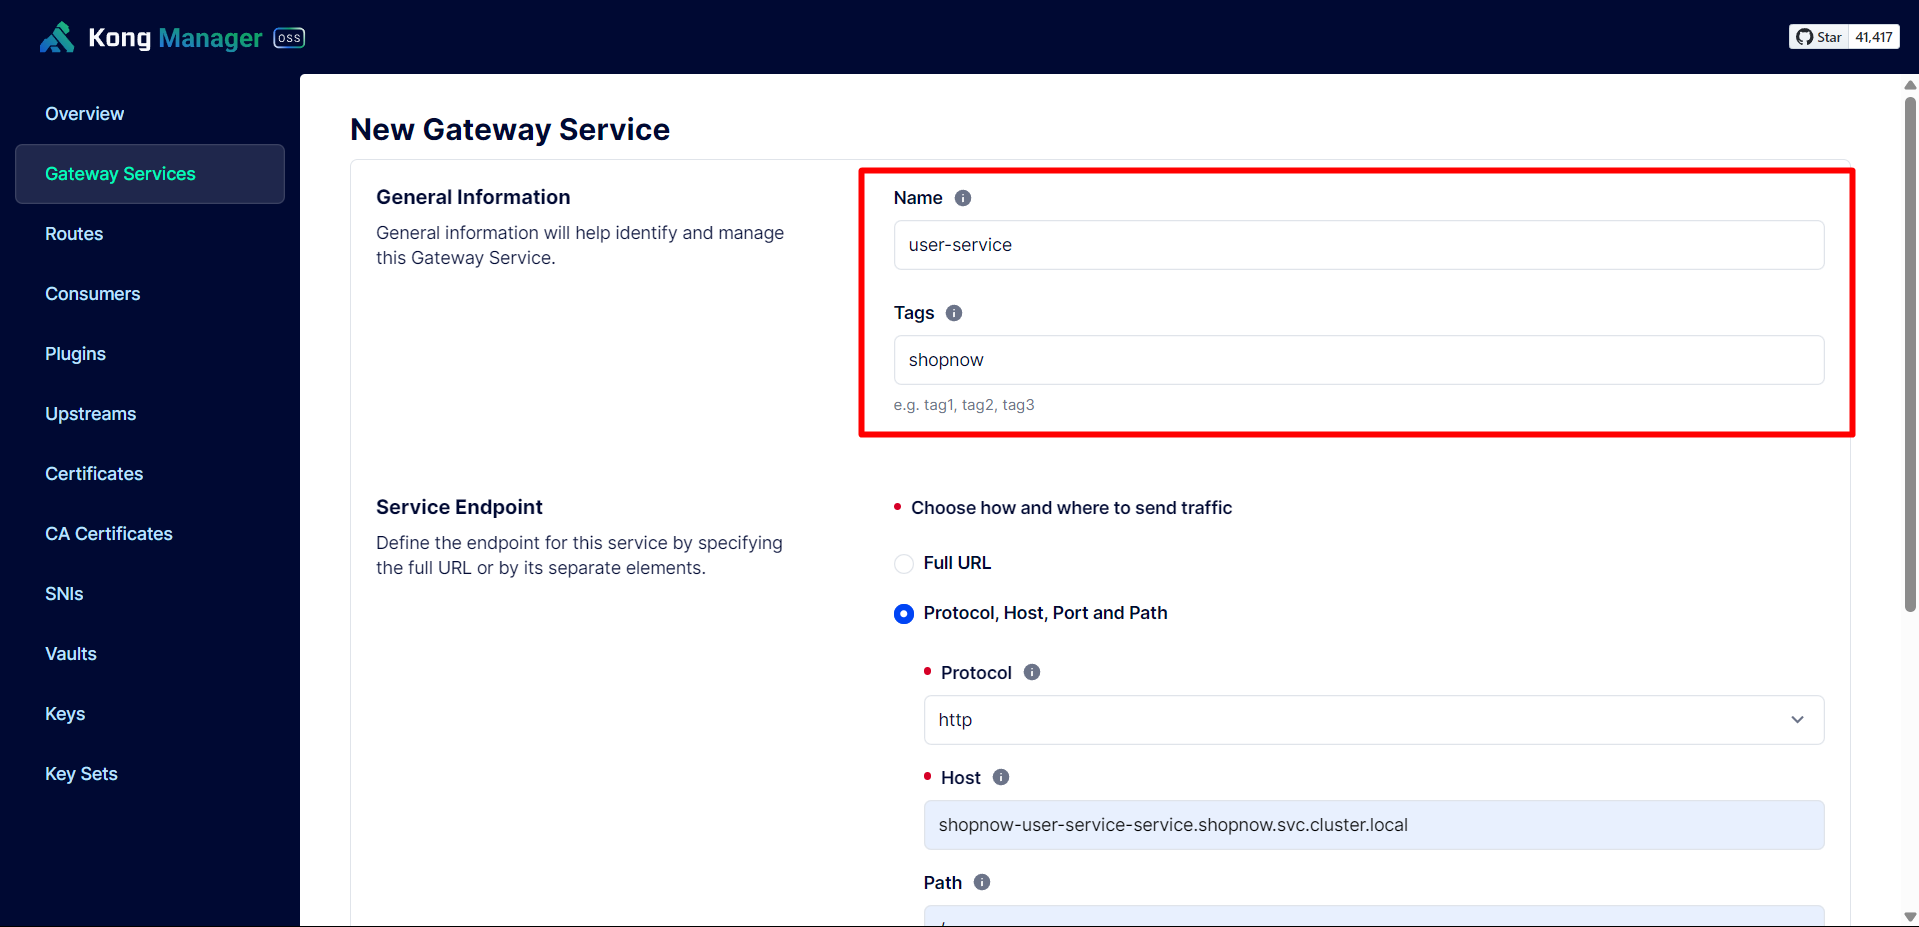
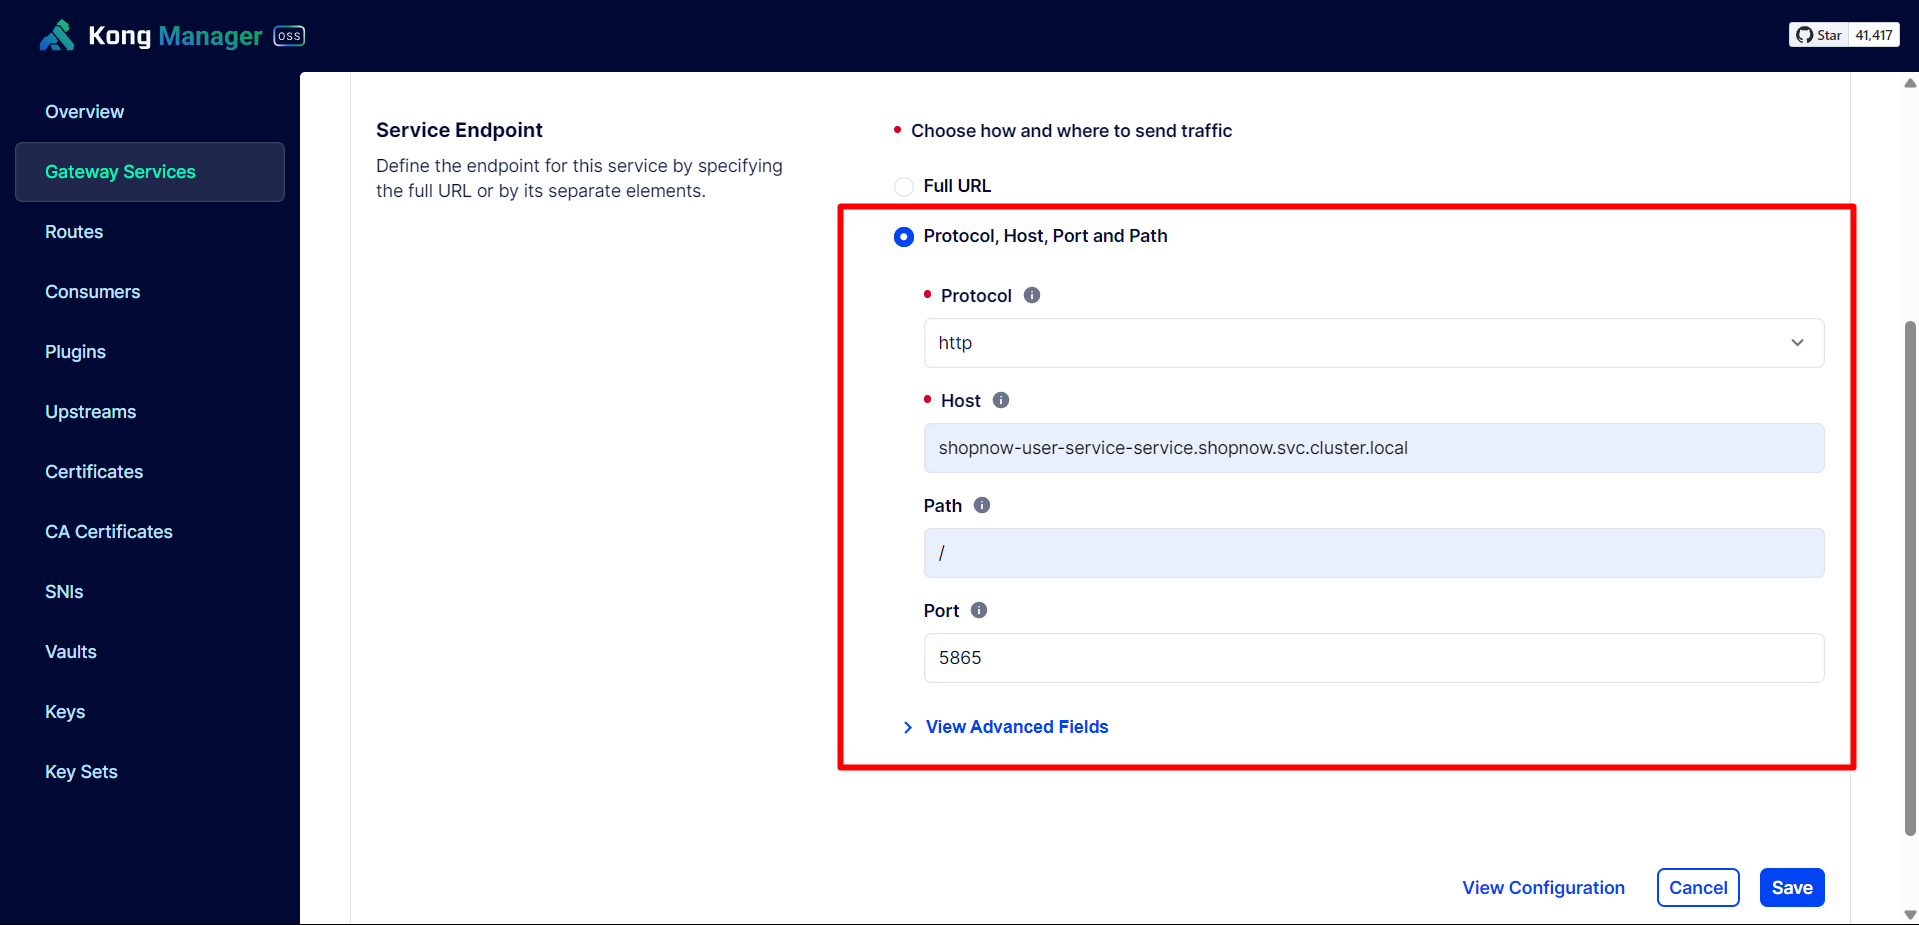
Since the Services are in different Namespaces, the host will be <service-name>.shopnow.svc.cluster.local.
Then proceed to Save the configuration again.
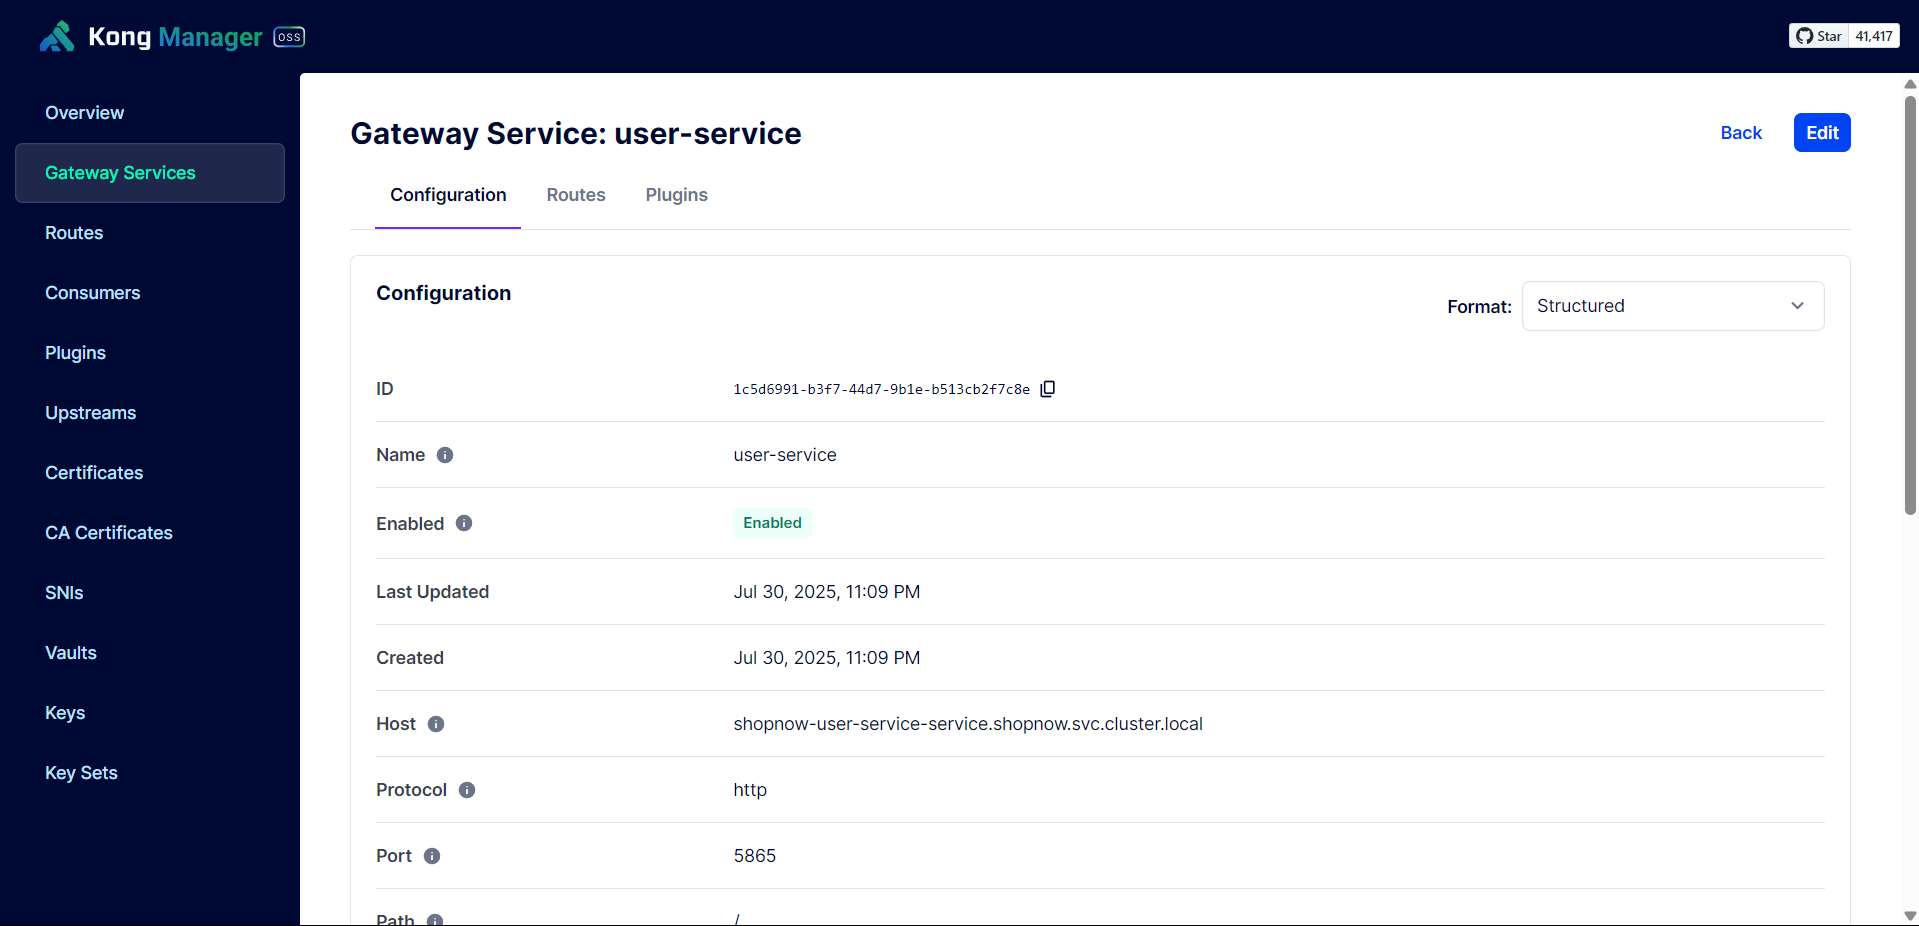
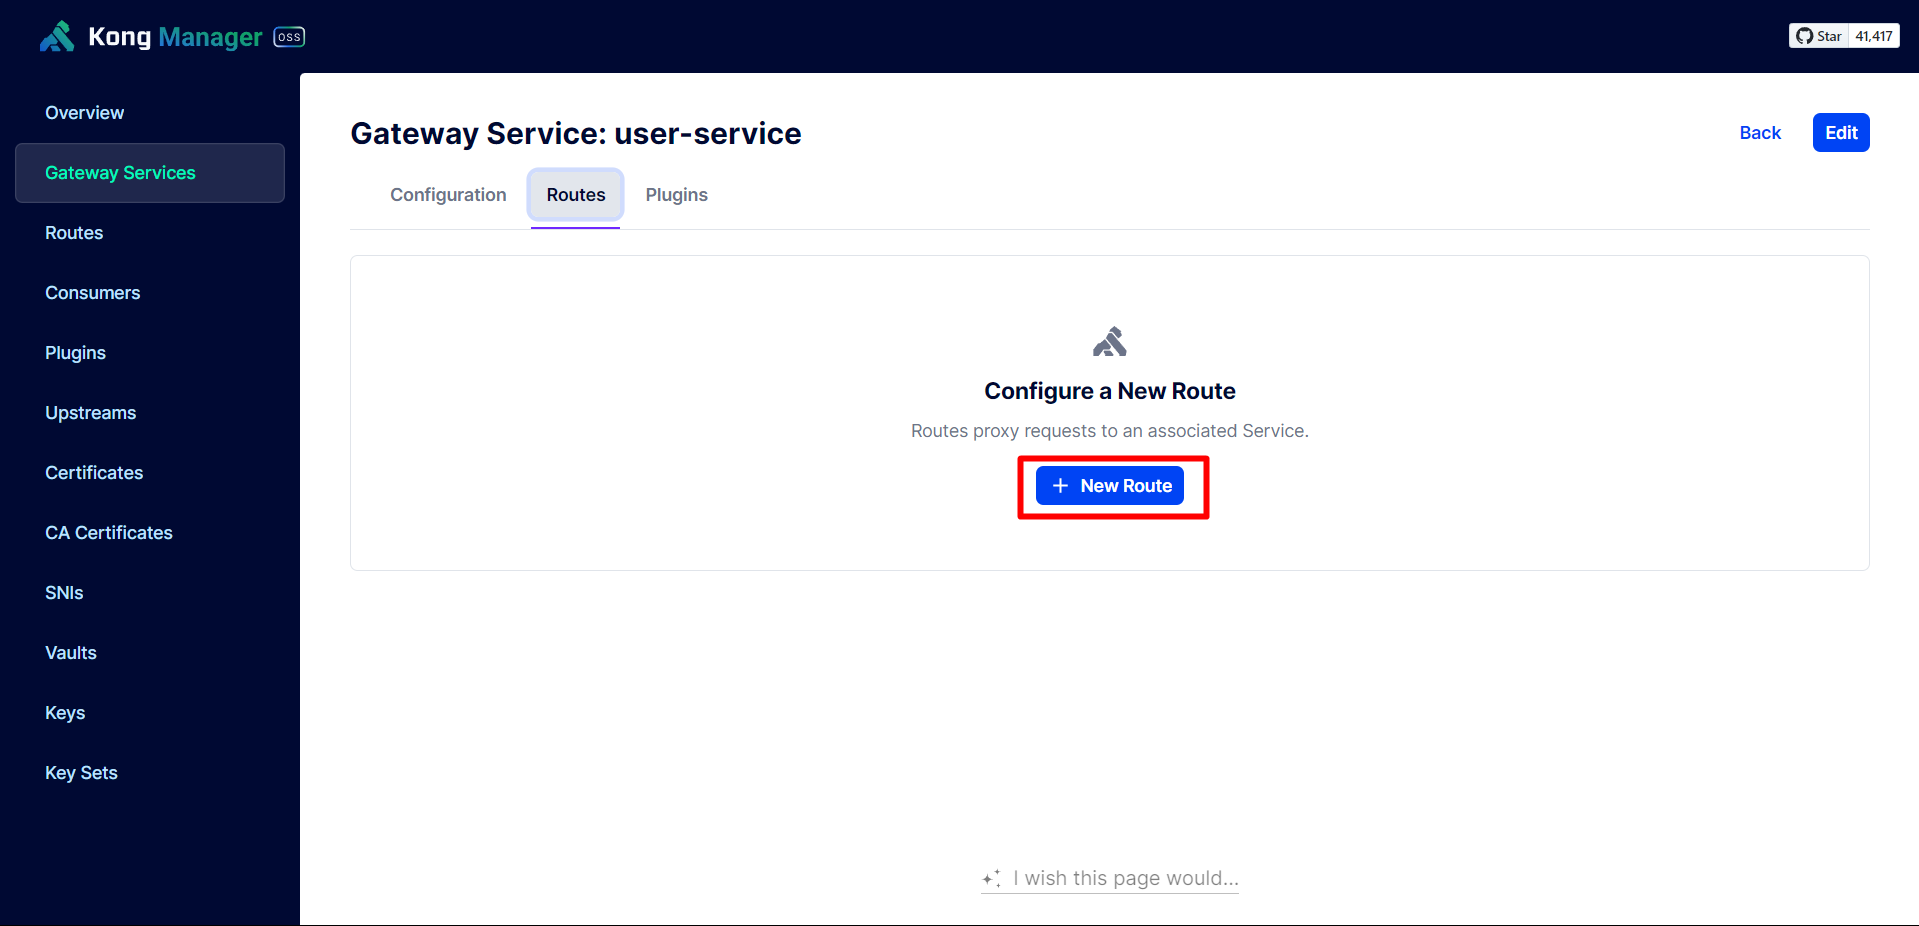
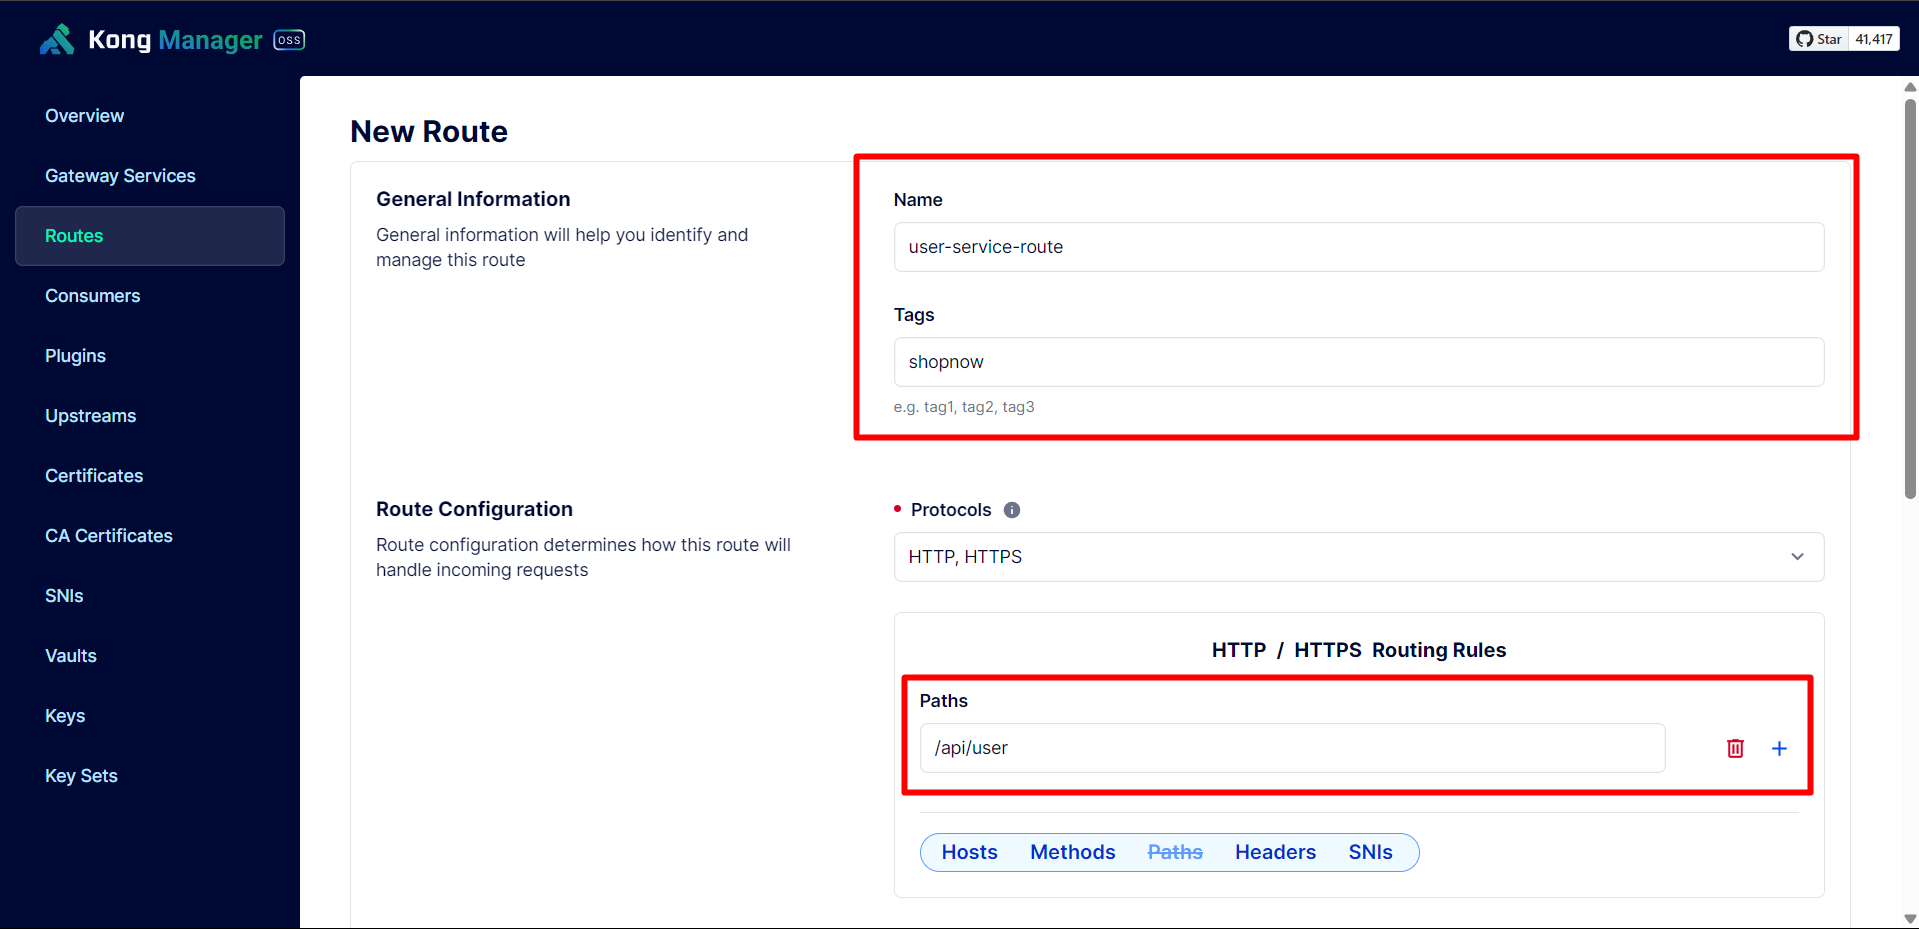
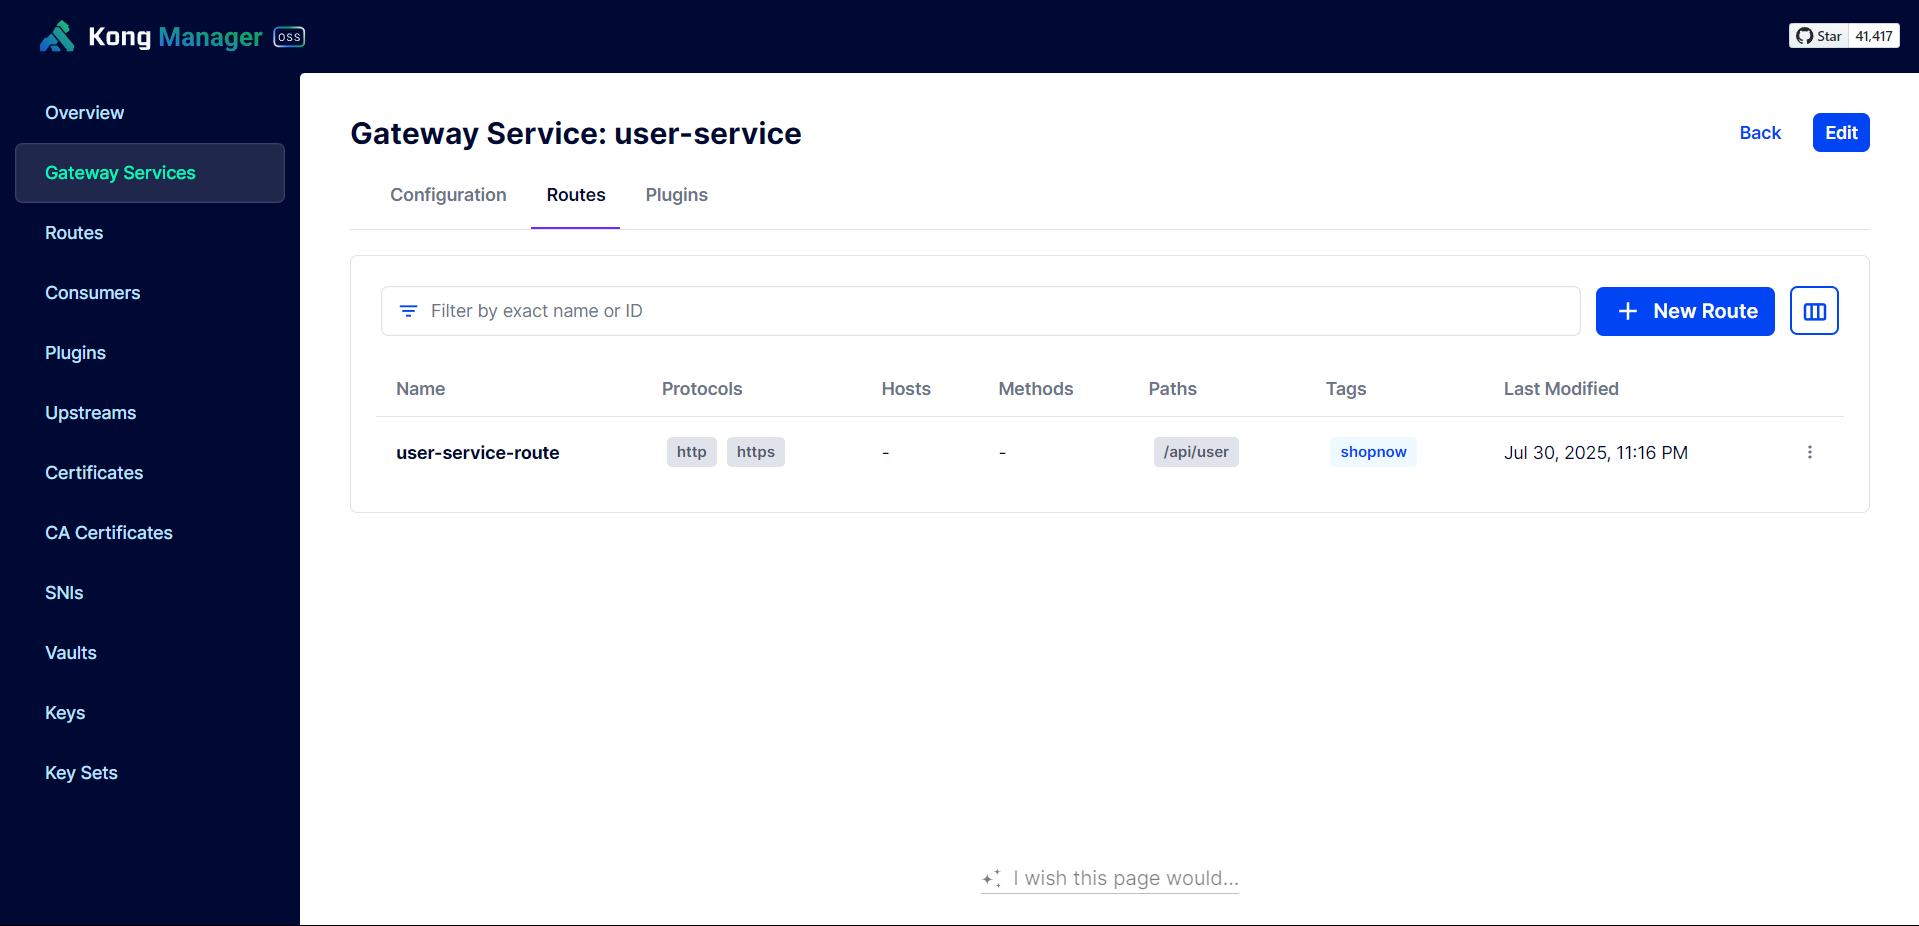
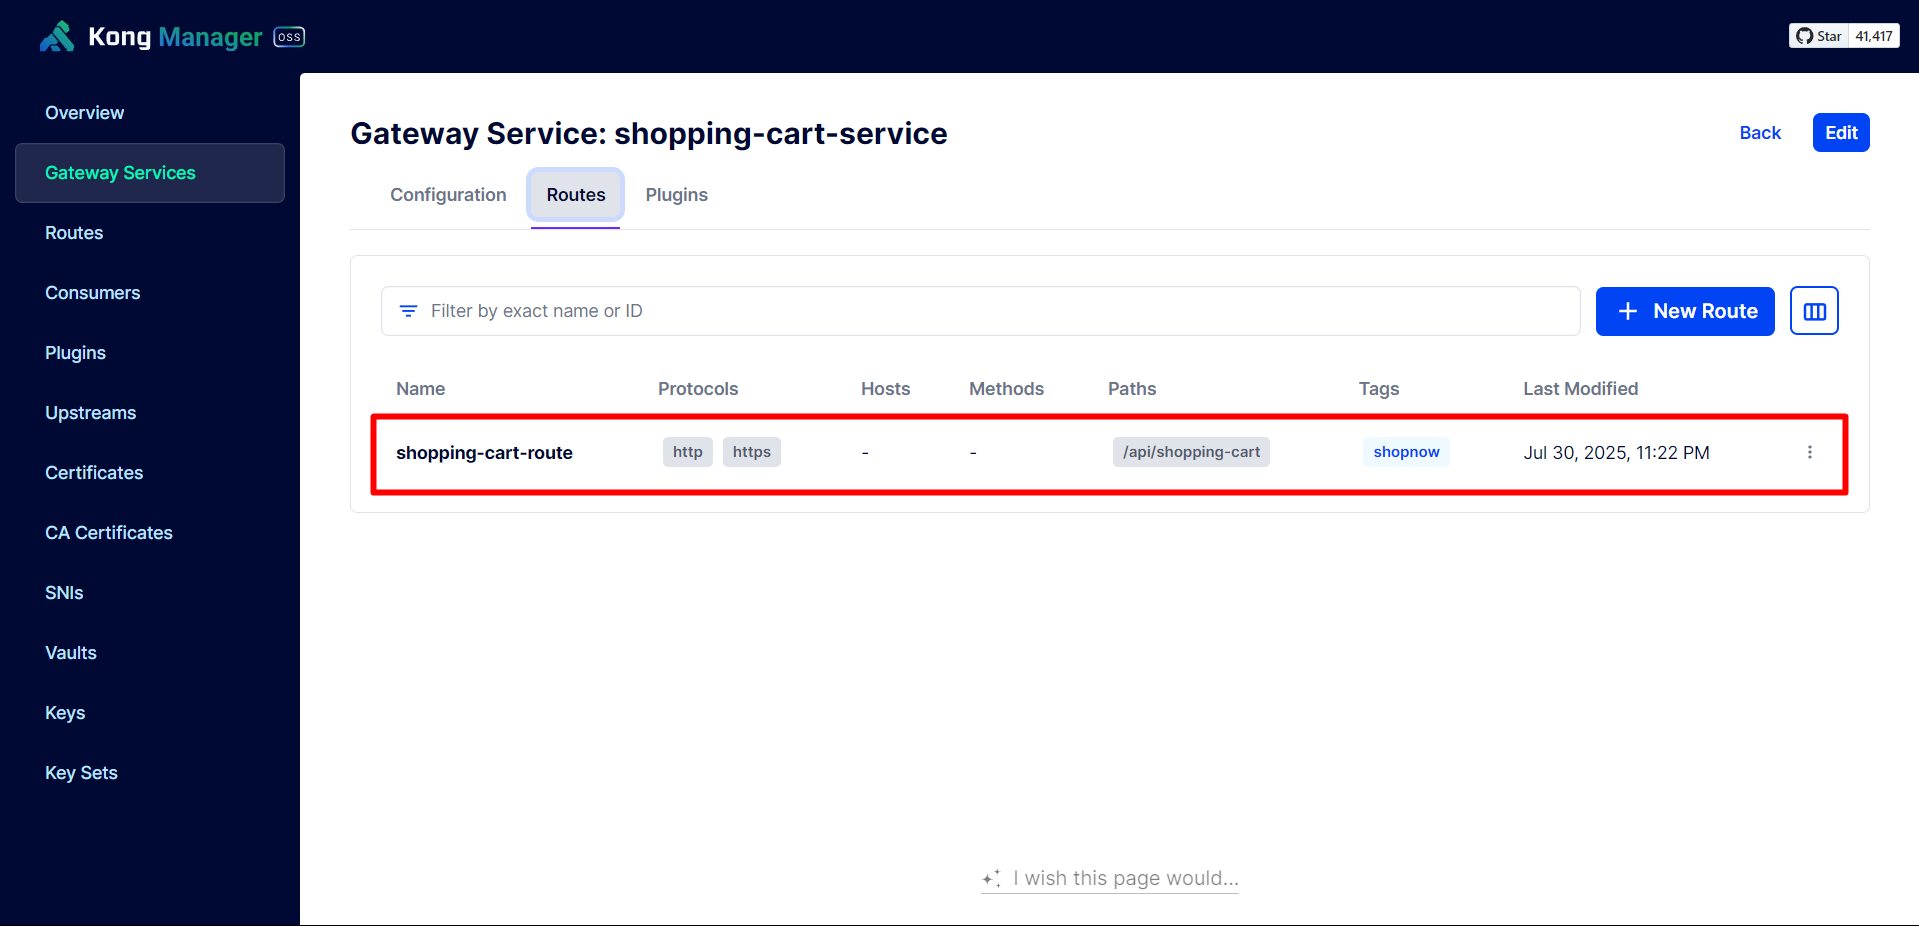
Next, we need to create a Route for User Service to be able to use the API.
Configure according to the User Service API path.
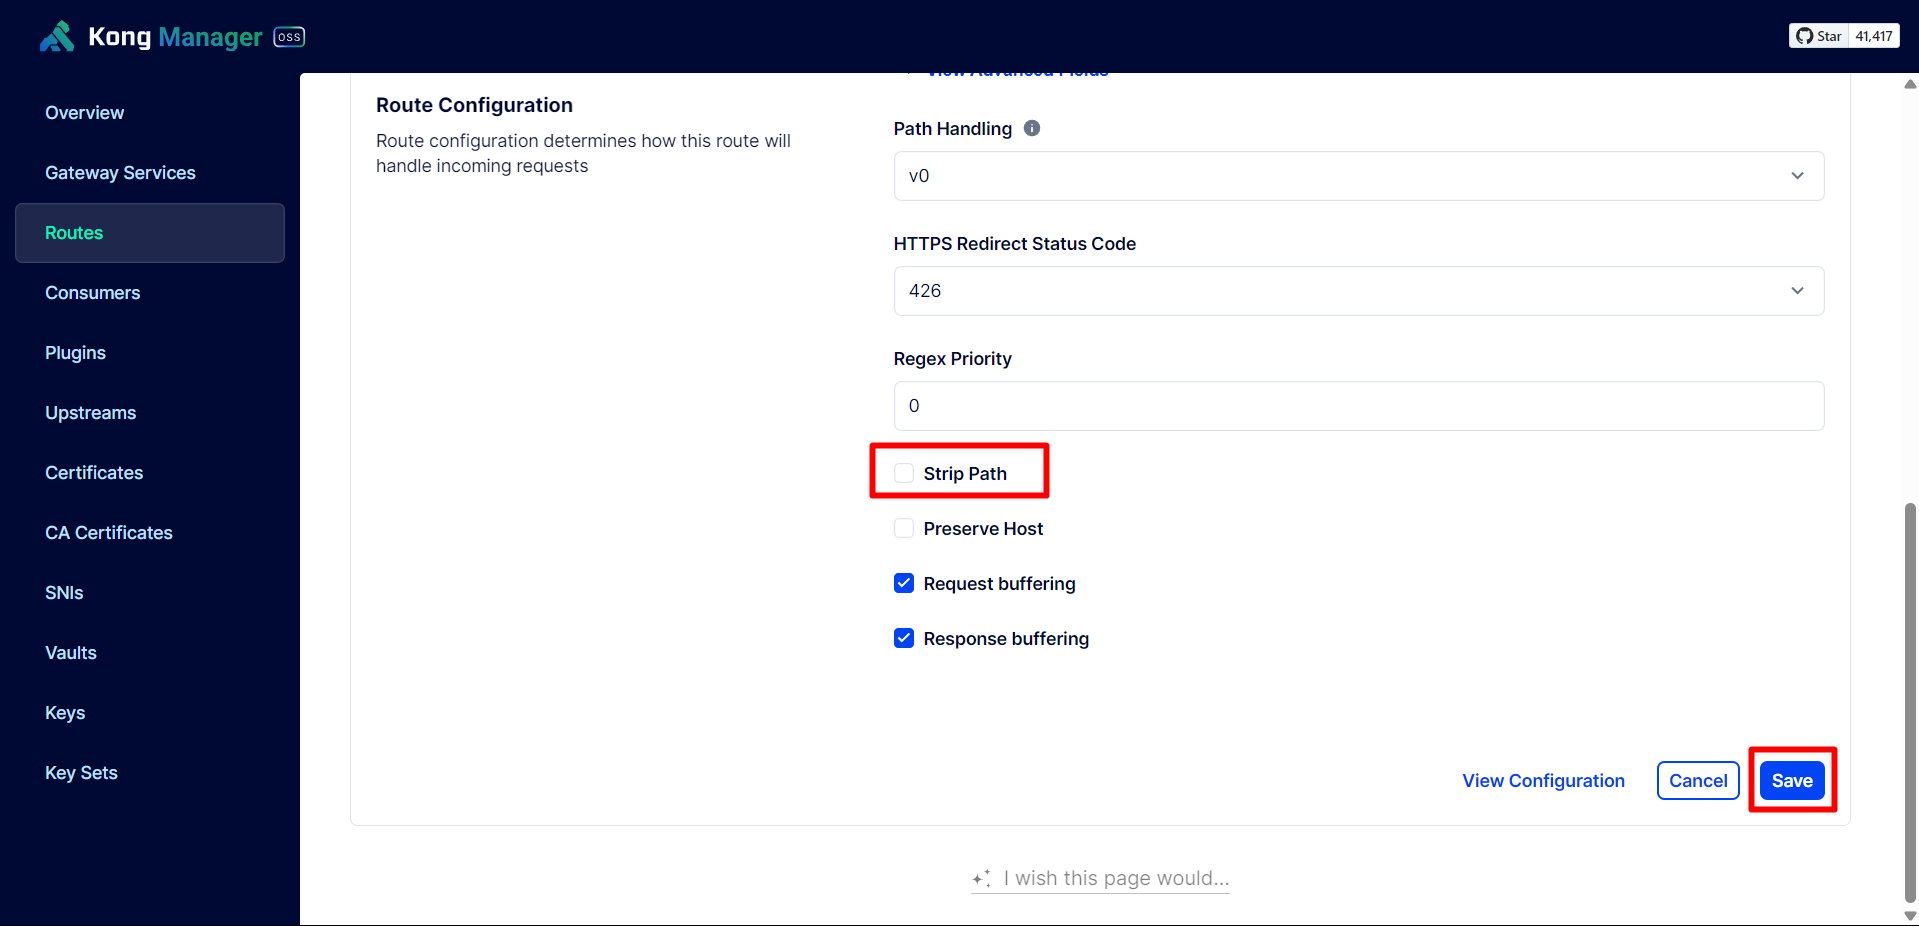
Turn off Strip Path. When Strip Path is enabled, when calling the API there will be no path. For example: /api/user/signin becomes /signin.
Perform API Gateway testing to see if it’s working.
curl -X 'POST' 'https://kong-proxy.tranvix.click/api/user/signin' -H 'accept: */*' -H 'Content-Type: application/json' -d '{ "username": "admin", "password": "Trandaivi0910@" }'
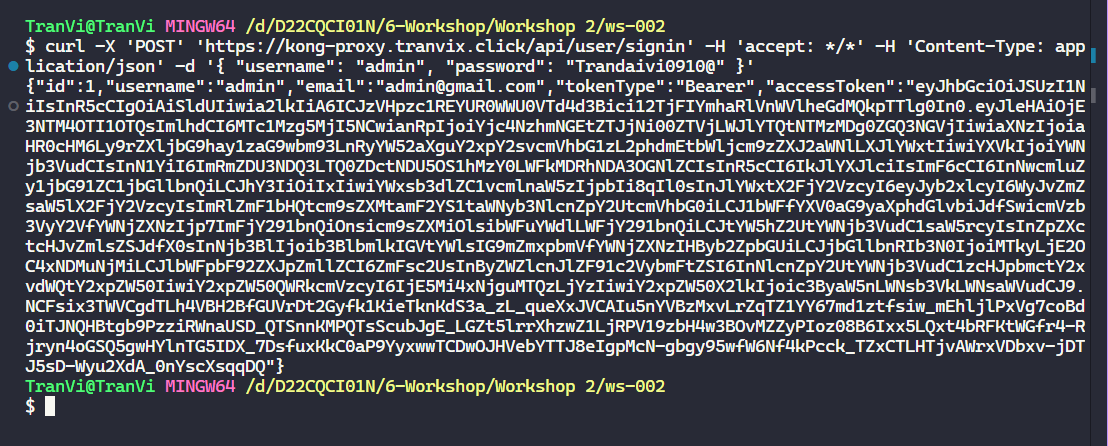
Thus, we have successfully configured API Gateway for User Service.
Next, we need to configure API Gateway for the remaining Services.
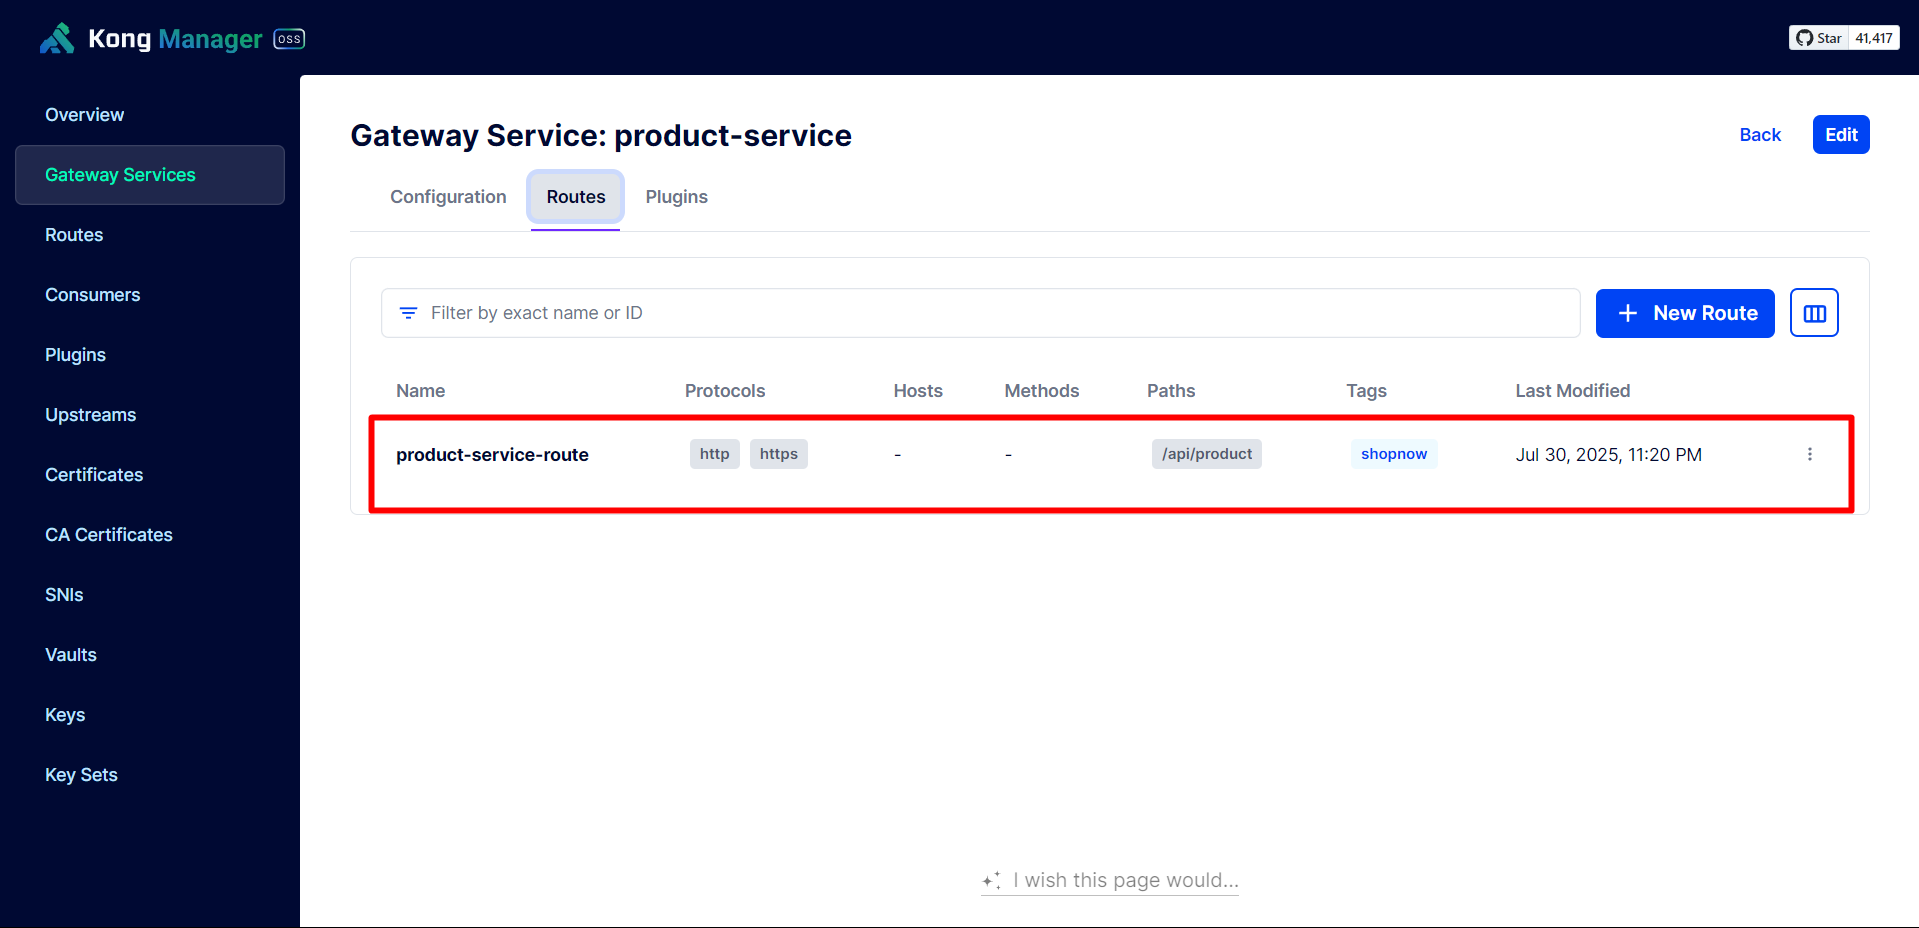

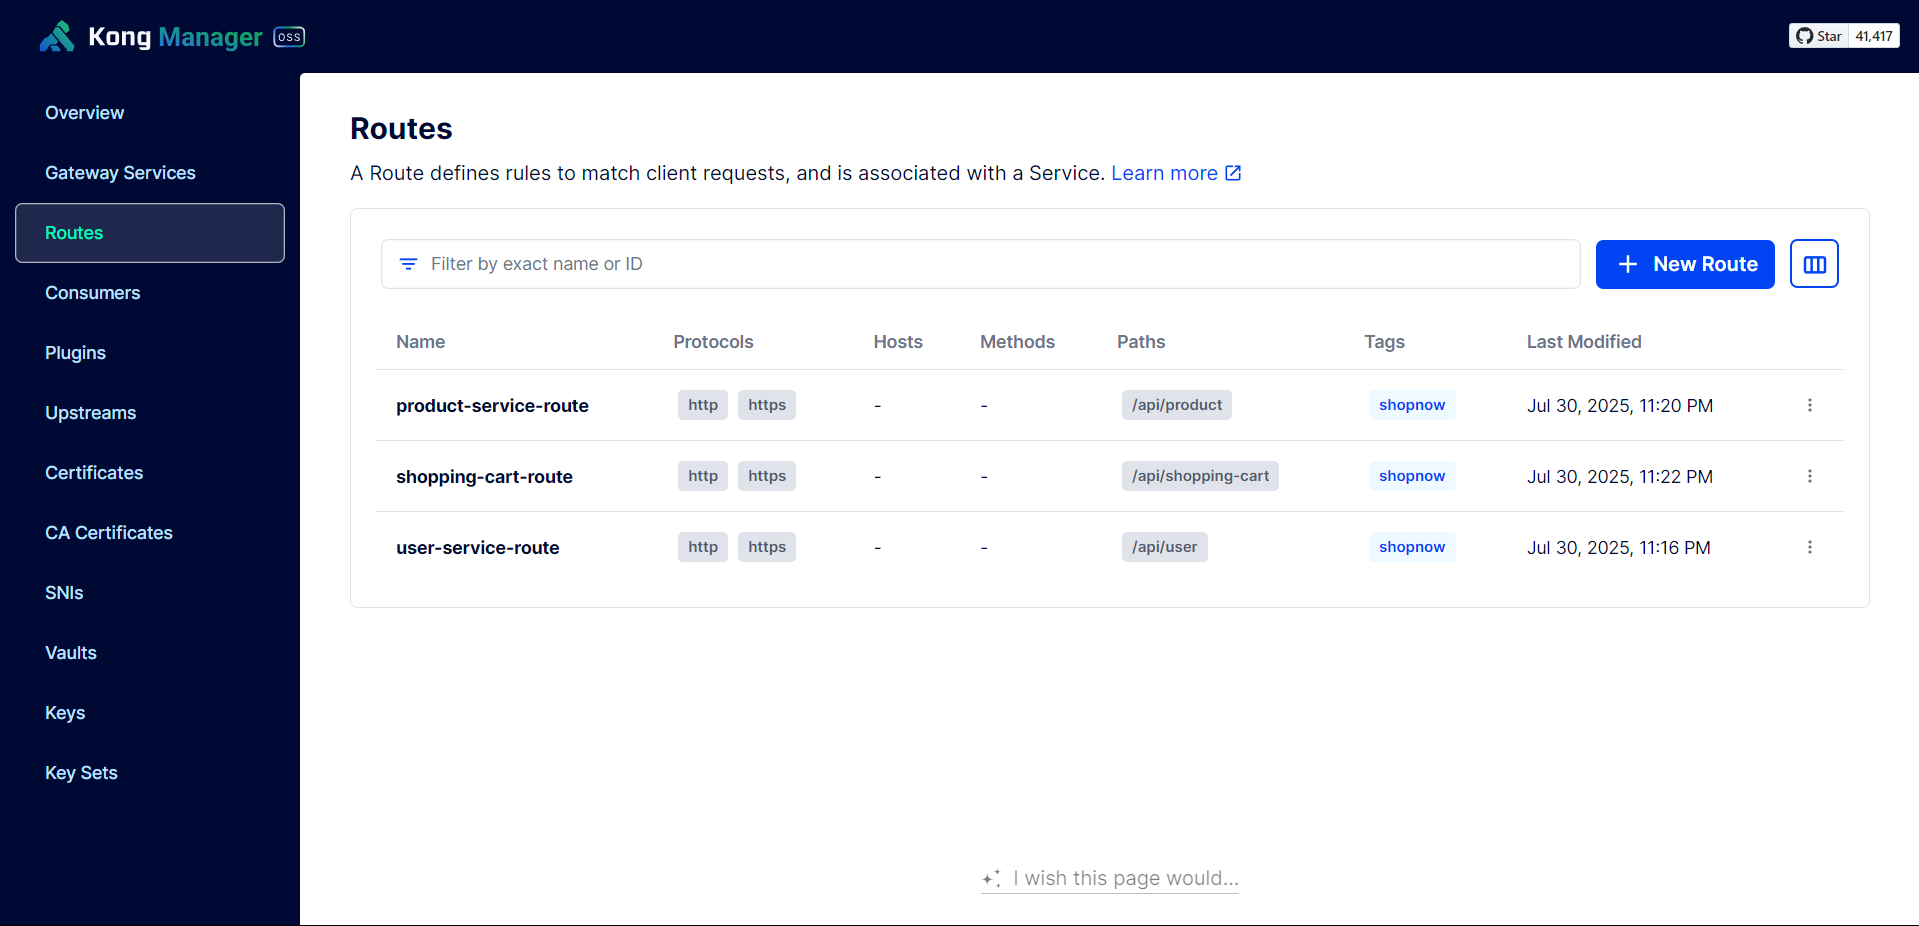
Thus, the Services have been successfully configured with API Gateway.
Access Frontend and check if the API Gateway is working by logging in and checking products.


At this point, we will encounter CORS errors when calling APIs to the API Gateway.
To fix this error, we need to configure CORS for the API Gateway by installing the CORS plugin.

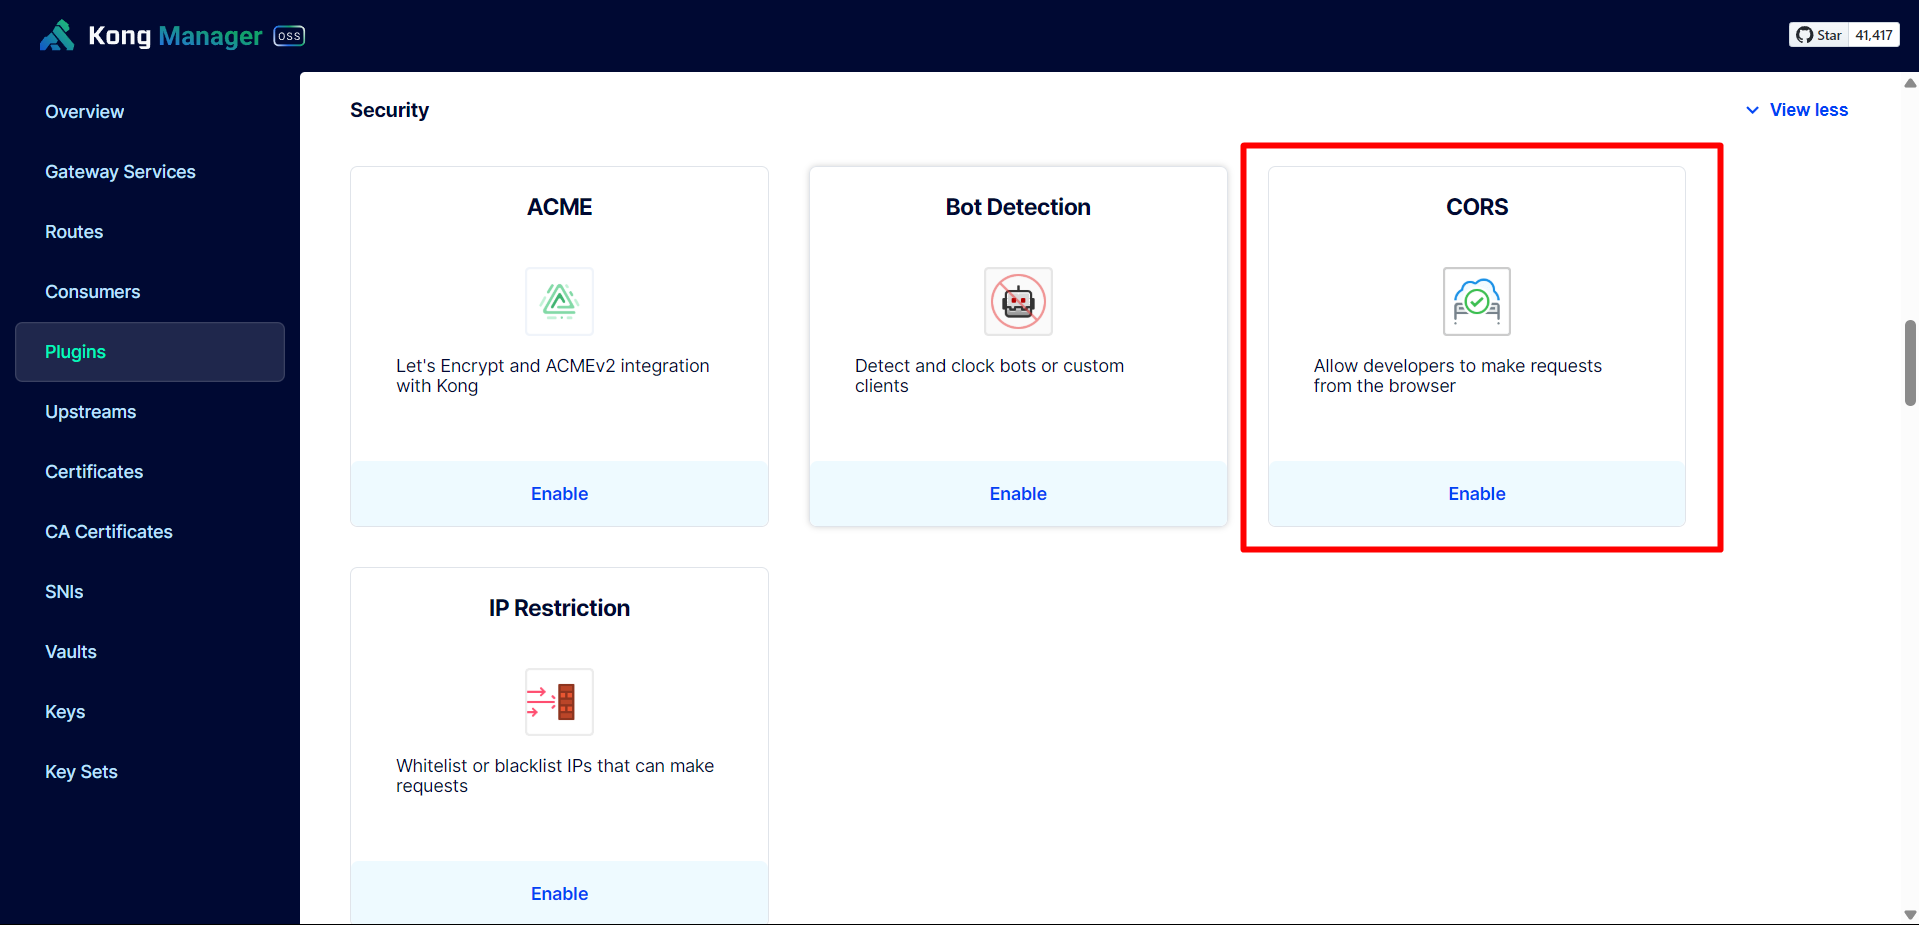
We proceed to Enable the CORS plugin and configure it to allow all origins and methods.
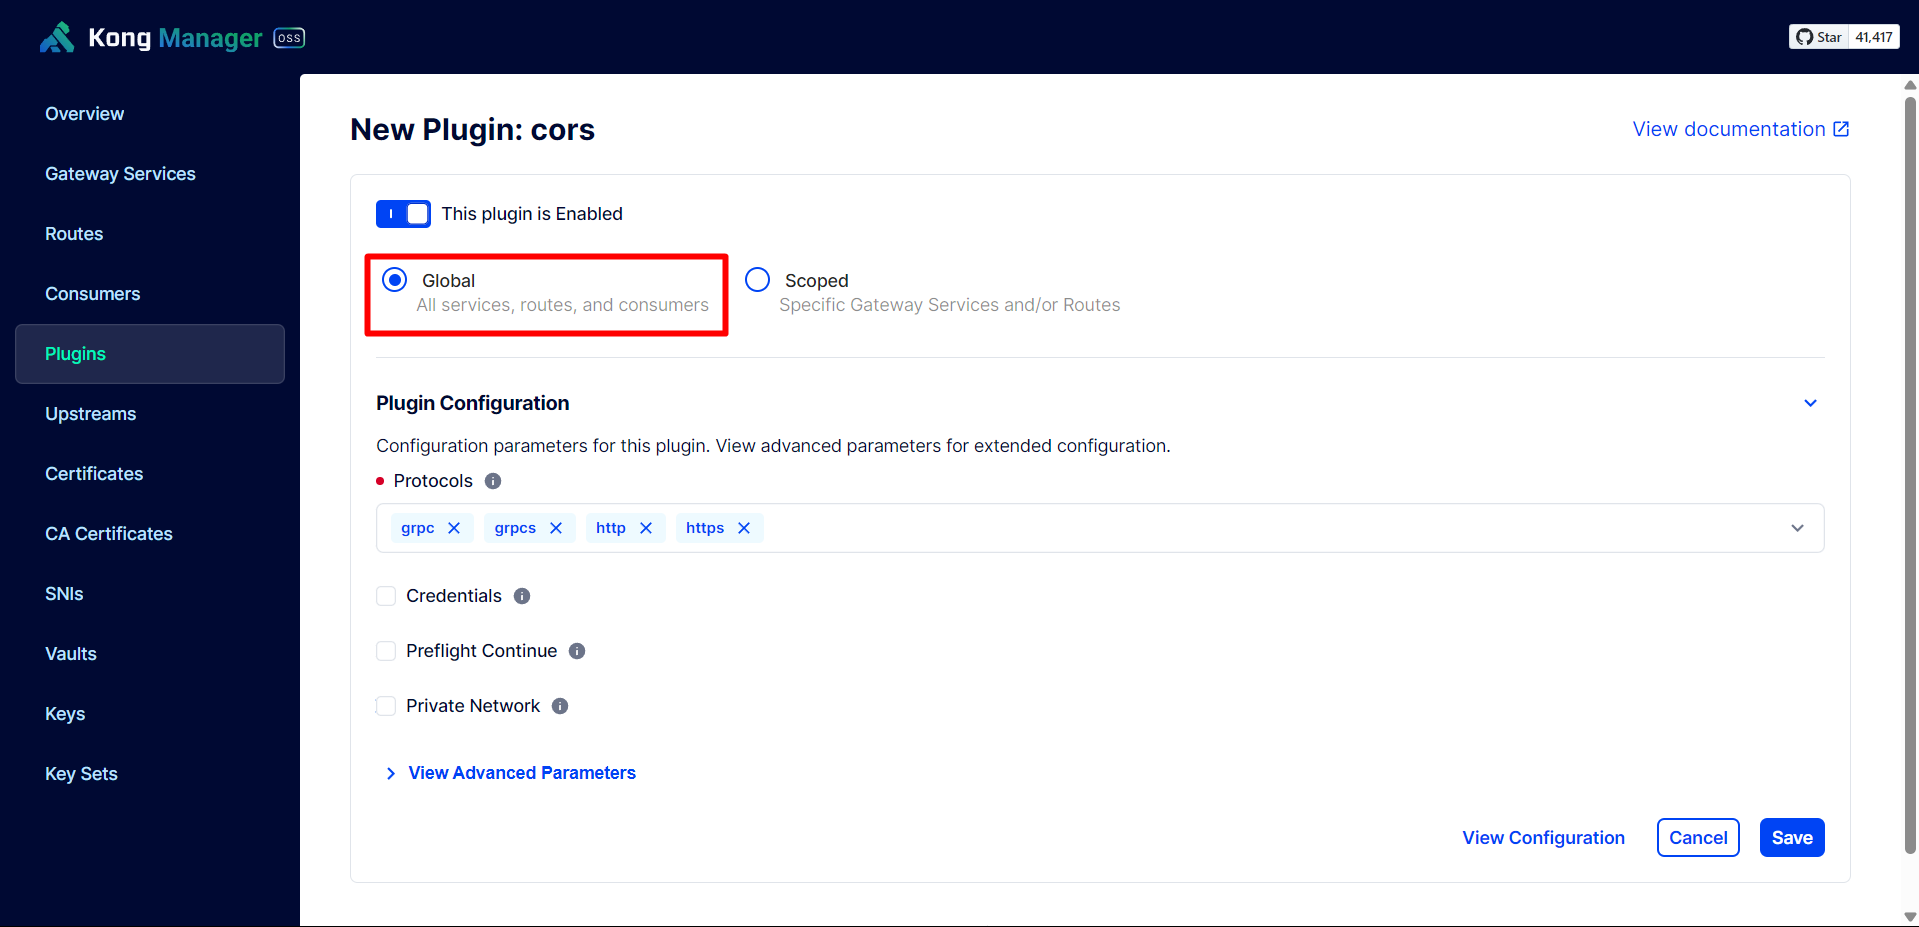
Configure Global CORS to configure it for use with all Services.
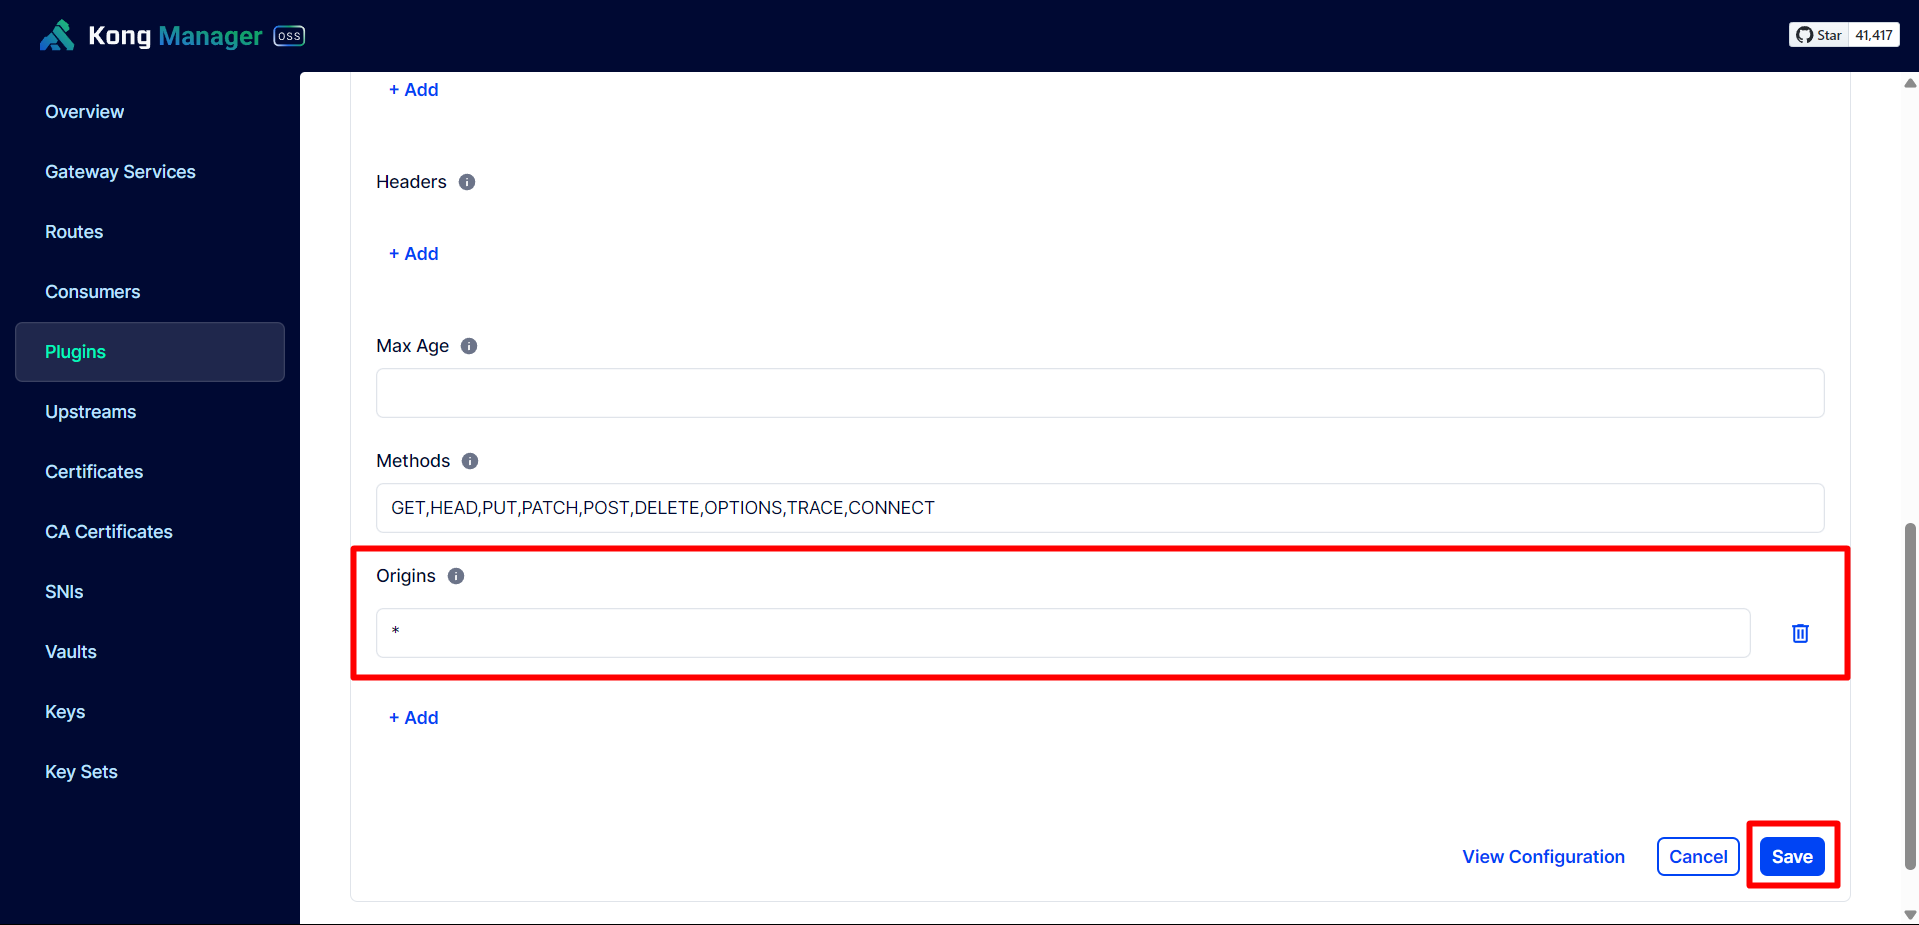
Thus, we have successfully configured CORS for the API Gateway.
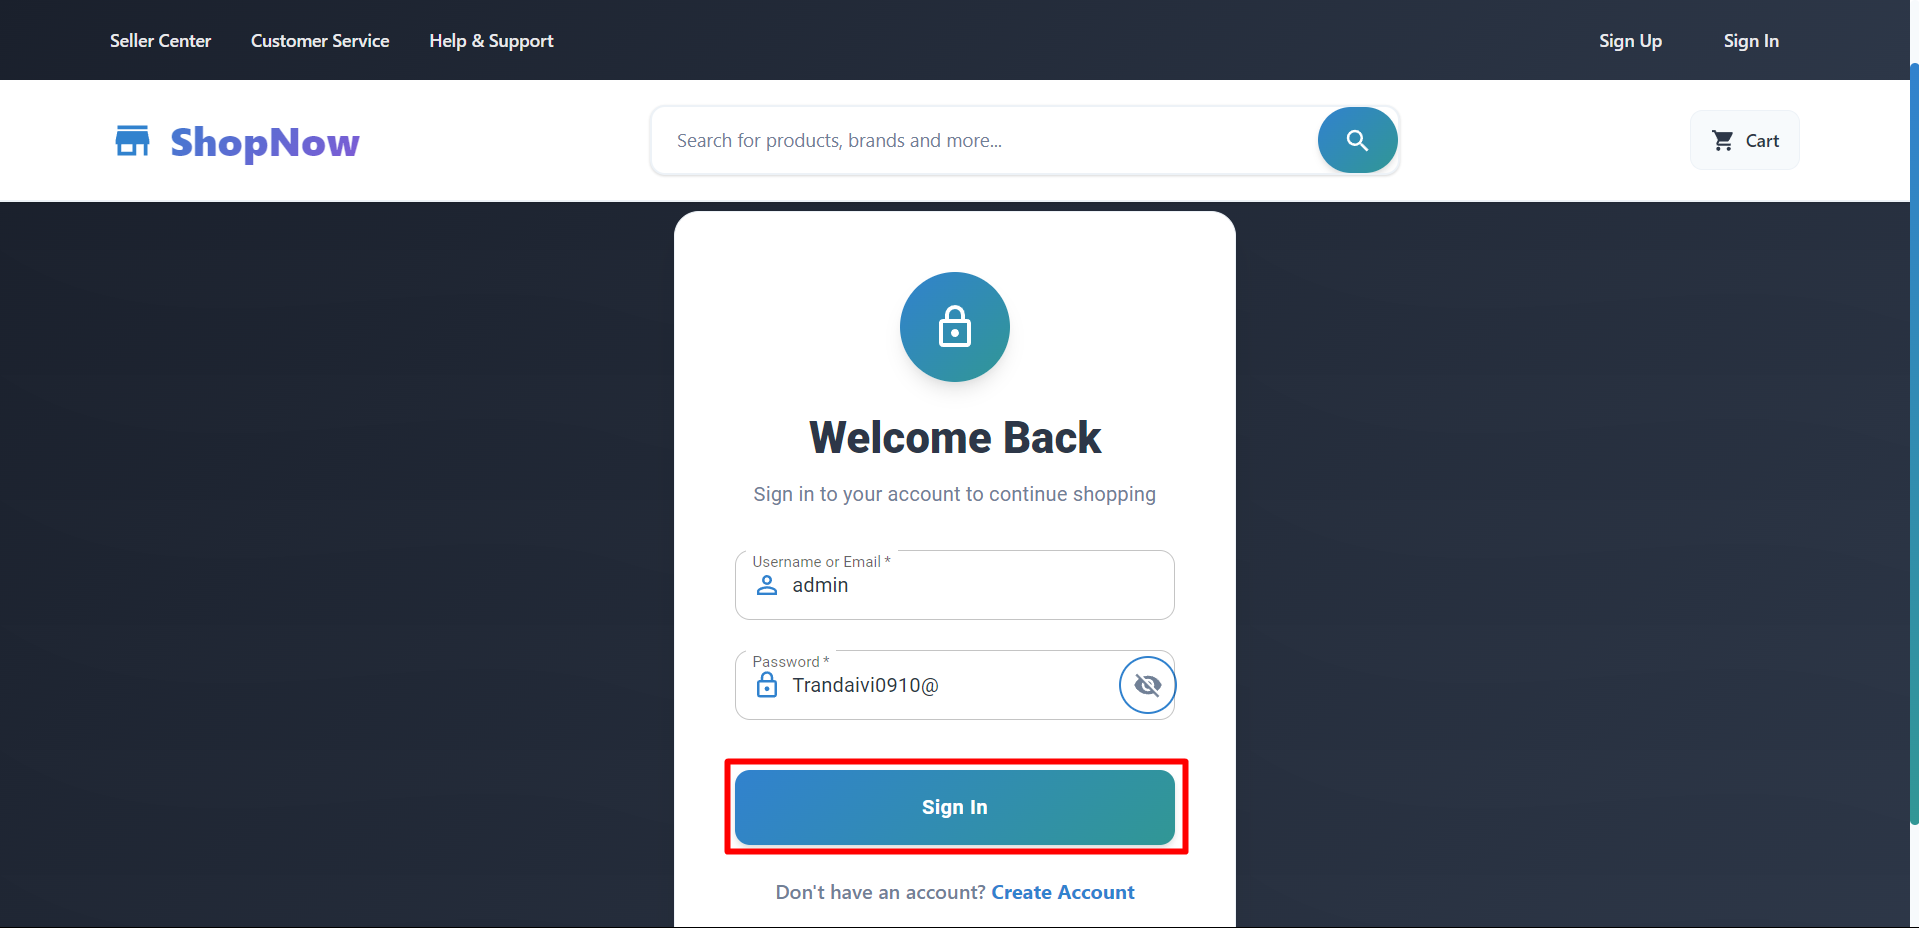
Proceed to login again and login was successful.
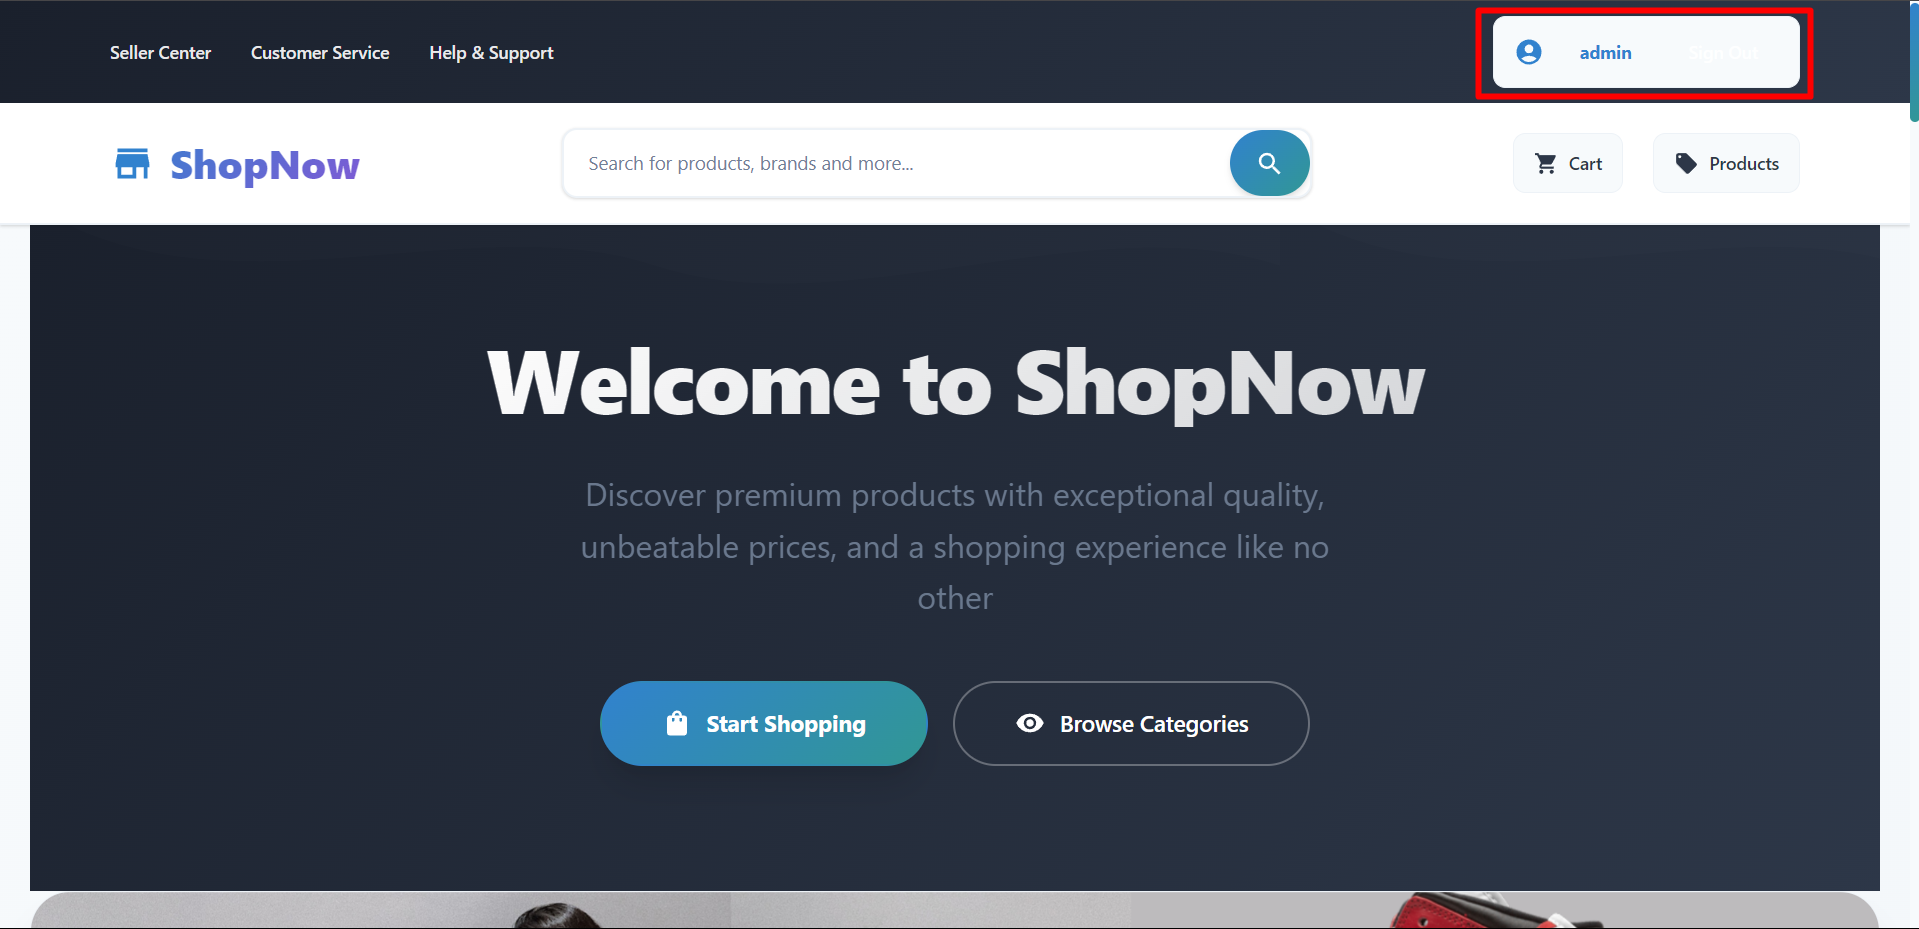
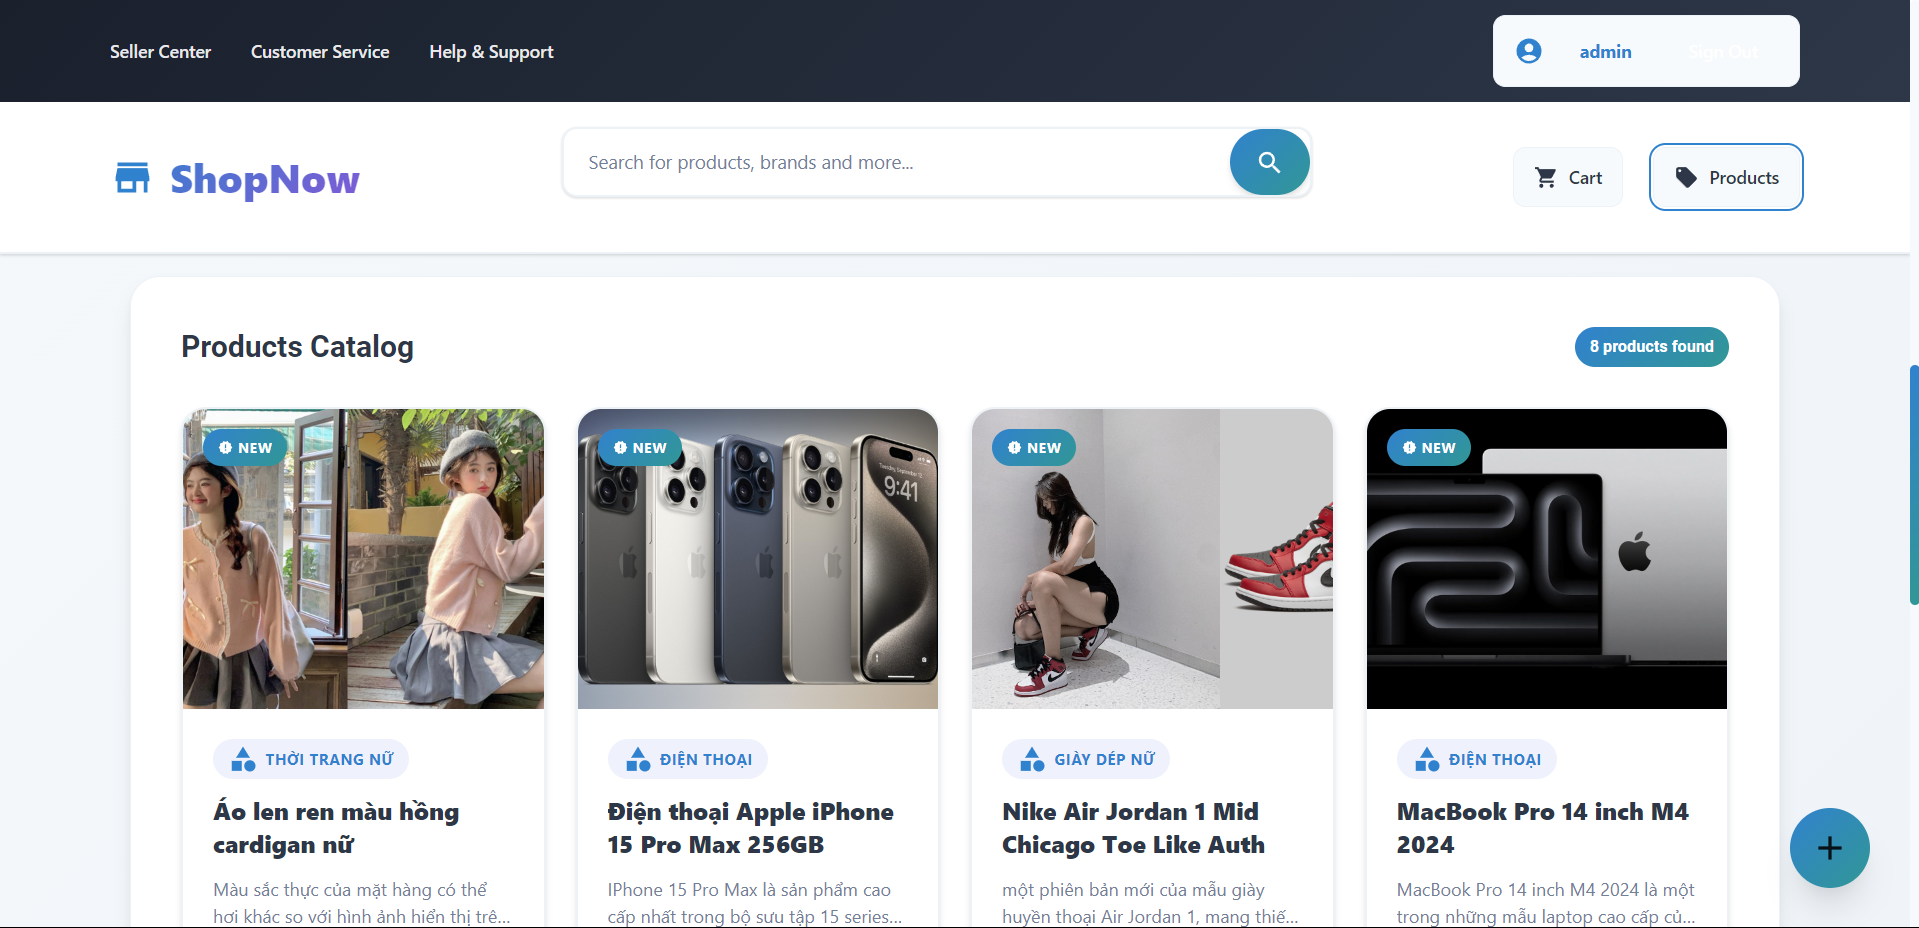
The product list has also been displayed.
The entire application deployment process from Frontend to Backend has been completed. Next, we will configure CI/CD for the application.