Frontend Deployment
Build Image
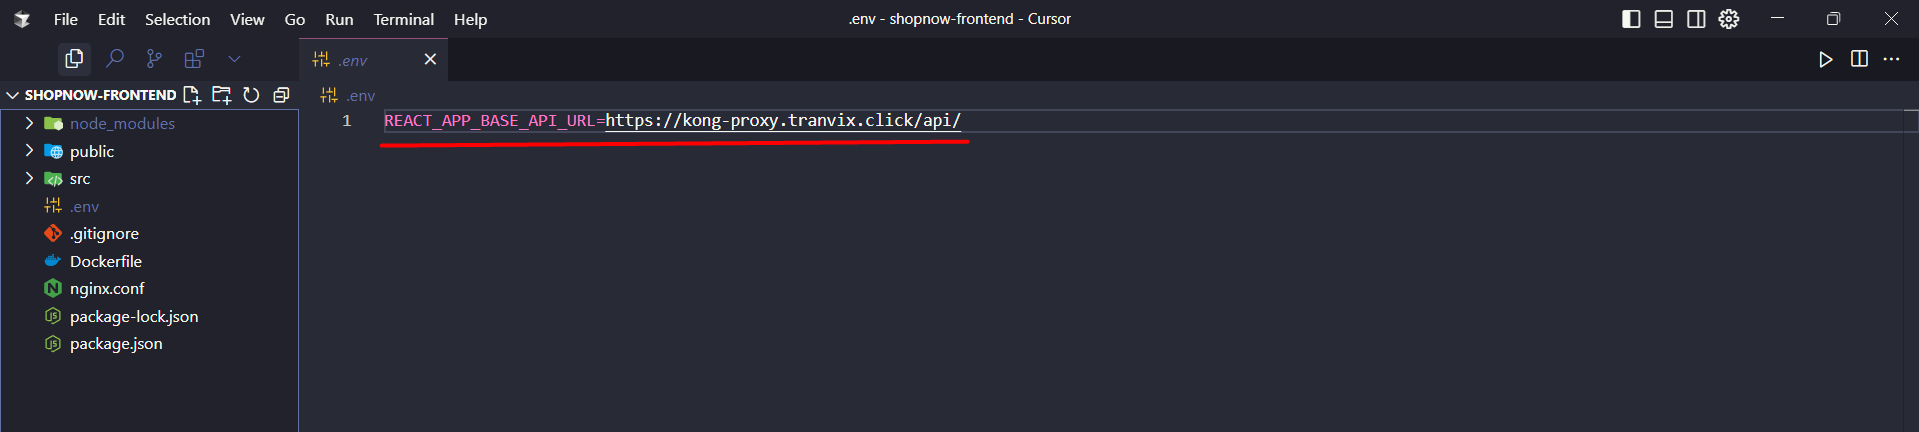
Access the Frontend source code location, check the .env file and point to the Kong Gateway API deployment address kong-proxy.tranvix.click.
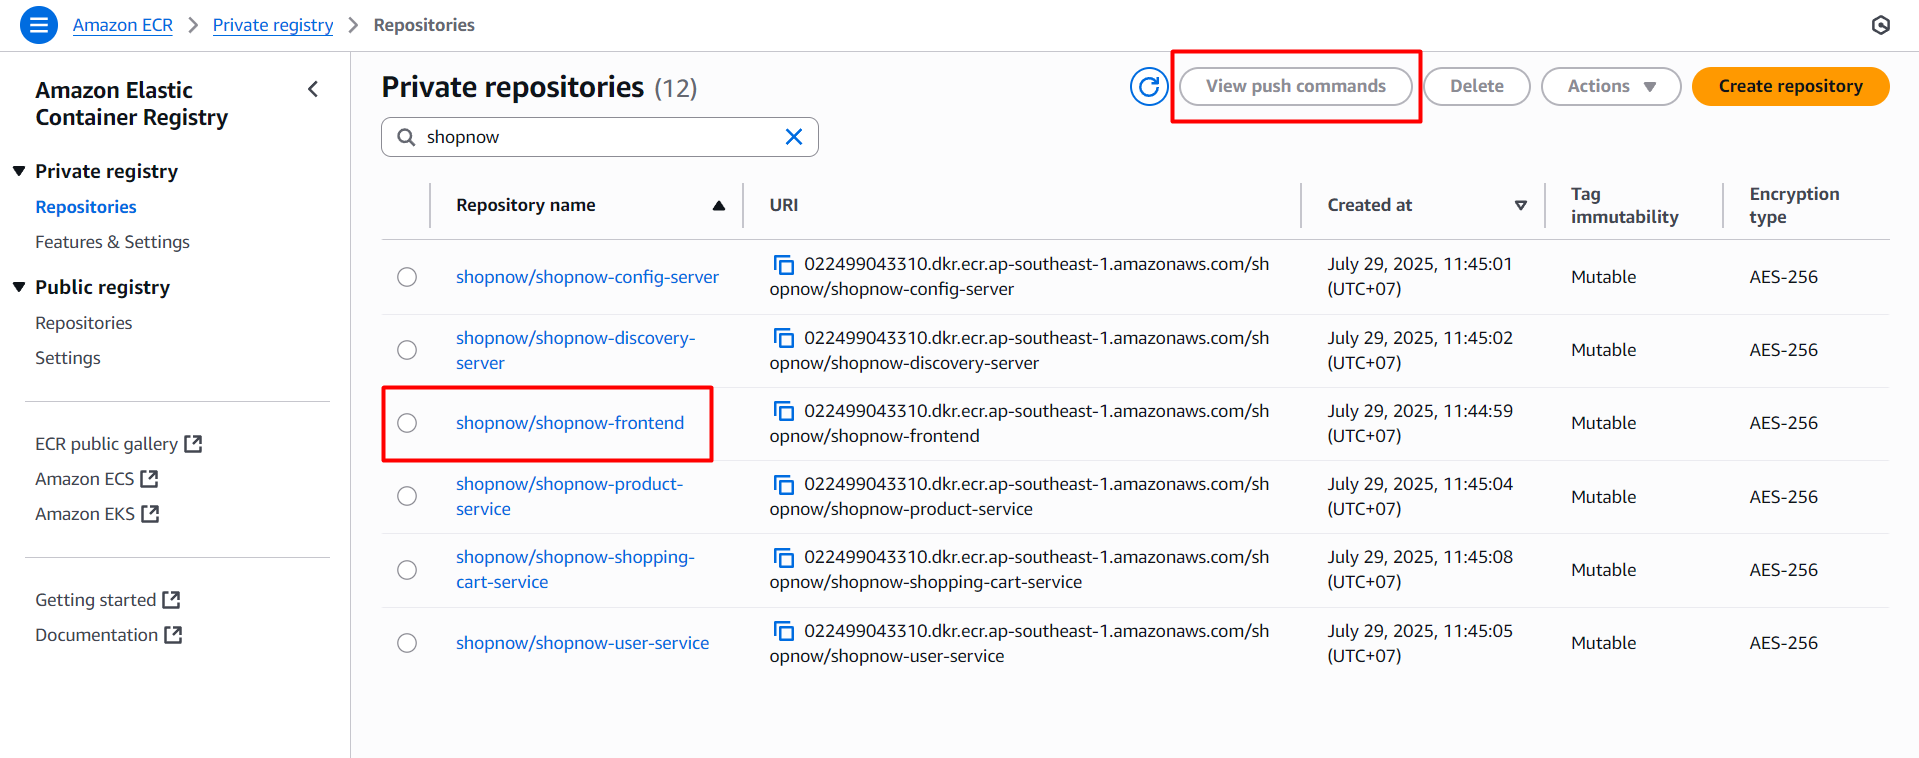
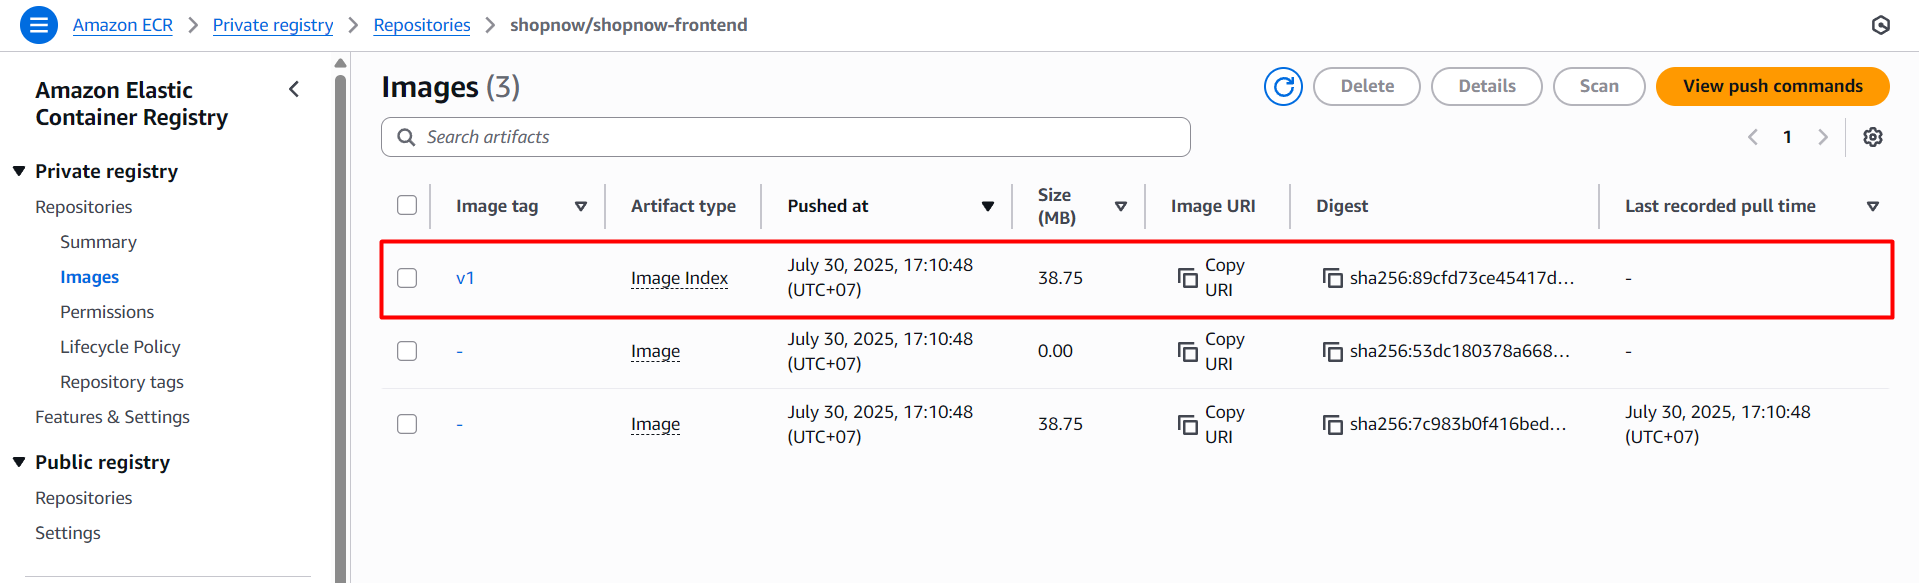
Then we access the ECR where the Frontend image is stored and view the necessary information. Access ECR, select shopnow/shopnow-frontend and choose View push commands.
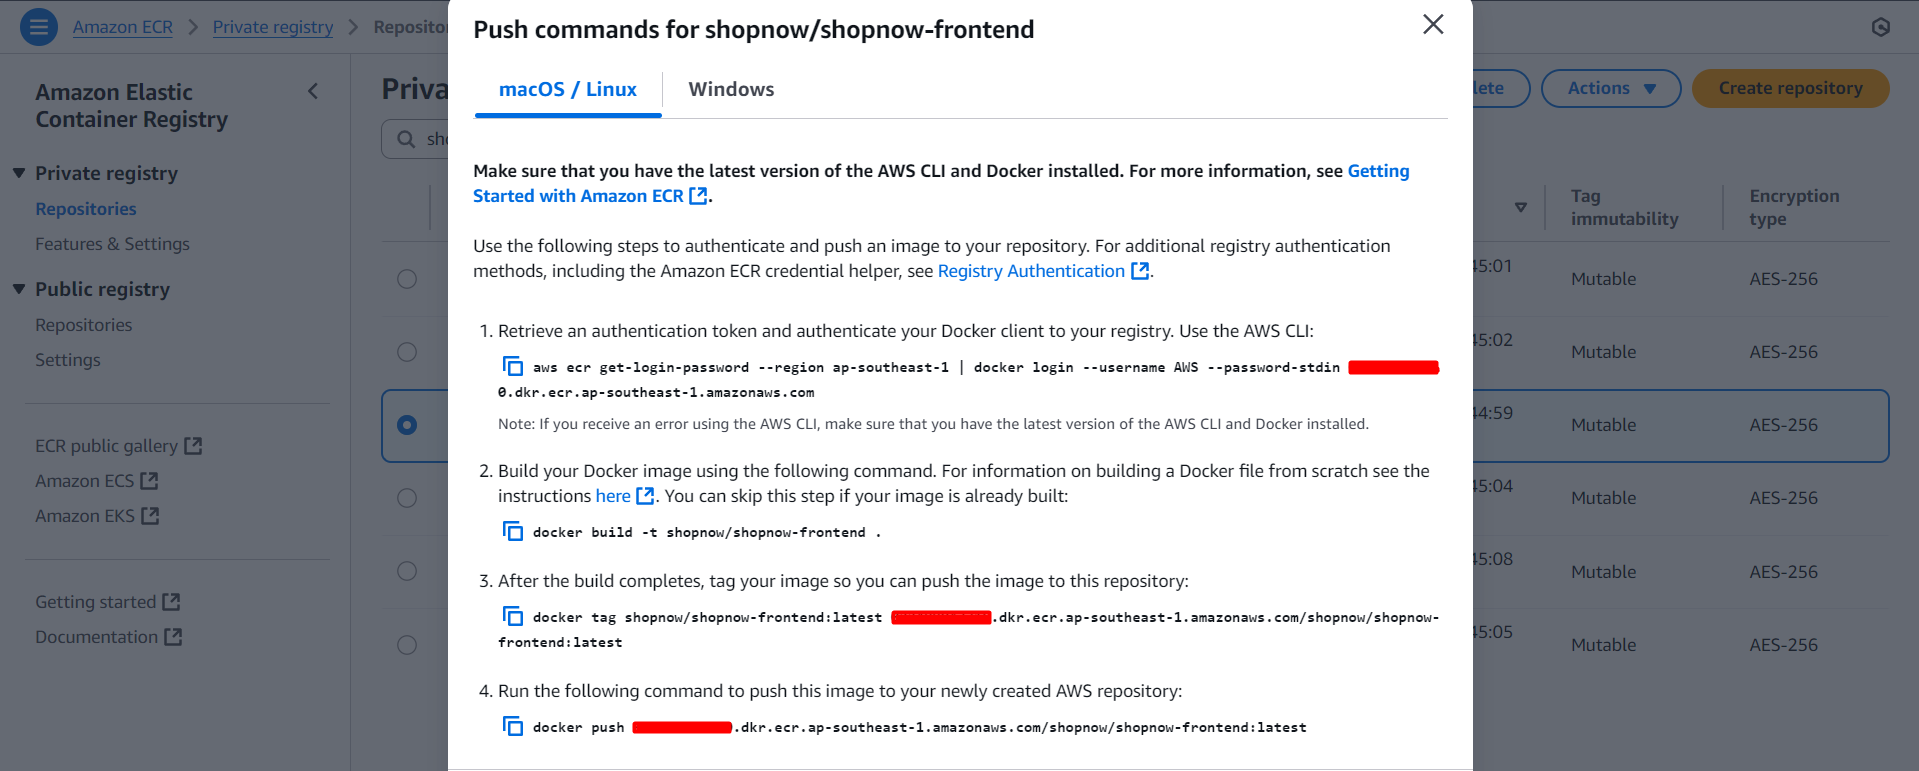
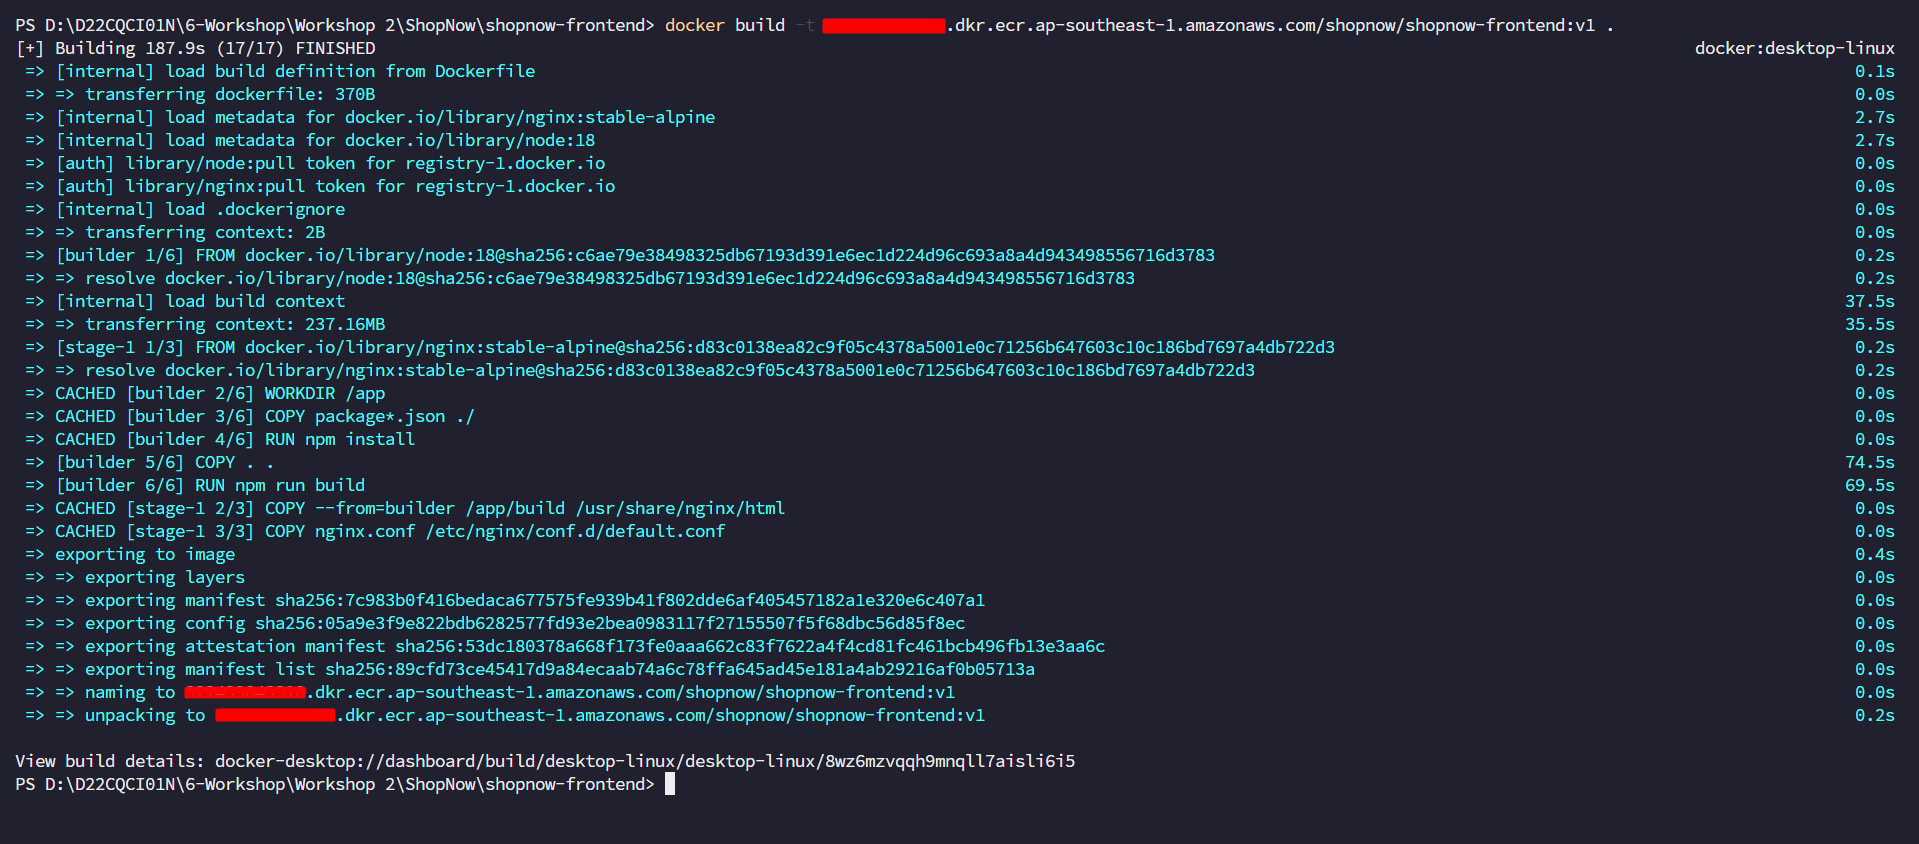
Based on the above instructions, we will use the following command to build the image:
docker build -t <account_id>.dkr.ecr.<region>.amazonaws.com/shopnow/shopnow-frontend:v1 .
Note: To build the Image, Docker must be installed on the machine. If using Windows, you can install Docker Desktop. How to install Docker
After building is complete, we will proceed to login and push the image to ECR using the command:
aws ecr get-login-password --region <region> | docker login --username AWS --password-stdin <account_id>.dkr.ecr.<region>.amazonaws.com

docker push <account_id>.dkr.ecr.<region>.amazonaws.com/shopnow/shopnow-frontend:v1
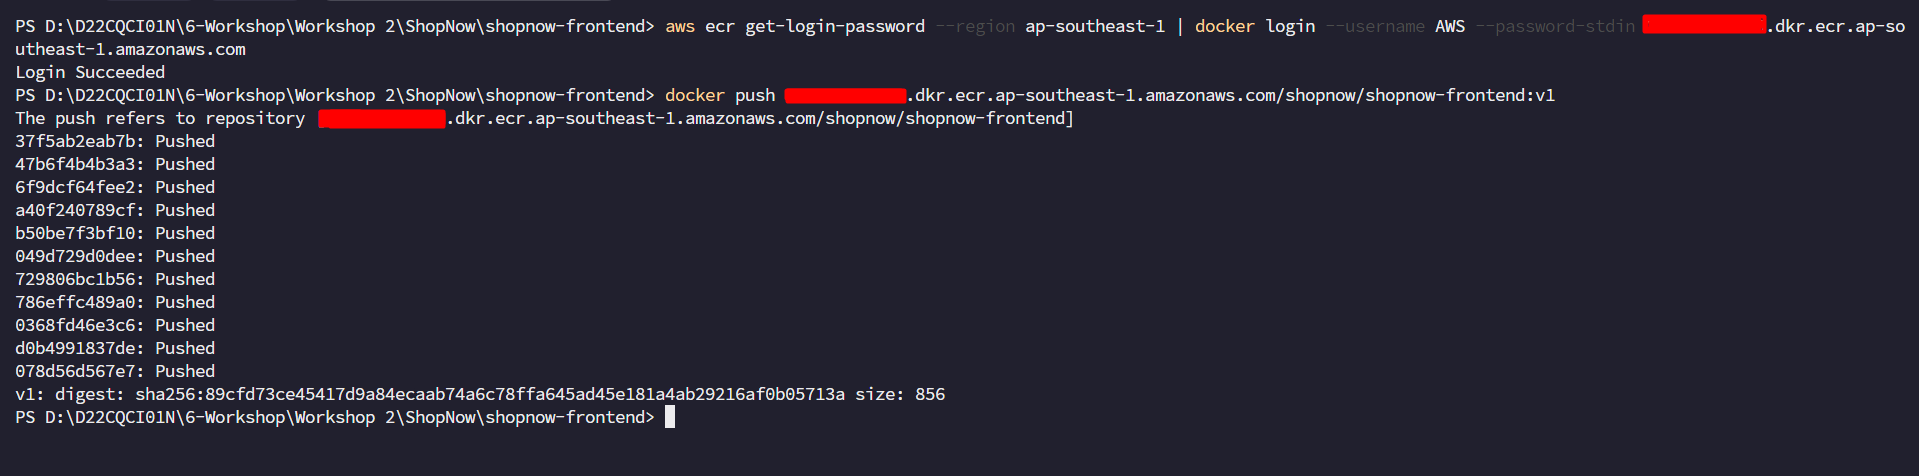
After pushing is complete, we will access ECR and view the results.
Deploy Frontend with ArgoCD
Before deploying Frontend with ArgoCD, we need to create a Project in ArgoCD with the following YAML file:
apiVersion: argoproj.io/v1alpha1
kind: AppProject
metadata:
  name: shopnow
  namespace: argocd
spec:
  description: Project for ShopNow apps
  sourceRepos:
    - '*'
  destinations:
    - namespace: shopnow
      server: https://kubernetes.default.svc
  clusterResourceWhitelist:
    - group: '*'
      kind: '*'
kubectl apply -f project.yaml
Create namespace shopnow in Kubernetes.
kubectl create namespace shopnow
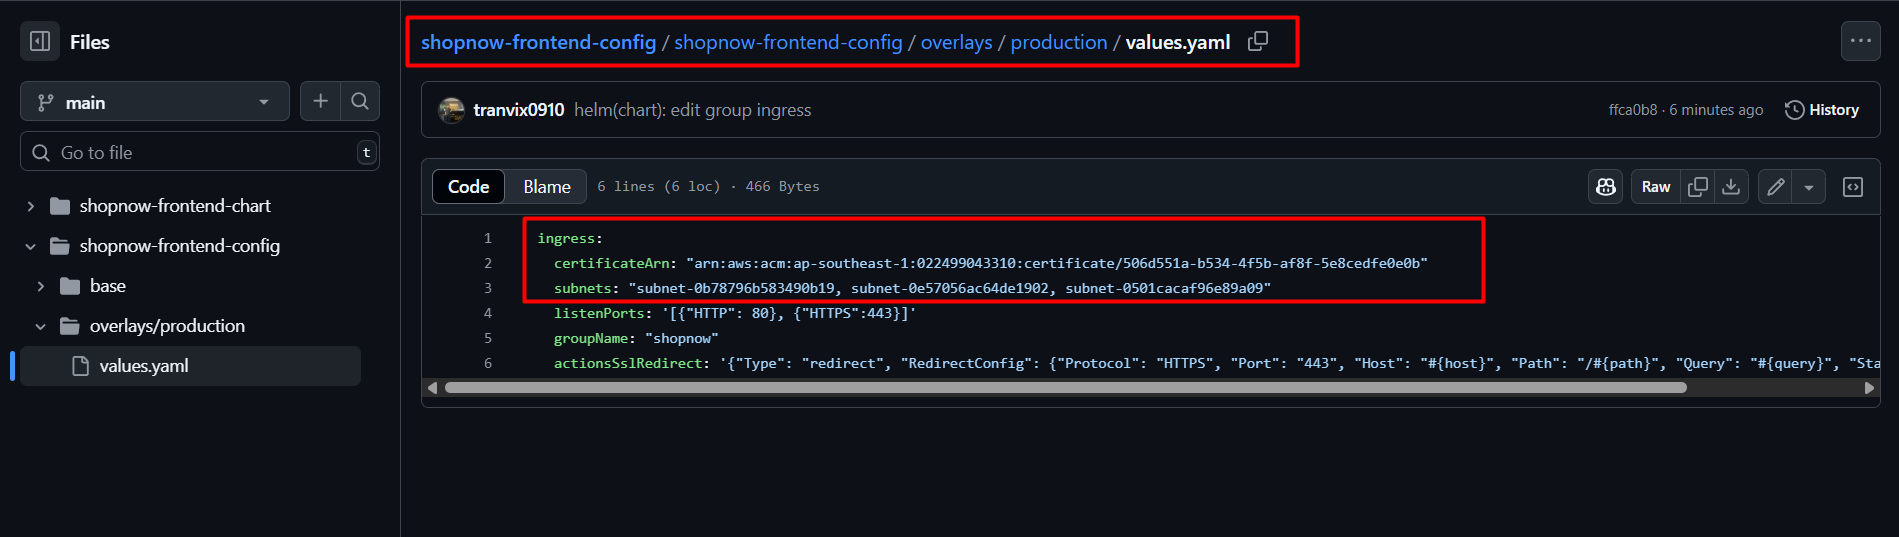
You need to access the shopnow-frontend-config Repository and configure some components such as Subnet and Certificate ARN to be able to deploy Ingress for Frontend.
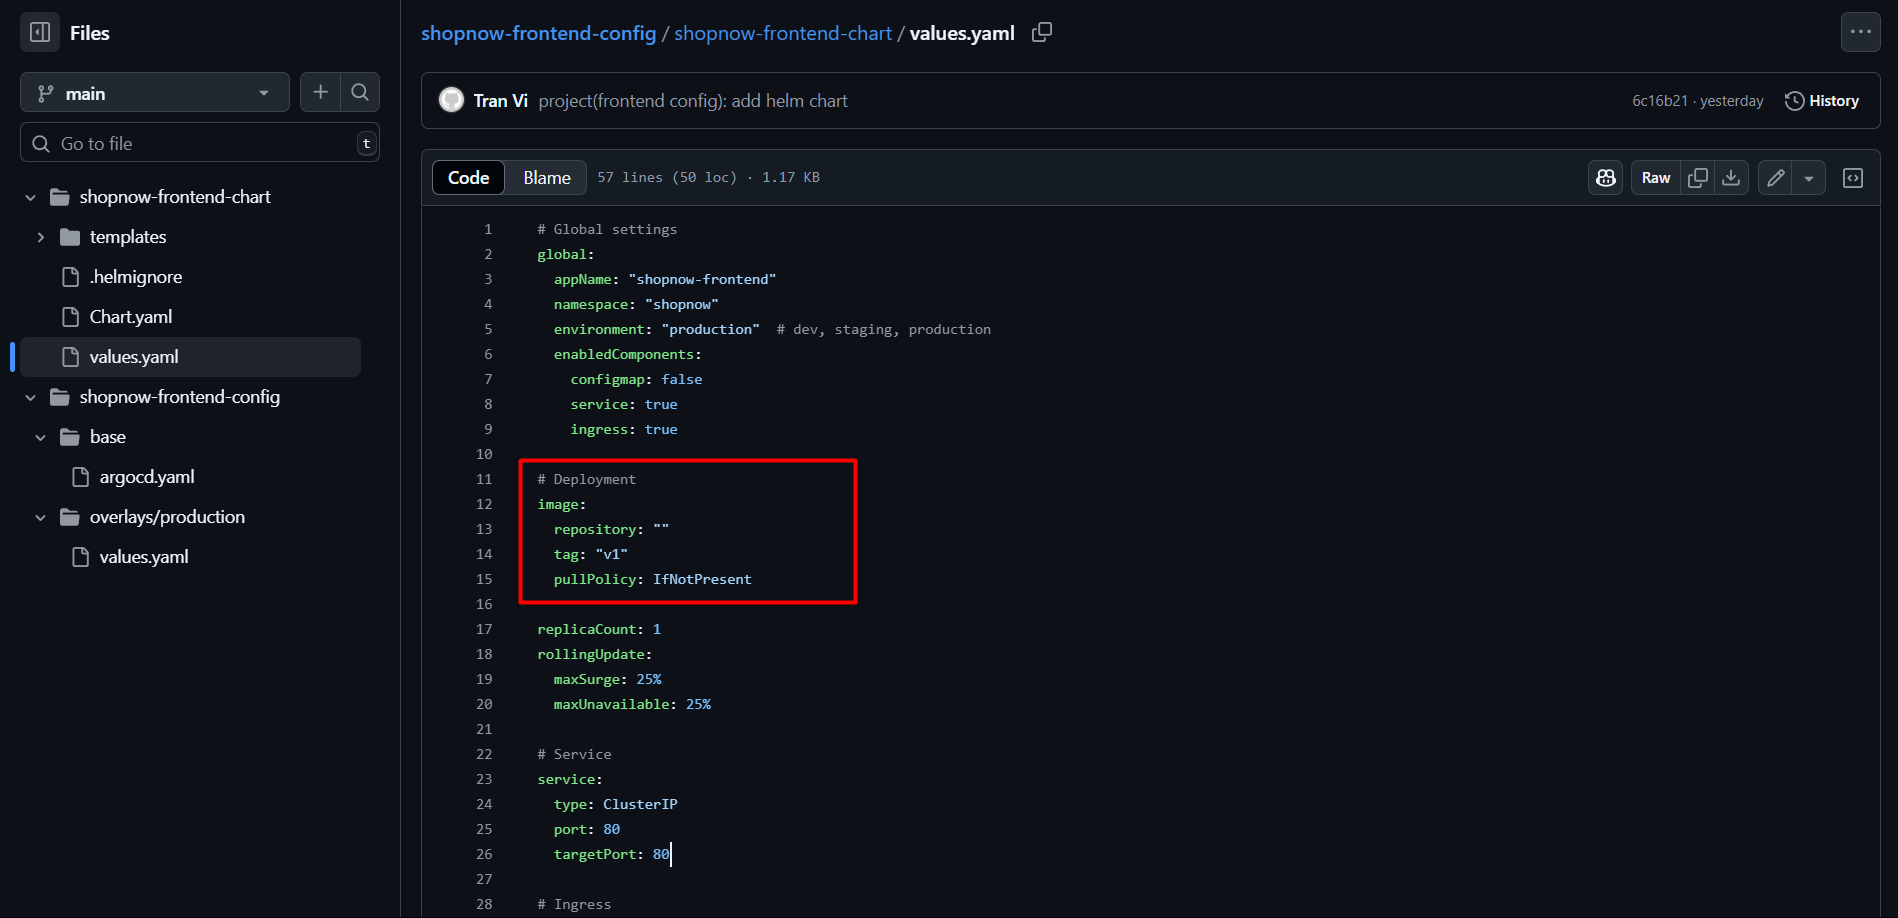
Note that the Frontend Image version is v1 in the values.yaml file.
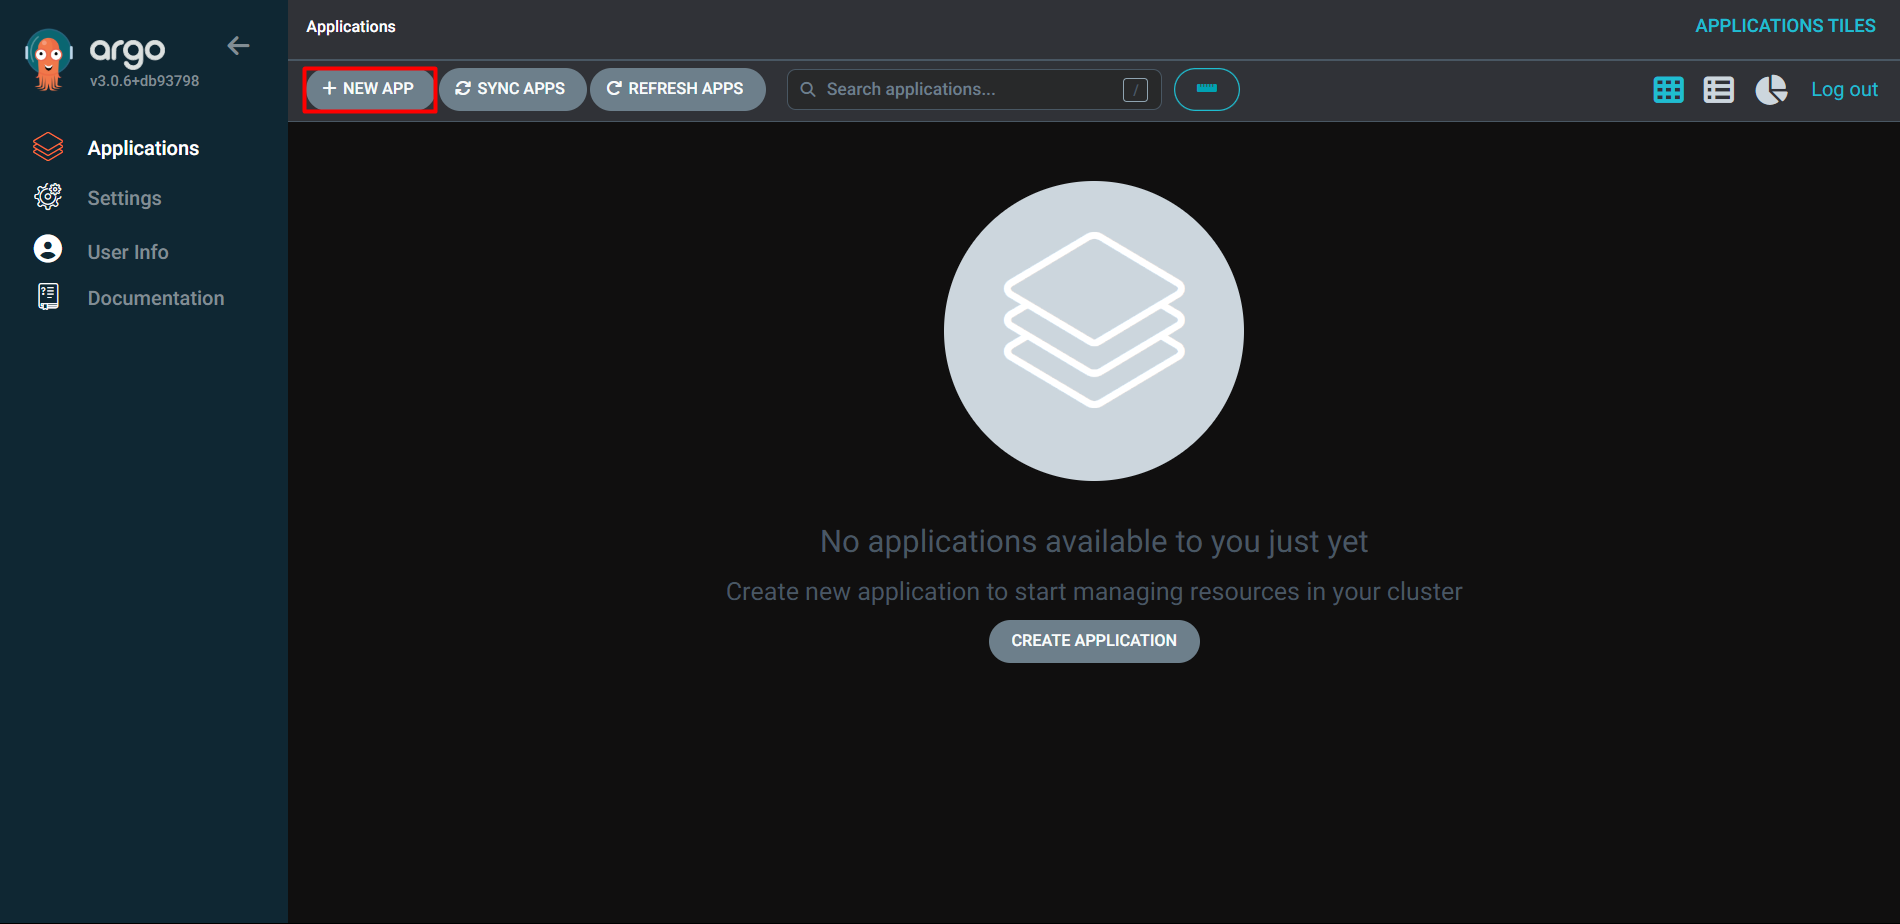
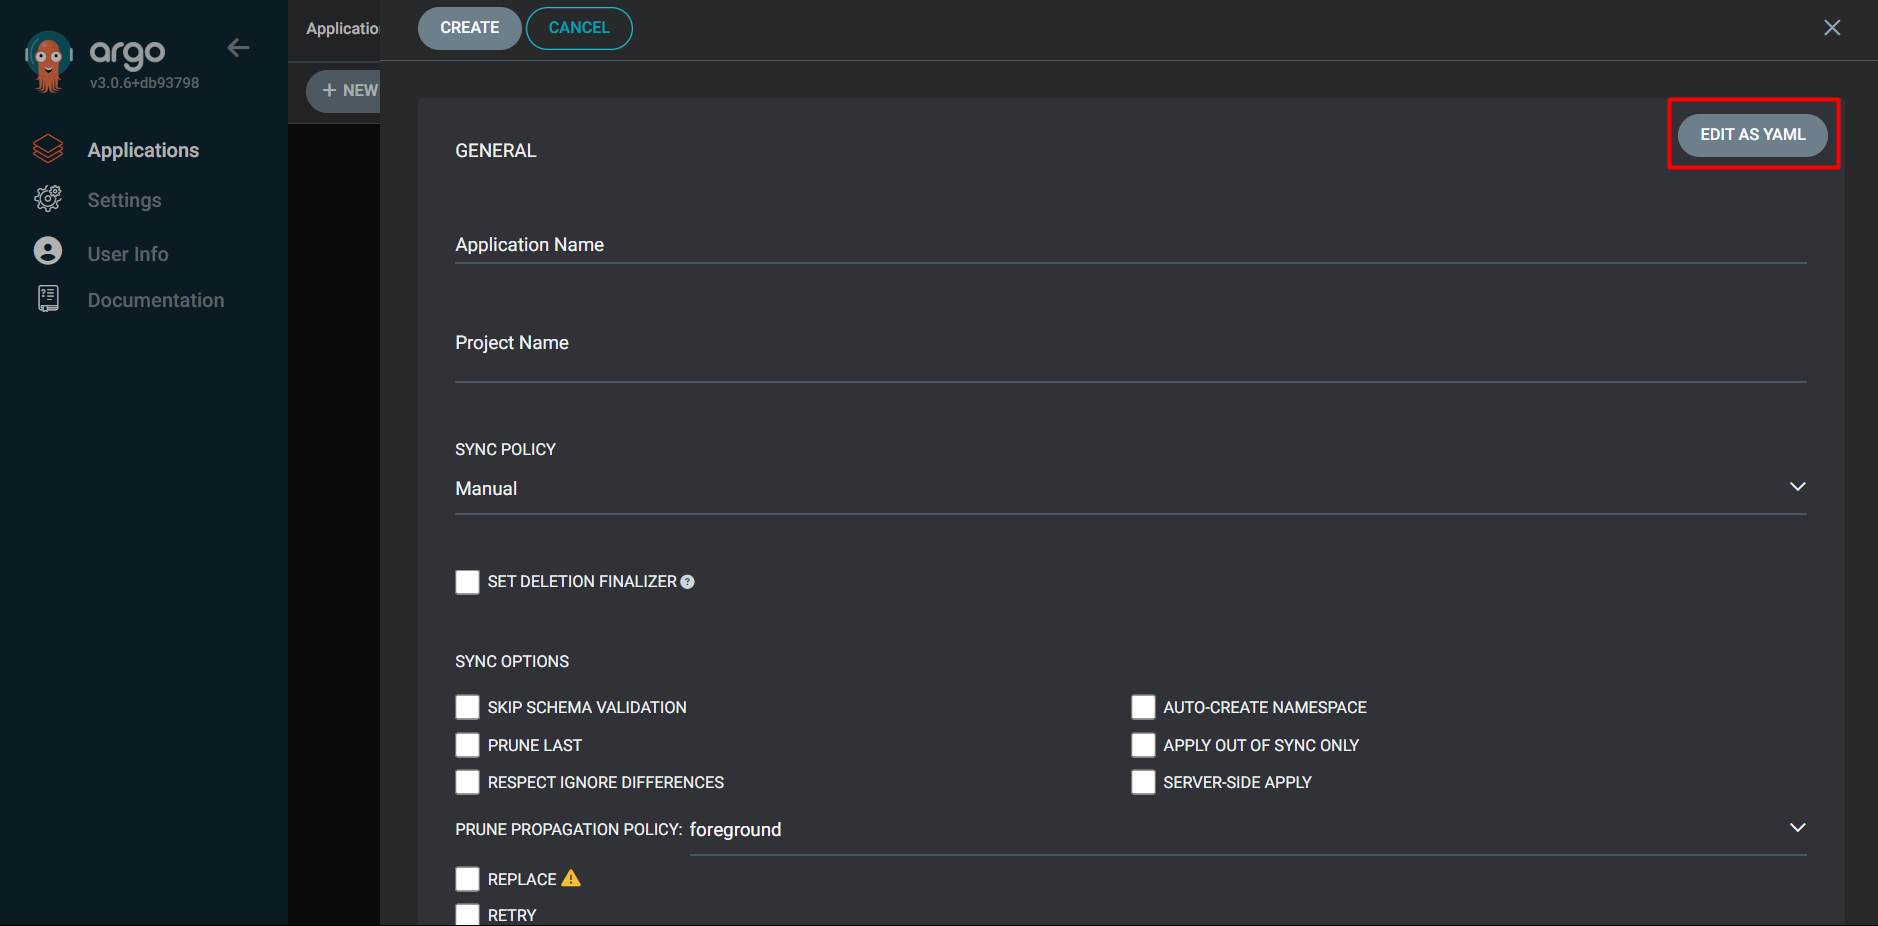
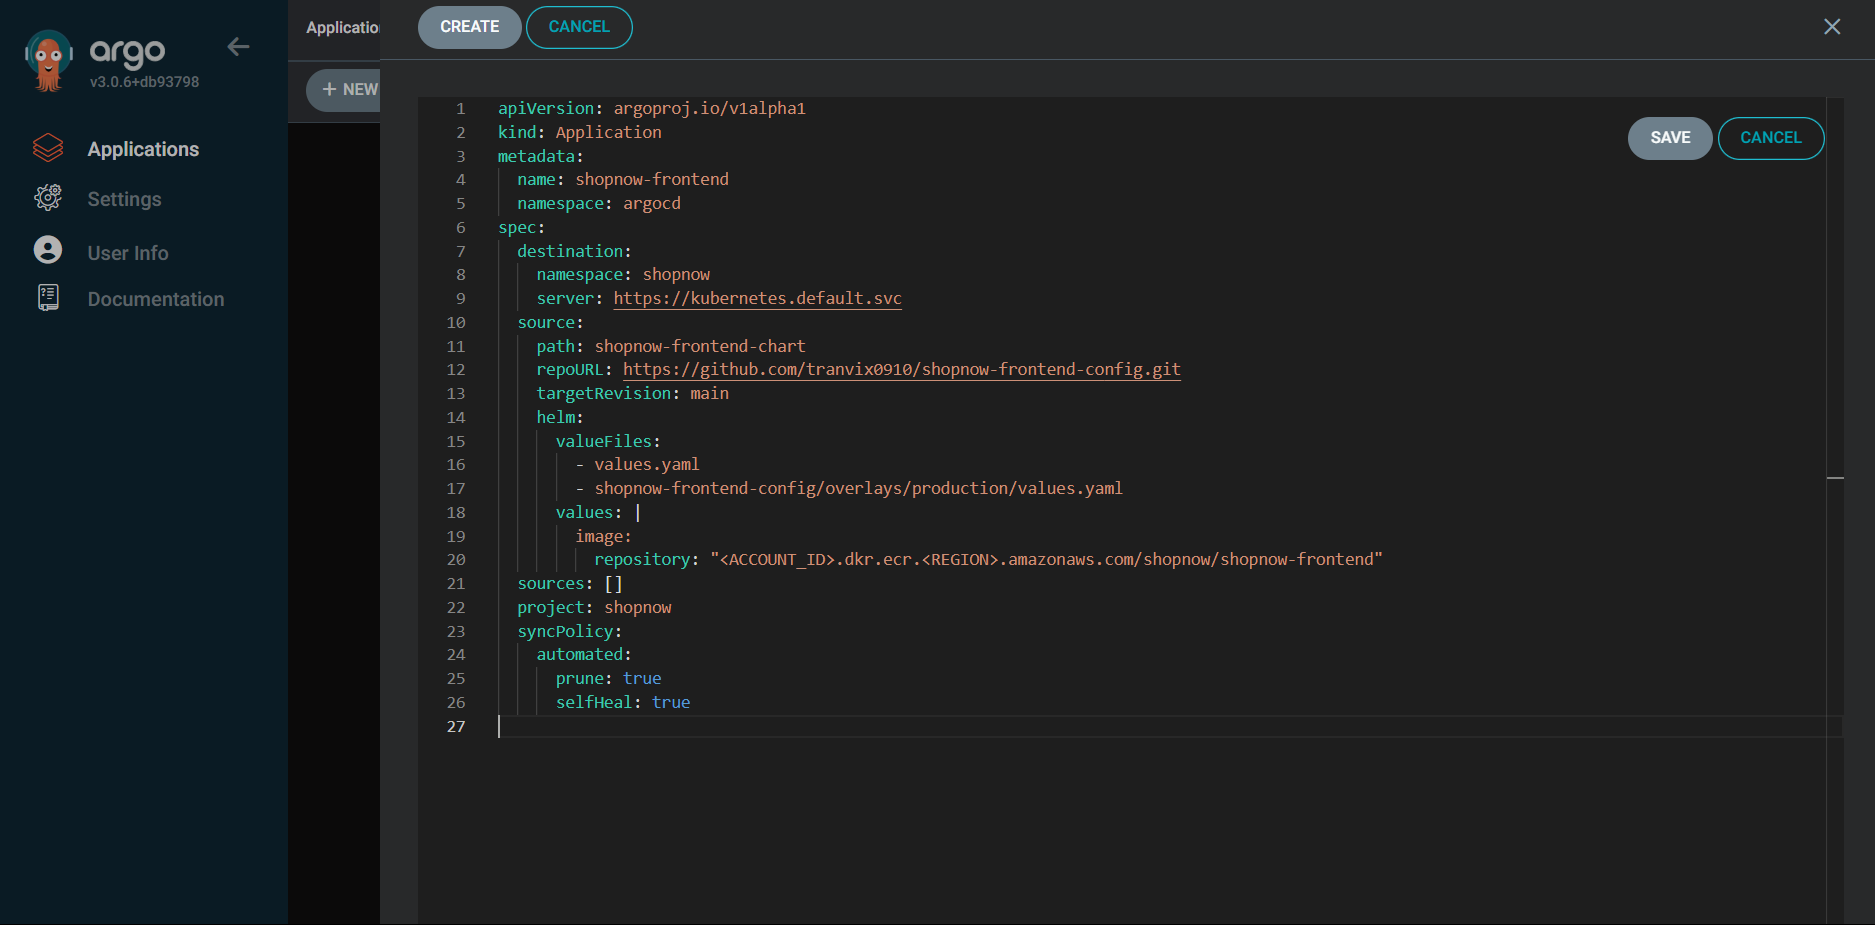
Access ArgoCD and create a new Application with the following YAML configuration file:
apiVersion: argoproj.io/v1alpha1
kind: Application
metadata:
  name: shopnow-frontend
  namespace: argocd
spec:
  destination:
    namespace: shopnow
    server: https://kubernetes.default.svc
  source:
    path: shopnow-frontend-chart
    repoURL: https://github.com/tranvix0910/shopnow-frontend-config.git
    targetRevision: main
    helm:
      valueFiles:
        - values.yaml
        - ../shopnow-frontend-config/overlays/production/values.yaml
      values: |
        image:
          repository: "<ACCOUNT_ID>.dkr.ecr.<REGION>.amazonaws.com/shopnow/shopnow-frontend"
  project: shopnow
  syncPolicy:
    automated:
      prune: true
      selfHeal: true
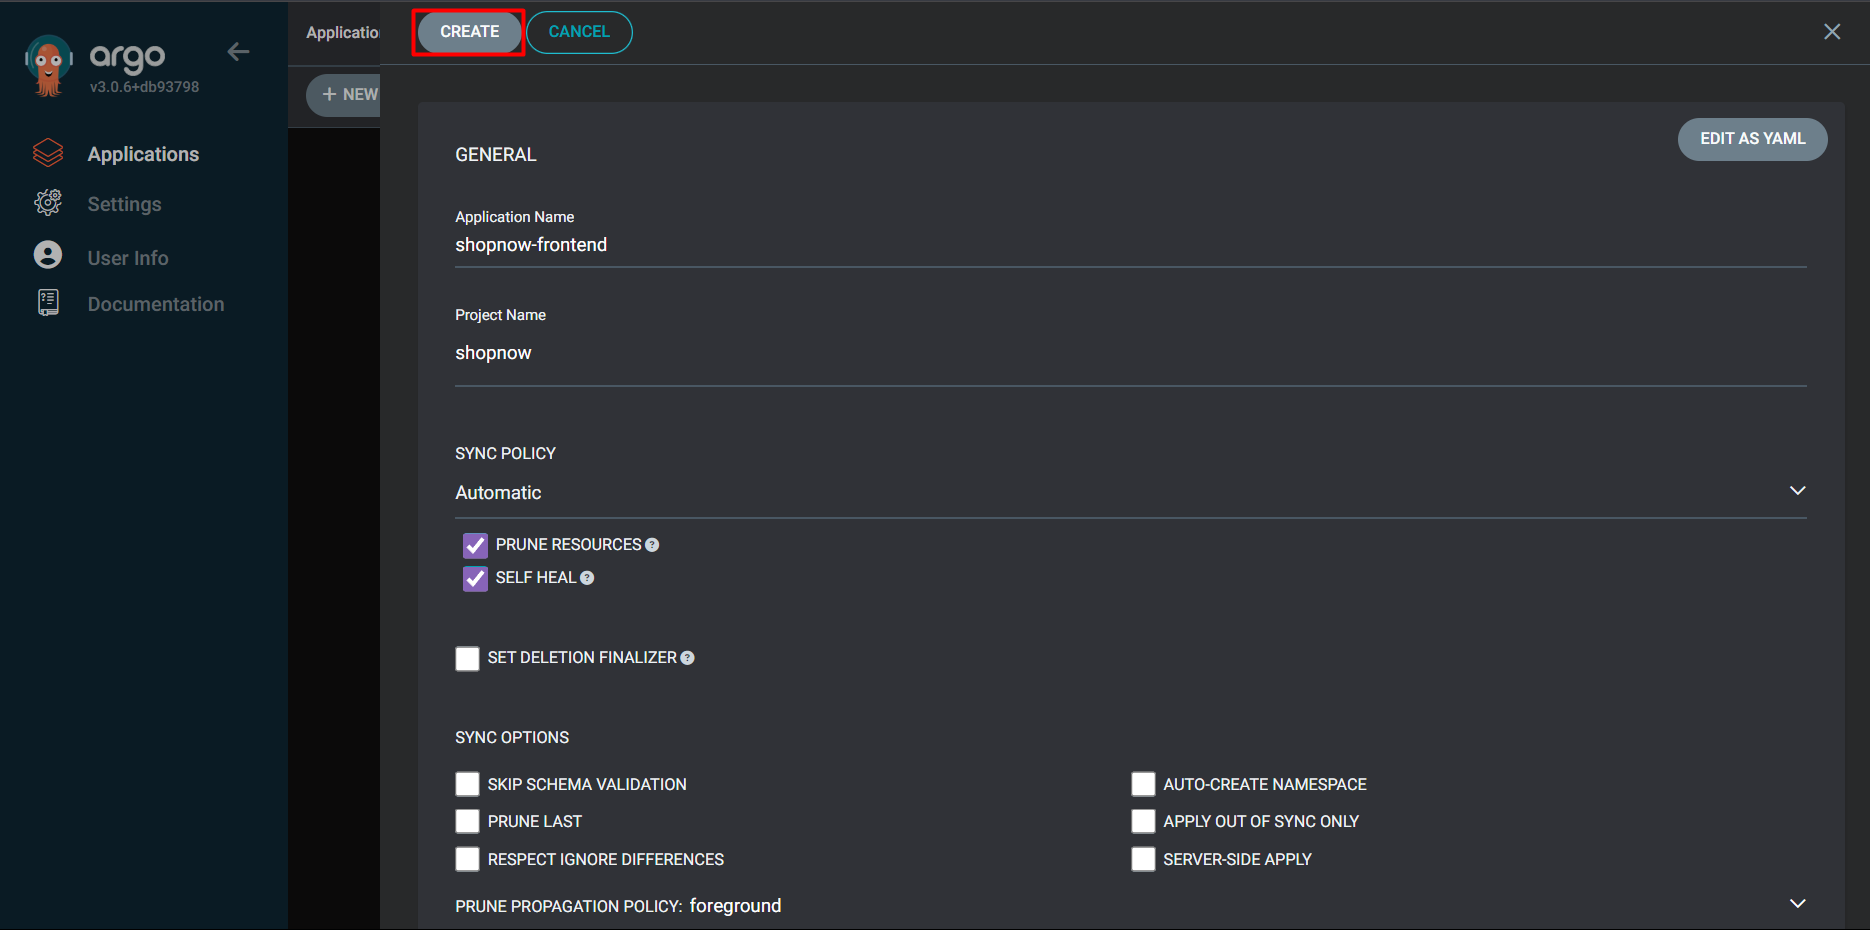
Copy the above YAML file into ArgoCD and create a new Application.
Proceed to Save and check the Application information.
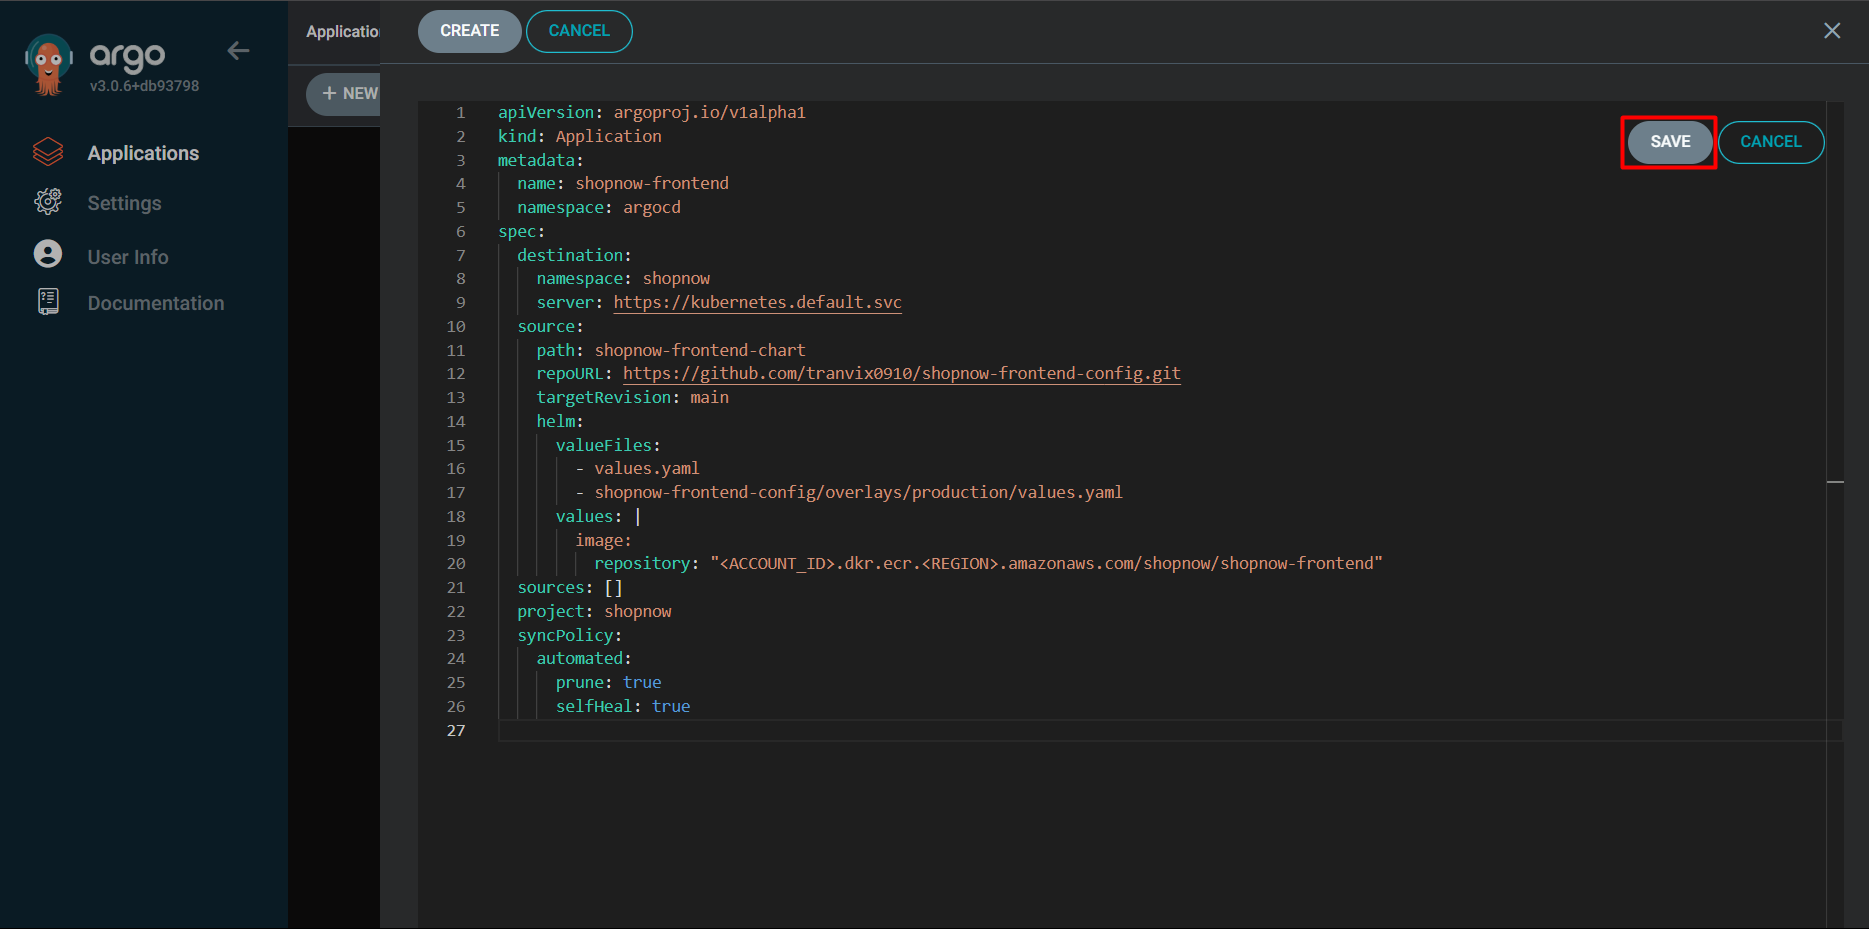
After creation is complete, we will proceed to check in ArgoCD.
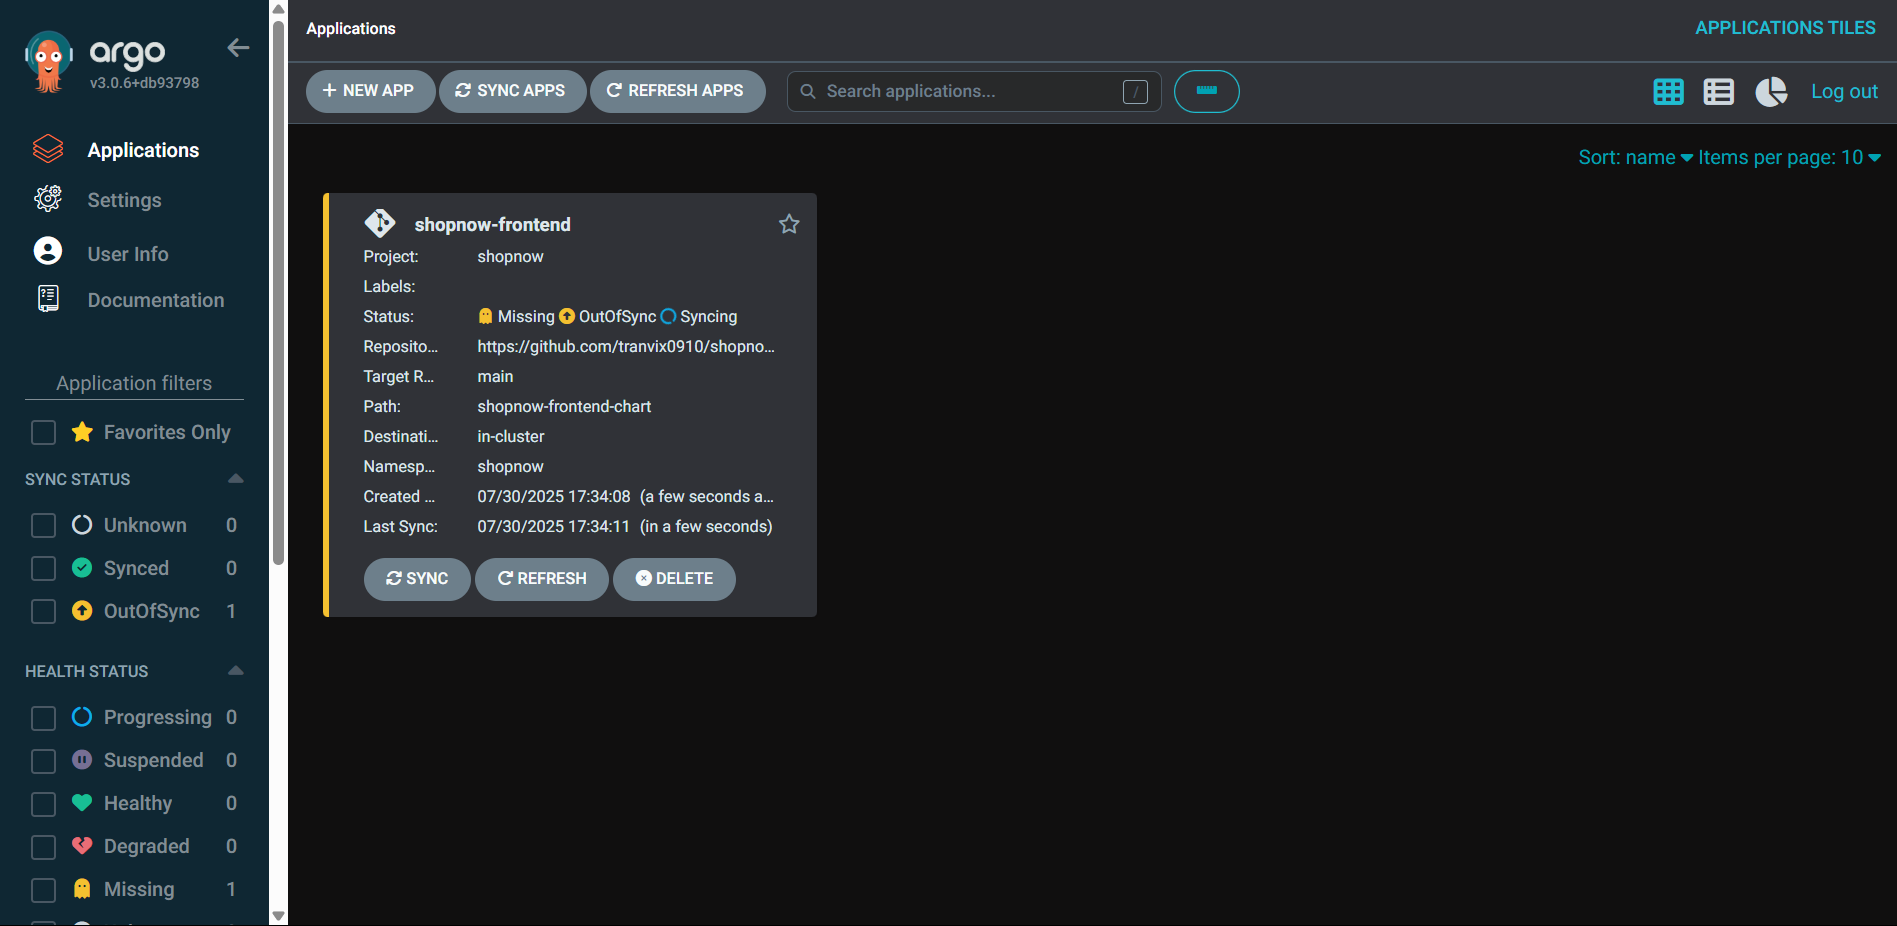
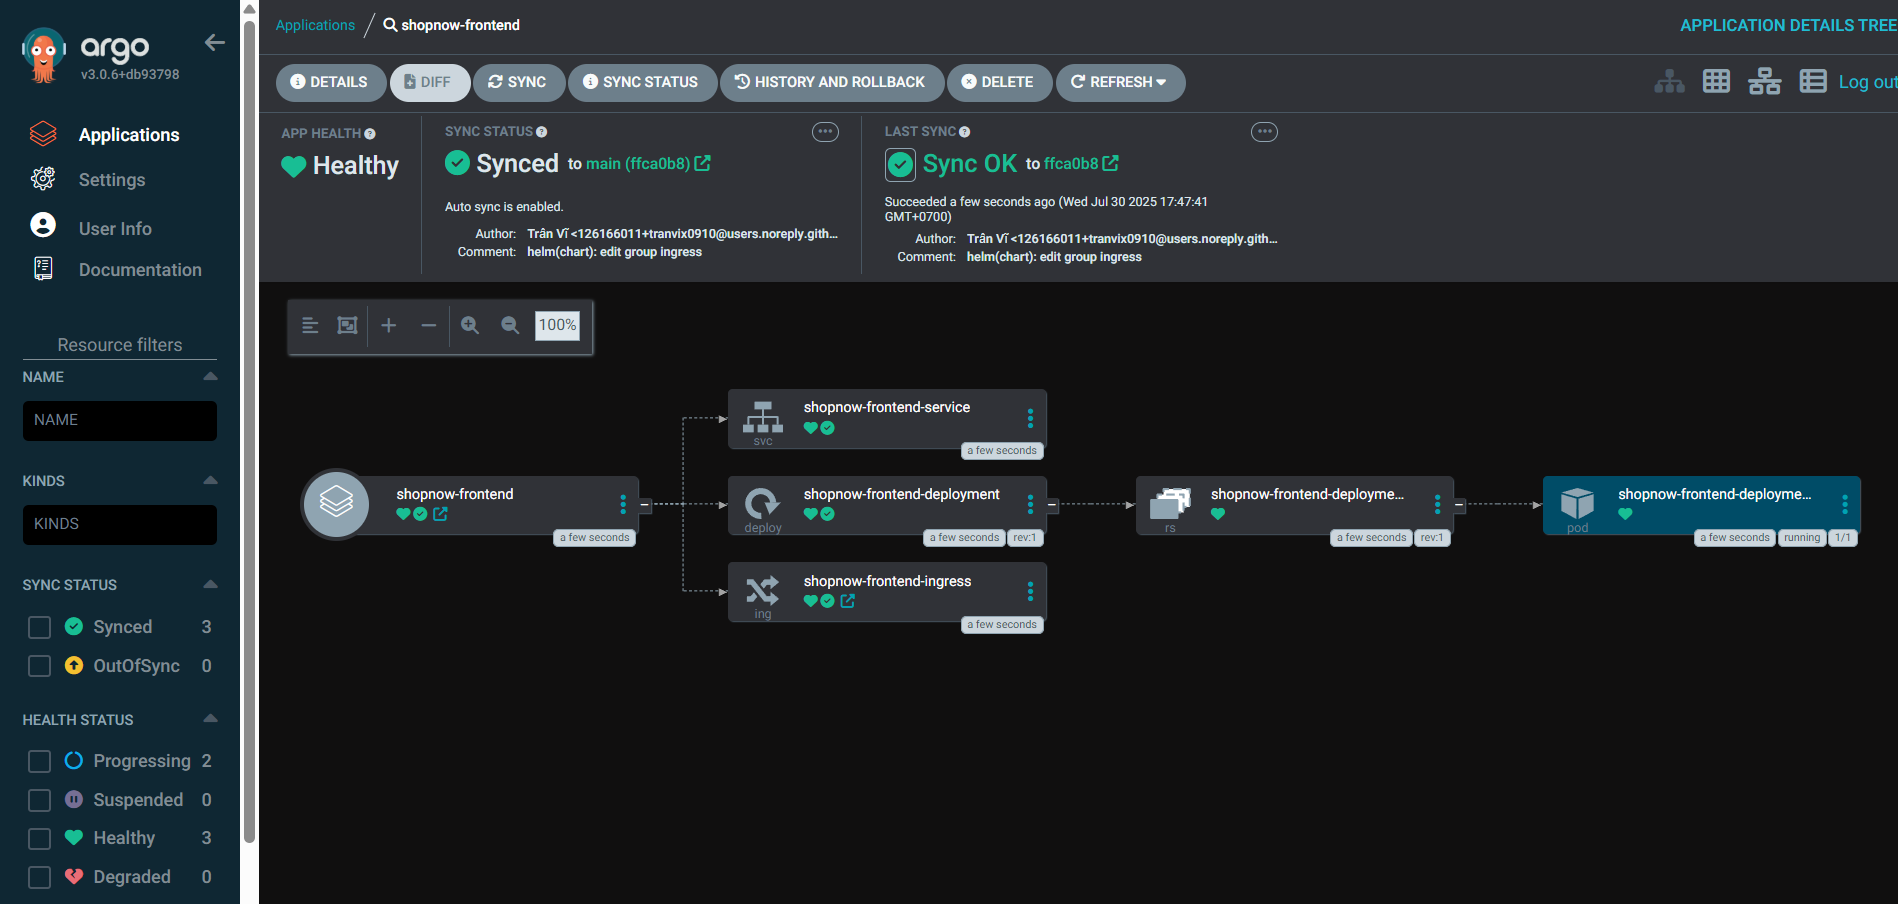
Thus, we have successfully deployed Frontend with ArgoCD.
Proceed to add a Record to Route 53 to point to Frontend with Domain shopnow.tranvix.click.

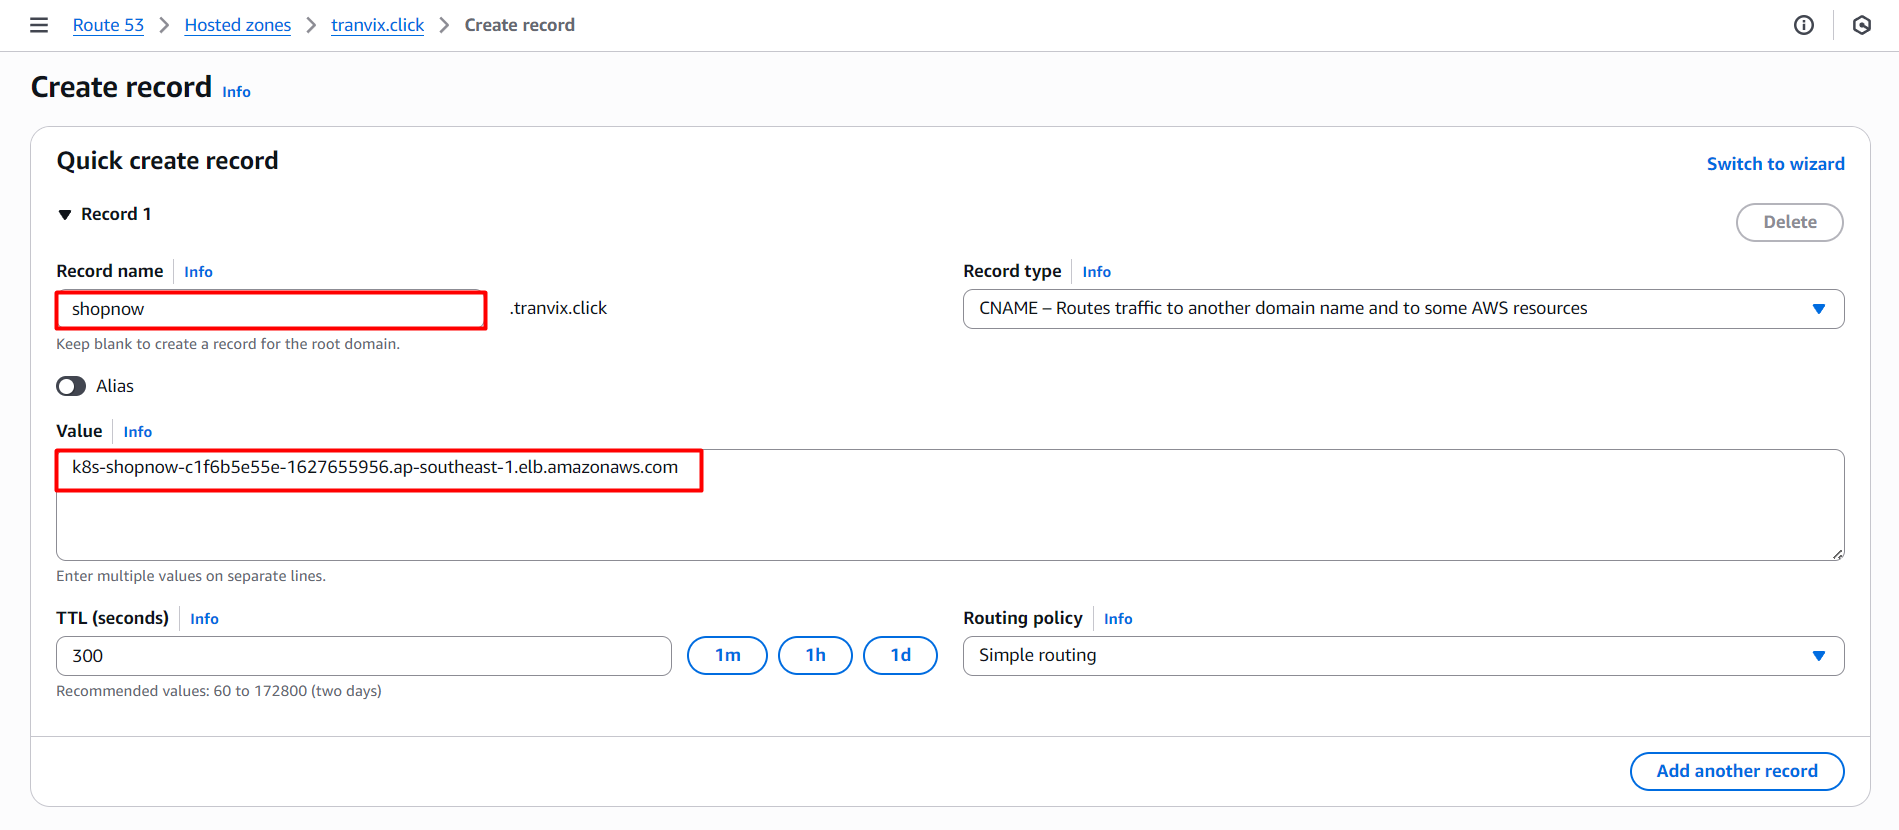
After adding is complete, proceed to access https://shopnow.tranvix.click and check the results.
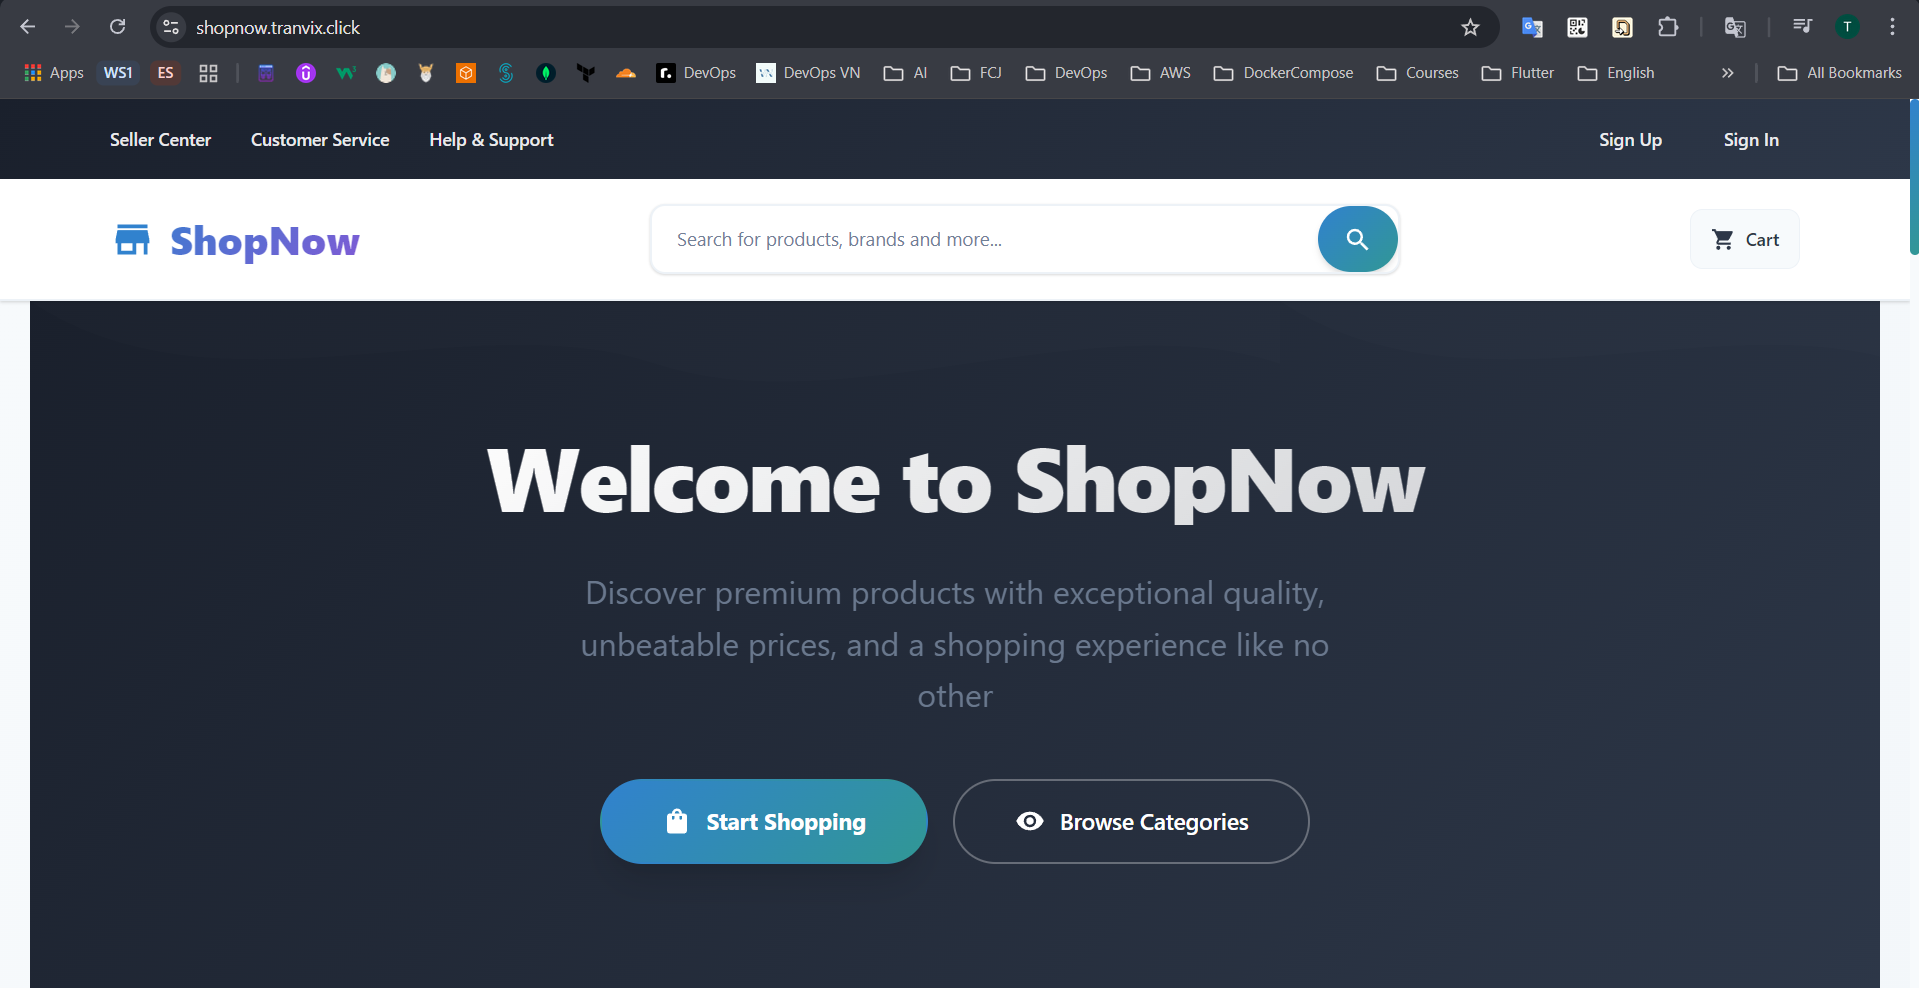
Thus, we have successfully deployed Frontend with ArgoCD.