Install SonarQube
Install SonarQube with Helm
Create namespace sonar
kubectl create namespace sonarqube
Add SonarQube repository
helm repo add sonarqube https://SonarSource.github.io/helm-chart-sonarqube
helm repo update
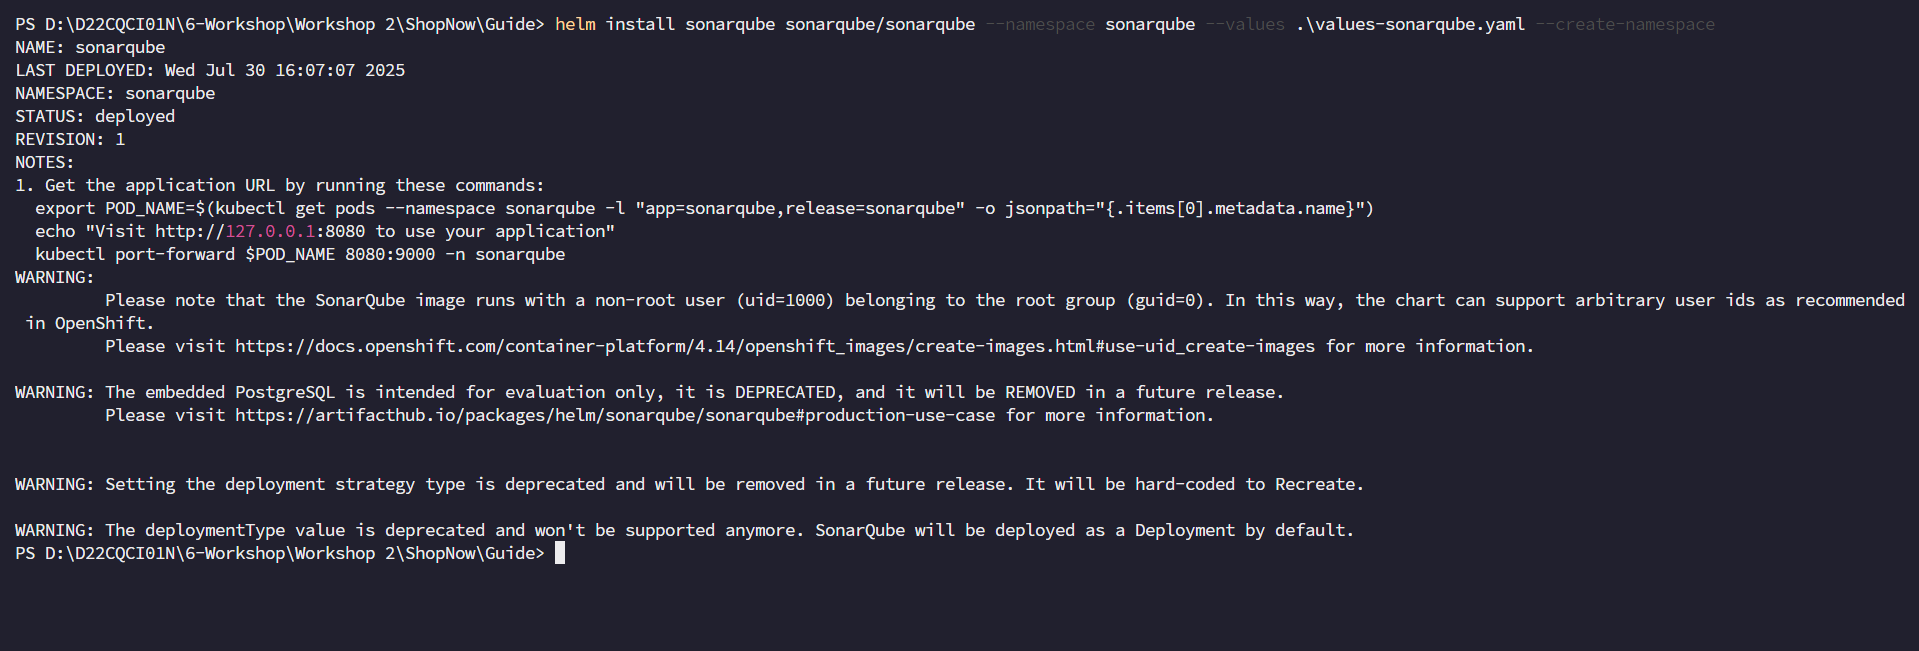
Install SonarQube with the values.yaml configuration file below
helm install sonarqube sonarqube/sonarqube --namespace sonarqube --values values.yaml
community:
  enabled: true

persistence:
  enabled: true
  storageClass: ebs-sc
  accessMode: ReadWriteOnce
  size: 5Gi

postgresql:
  enabled: true
  persistence:
    enabled: true
    storageClass: ebs-sc
    accessMode: ReadWriteOnce
    size: 10Gi

monitoringPasscode: "Trandaivi0910@"

setAdminPassword:
  newPassword: "Trandaivi0910@"
  currentPassword: "admin"
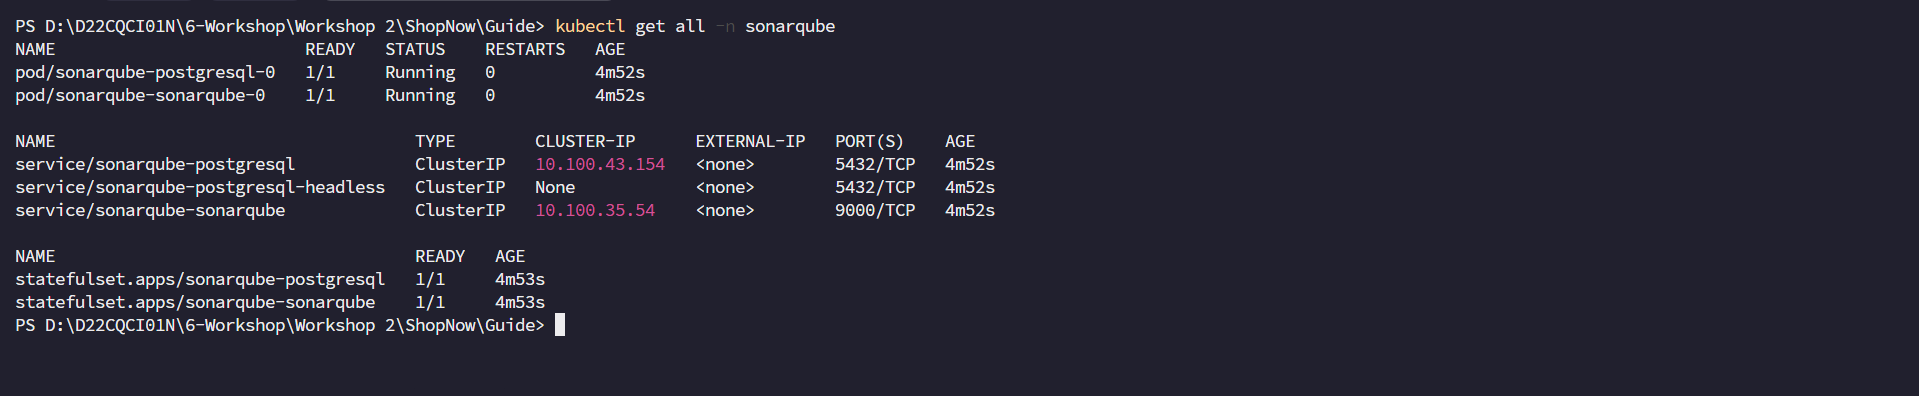
Check the installation
kubectl get all -n sonarqube
Next, we will create an Ingress for SonarQube with Domain sonar.tranvix.click, ACM Certificate and Public Subnets.
apiVersion: networking.k8s.io/v1
kind: Ingress
metadata:
  name: sonarqube-ingress
  namespace: sonarqube
  annotations:
    alb.ingress.kubernetes.io/actions.ssl-redirect: >-
      {"Type": "redirect", "RedirectConfig": {"Protocol": "HTTPS", "Port":
      "443", "Host": "#{host}", "Path": "/#{path}", "Query": "#{query}",
      "StatusCode": "HTTP_301"}}
    alb.ingress.kubernetes.io/certificate-arn: >-
      arn:aws:acm:ap-southeast-1:022499043310:certificate/e17ff586-7489-44cb-a355-e1ab72675102
    alb.ingress.kubernetes.io/group.name: shopnow
    alb.ingress.kubernetes.io/listen-ports: '[{"HTTP": 80}, {"HTTPS":443}]'
    alb.ingress.kubernetes.io/scheme: internet-facing
    alb.ingress.kubernetes.io/subnets: subnet-00502d28cf8623a99, subnet-00f29dc65958e83c4, subnet-0b4dd832c80661a42
    alb.ingress.kubernetes.io/target-type: ip
spec:
  ingressClassName: alb
  rules:
    - host: sonarqube.tranvix.click
      http:
        paths:
          - backend:
              service:
                name: sonarqube-sonarqube
                port:
                  number: 9000
            path: /
            pathType: Prefix
Apply the above configuration to create Ingress for SonarQube and check again
kubectl apply -f sonarqube-ingress.yaml
kubectl get ingress -n sonarqube

We need to create a DNS Record in Route 53 to access SonarQube with the domain sonar.tranvix.click and configure as follows:

Then we proceed to access SonarQube with the domain sonar.tranvix.click.
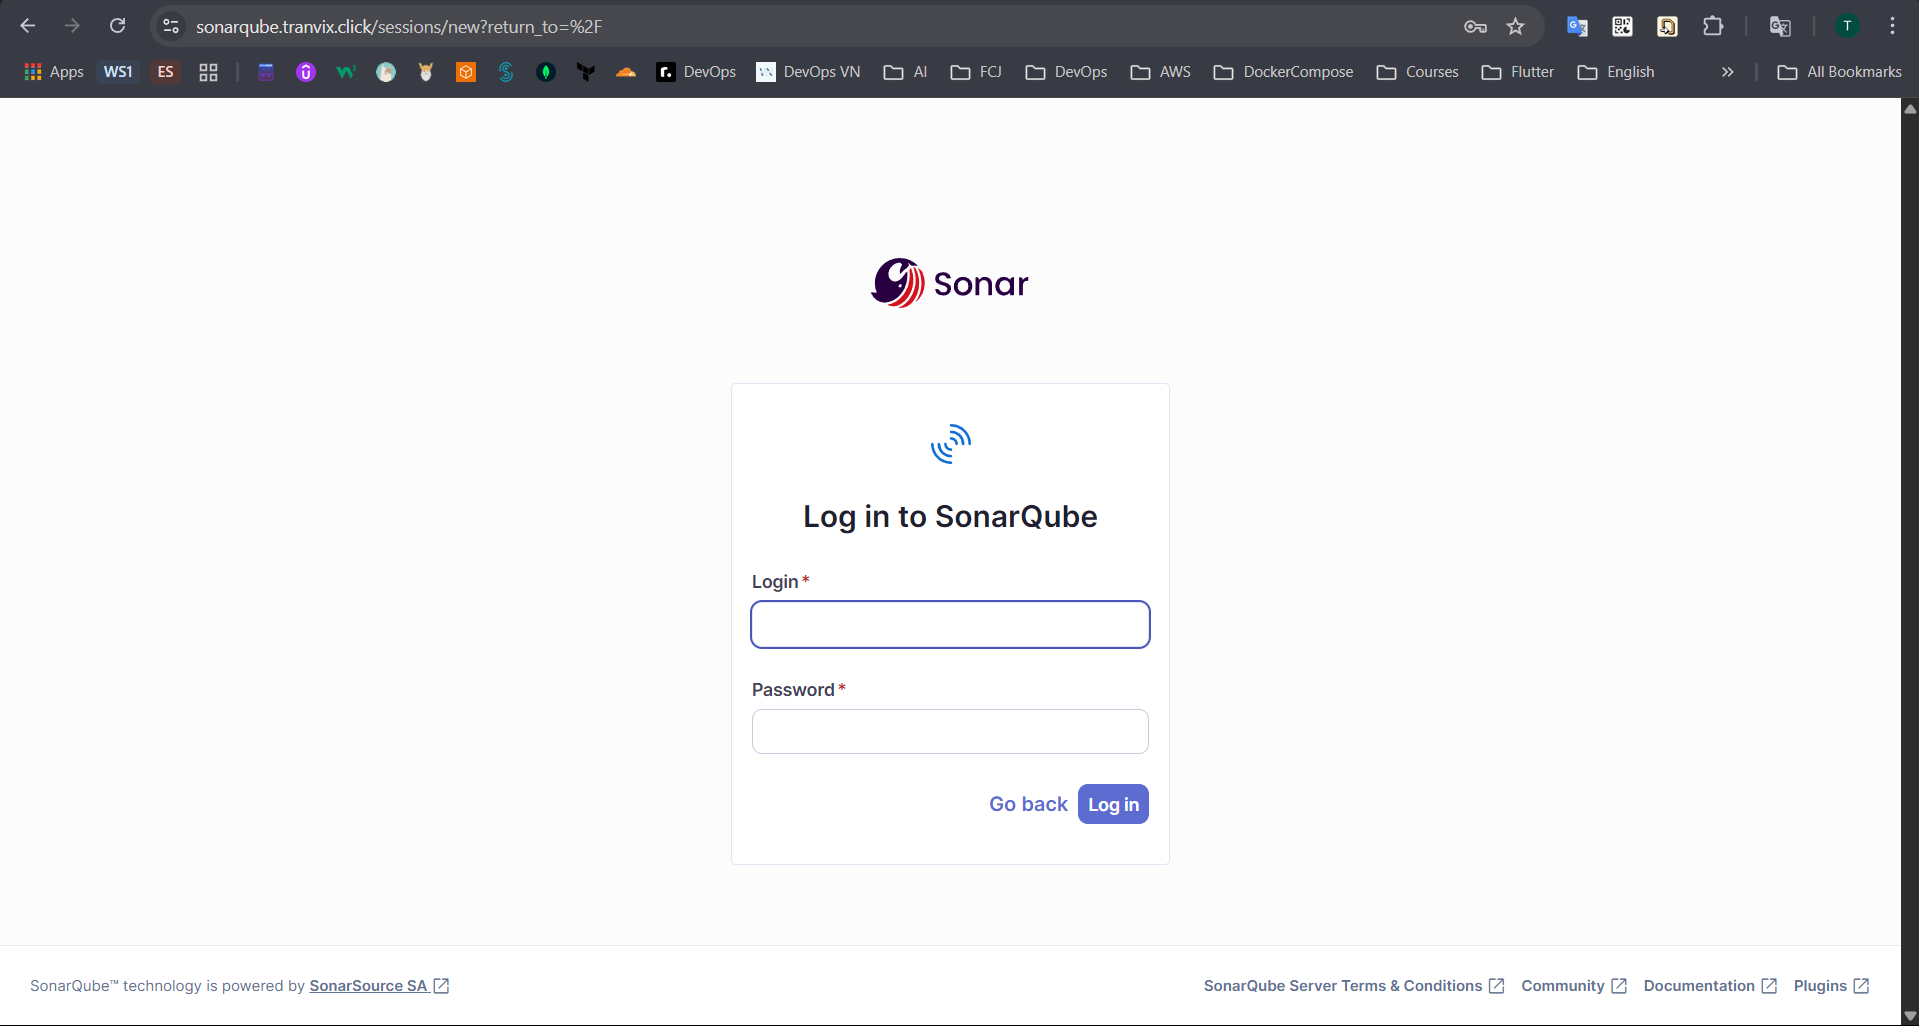
We will login with the admin account and the password is the password configured in the values.yaml file.
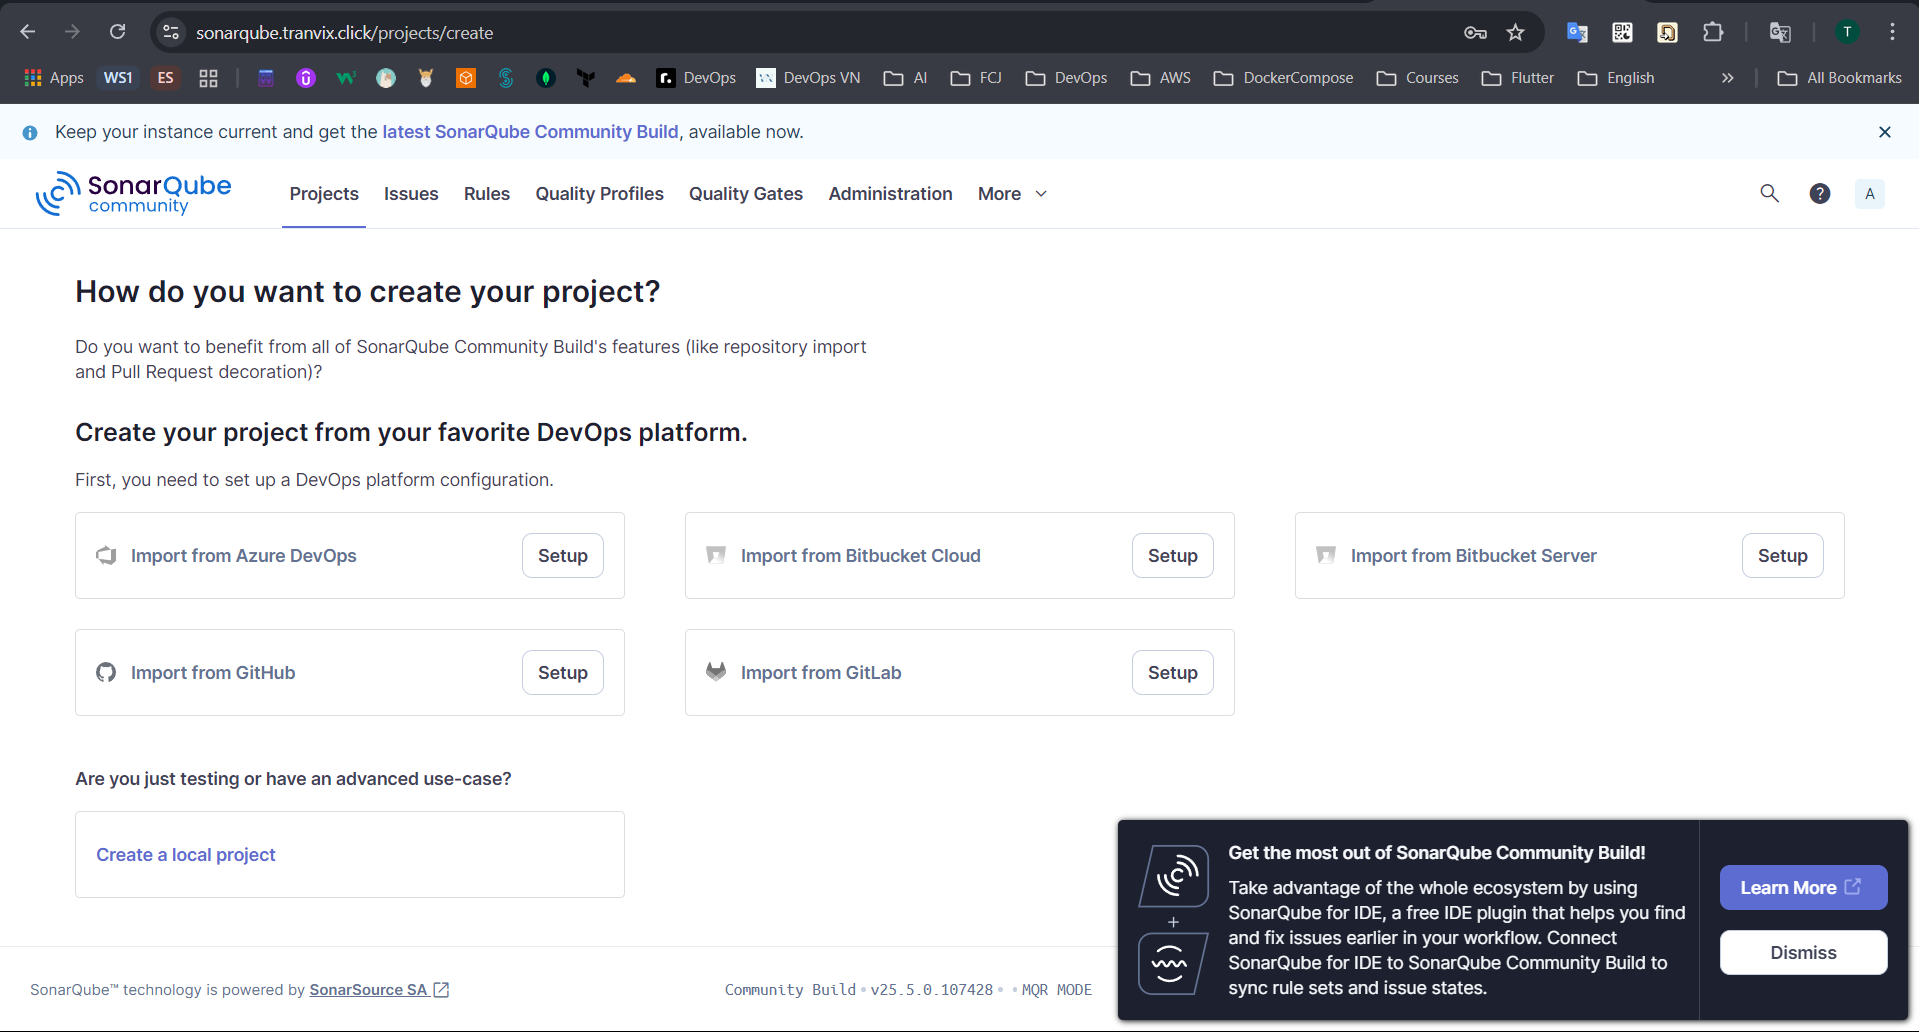
Thus, we have successfully installed and accessed SonarQube.